
5-ingredient “Orange Julius” Creamsicle Smoothie

I prefer my smoothies to match the wildflowers if possible.

Plan ahead—freeze the fruit! Bonus points for old used washed out plastic bags.
I haven’t been to a mall in a very long time so I’m not sure if Orange Julius even still exists, but if you’ve never had or been to an Orange Julius, it was a sort of a very early ancestor to the modern chain smoothie place. The signature drink was a very sweet, icy, orangy, creamy, frothy cup of heaven to teenaged me, hanging out in Southcenter mall, getting falsely accused of shoplifting at the hallmark store.
But, like so many childhood treats that I get nostalgic cravings for (twizzlers, anyone?), I feel like having one of those drinks today would be an oversweet disappointment to my adult taste buds. I wanted the idea of an Orange Julius, but made even more delicious using regular ingredients that I would normally eat.
So I worked on whipping up a quick and easy Orange Julius smoothie (the toddler loves it when things Have A Name) (Mom, what’s this smoothie called?” “It’s Julius, sweetie.”) with just a few normal ingredients, and my first try was fine but didn’t quite hit the mark, so I tried again, this time with a little prior thought.
The secret is freezing the peeled oranges. I found several Orange Julius copycat recipes and they taste great, I’m sure, but they called for sugar and frozen OJ concentrate. I usually don’t have that on hand, and I was hoping to not add any sugar or sweetener to our version, so I popped a few peeled oranges in the freezer overnight with a peeled banana and the combo gave it the creamy, orangey, icy taste that was even better than I remembered. From the eight glorious minutes of silence that happened while everyone ate theirs this morning, I’d say that Julius was a big hit. Guess I won’t be going to the mall anytime soon! :)

Better than being a teenager at the mall!
5-Ingredient “Orange Julius” Creamsicle Smoothie
yield: 2.5 servings (2 adult and 1.5 kid servings)
***PLAN AHEAD: put oranges and banana in freezer overnight or a few hours ahead!!
ingredients:
—2 medium oranges, peeled and frozen
—one medium ripe banana, peeled and frozen
—1-2 c plain whole milk yogurt
—1/4 c- 1 c milk, half and half, cream, coconut milk or cream, or your favorite nut milk or creamer
—splash of vanilla extract
—spinach or greens (optionl 6th ingredient) for a Green Julius
Instructions:
Blend all ingredients on high until creamy and fully blended, pushing down to make sure all of the frozen orange pieces get mixed. Add more liquid if you like a more drinkable smoothie and less for a very thick spoonable treat. You can add maple syrup, honey or sugar if you like it a bit more sweet. Enjoy!

Cabbage Salsa

Leavenworth—Bavarian village, mountain biking & skiing mecca, cabbage salsa hotspot
It's a Central Washington phenomenon. At least I've never seen or heard of it anywhere else until I moved here and went to Los Camperos, a homestyle family Mexican restaurant in Leavenworth. Jim took me here on a date on one of my first visits, when I was still living in California, and as I first sat down, I thought the people seemed extra friendly but otherwise it seemed like any other family Mexican restaurant (in a small Bavarian Washington town). But then they brought out the free chips, a dish of salsa, and an oval dish with a huge pile of confetti-flecked cabbage, and I immediately understood. The cabbage was crunchy, slightly sweet, salty, spicy, heavily limed, and totally addictive. The enchiladas were great, too, but the cabbage (salad? salsa?) haunted my dreams. I’ve since had other versions from different Mexican restaurants nearby—the central Washington thing—and they’ve been delicious. But there's something about the Los Camperos version, how it's simultaneously wilted but crunchy, with just a little kick, that keeps us coming back, and has inspired my own personal, years’-long quest to replicate it in a way that would work for regular home consumption by the bucketful. This is my most current version. Like all good recipes, it withstands tweaks and substitutions. It can be made ahead of time or last-minute, but it just needs to be made.
Update: Of course as soon as I posted this, I went to a party a few days later and my friend had made cabbage salsa that blew my version out of the water. Her secret is to make the pico a day early (tomatoes, jalapeño, onion, cilantro) and let it sit, then mix it with the cabbage the following day. Another (also cabbage-obsessed) friend told me about the El Salvadoran version of this salsa, called curtido, which is fermented cabbage, and it looks insanely good. The cabbage at Los Camperos is definitely made some time ahead, also. So, it appears that time would be an excellent addition to this recipe! I am generally not much of a plan-ahead cook and I still think this tastes great made last minute, but this recipe can definitely be made up to a day ahead and allowed to rest in the fridge. My Leavenworth friend’s version also benefited from lots of black pepper and some garlic, so I’ve noted those below. I also reduced the salt amount because I realize that this might be way salty for normal people as written.
SECOND UPDATE (4/21/22): I recently stumbled upon a breakthrough method for this salad, based upon my favorite, best-ever guacamole method which is a riff on one by Roberto Santibañez in the Genius Recipes cookbook. Since I’ve posted this recipe I’ve simplified my usual cabbage salsa recipe quite a bit and this makes it even easier/tastier. I’ve made a note below!

Cabbage Salsa
yield: 6-8 servings
ingredients:
—half a green cabbage, sliced in quarters lengthwise and then shredded crosswise as thin as possible
—1/2 tsp kosher salt (I use Diamond), plus more to taste
—1-2 T fresh lime juice, lemon juice, or rice vinegar
—1/4 c cilantro leaves and stems, loosely chopped (fine-ish chop)
—1/8 large red onion, sliced into small, thin slices
—1/2 tsp lime zest (optional)
—1 Roma tomato (or 6-8 cherry tomatoes) (optional)
—1-2 jalapeños (fresh or pickled), depending on your heat preferences, minced, plus a splash of the jalapeño pickling liquid if you use pickled (optional on the jalapeño but highly recommended!)
—freshly ground black pepper, to taste
—1-2 cloves garlic, minced or pressed (optional)
directions:
Mix all ingredients vigorously in a large bowl with two forks or salad tongs. Add more salt to taste, it can handle more than you might think. Serve immediately, or let rest for up to one hour at room temperature or several hours to overnight in the fridge. Just before serving, mix again, adjust seasonings, and serve with chips, tacos, burritos, or straight up and call it salad.
UPDATED METHOD: Dice or mince onions into small pieces. Place onions, cilantro, salt, and optional jalapeños and garlic in a mortar and pestle or in the bottom of your salad/salsa bowl. Mash them all together into a paste with the pestle or with the back of a spoon, and then toss the shredded cabbage in the bowl (or scrape the paste into your serving bowl with the cabbage). Using your fingers, mix and squeeze the cabbage to distribute the herbs and salt evenly throughout the cabbage (please use gloves if you are using hot chiles!). Add lime juice, pepper, optional zest and tomatoes, toss a few more times, taste and add additional salt or lime/vinegar if needed, and serve.
Notes: in a pinch, the tomatoes, lime juice and zest can be left out and you will still have excellent cabbage. If you use unseasoned rice vinegar you may want to add a tiny pinch of sugar to taste, but I often use unseasoned rice vinegar and never add any sugar and I never miss it. Also: the finer you shred it, the easier it is to scoop onto chips!

Easy No-Stir Olive Oil Maple Nut Spice Granola with Chia Seeds
Granola has been getting a bad rap lately in the press, which seems kind of unfair. On the one hand, it's great that people are aware of how much sugar can be in packaged granolas or even some recipes. But on the other hand, just because there are granolas out there pretending to be something they're not, hiding under the "healthy"-sounding name, doesn't mean all granolas are automatically wolves in sheep's clothing. Granola at its best combines all sorts of delicious, wholesome, real ingredients into a crunchy, storable, packable, anytime treat.

1950s stove not required to make this recipe.
I started wanting to eat oats a lot last year while pregnant, and then this past spring, with a newborn around, cooking a bowl of oatmeal seemed like an epic task most days. Foods that were appealing plus super quick and easy to eat became ABSOLUTELY NECESSARY. If they were homemade and had oats and nuts in them, well that was a total bonus. Enter my granola obsession.
I always liked the stuff, but didn't want to buy it because of the cost and the added sweeteners. I never got around to making it myself because every recipe I came across required stirring several times in the oven, which seemed like a pain. I like baking of the "set it and forget it" variety, as in, put the stuff in the oven, set the timer, and go do some other stuff in the meantime. So when I found a no-stir recipe from America's Test Kitchen, I knew I was in business. Mixing up the whole batch takes less time than cooking a pot of oatmeal, and then it bakes while I go do other things, and all I have to do is set the baby down for a second while I take it out of the oven and hopefully remember to turn the oven off.

Autumn in a bowl.
Over the past year or so, I've tweaked the recipe to meet my current needs in a granola, but the beauty of granola is that once you get your favorite version dialed, you can basically customize it however you'd like.
Add other seeds, nuts, flaked coconut, dried fruit, other spices if you want. Use different oils or sweeteners. The original recipe calls for brown sugar in addition to the maple syrup, to help form nice clusters, but I've discovered that I can substitute honey as long as I melt it down first. I've also cut back the total amount of sweetener in the recipe by A LOT (the version below basically works out to 4g of sweetener or so per heaping 1/2 cup of granola), so if you like your granola sweeter, you can add more. It will still be a far cry from dessert-level, but it is enough reminiscent of an oatmeal cookie that you might just want it for dessert anyhow.
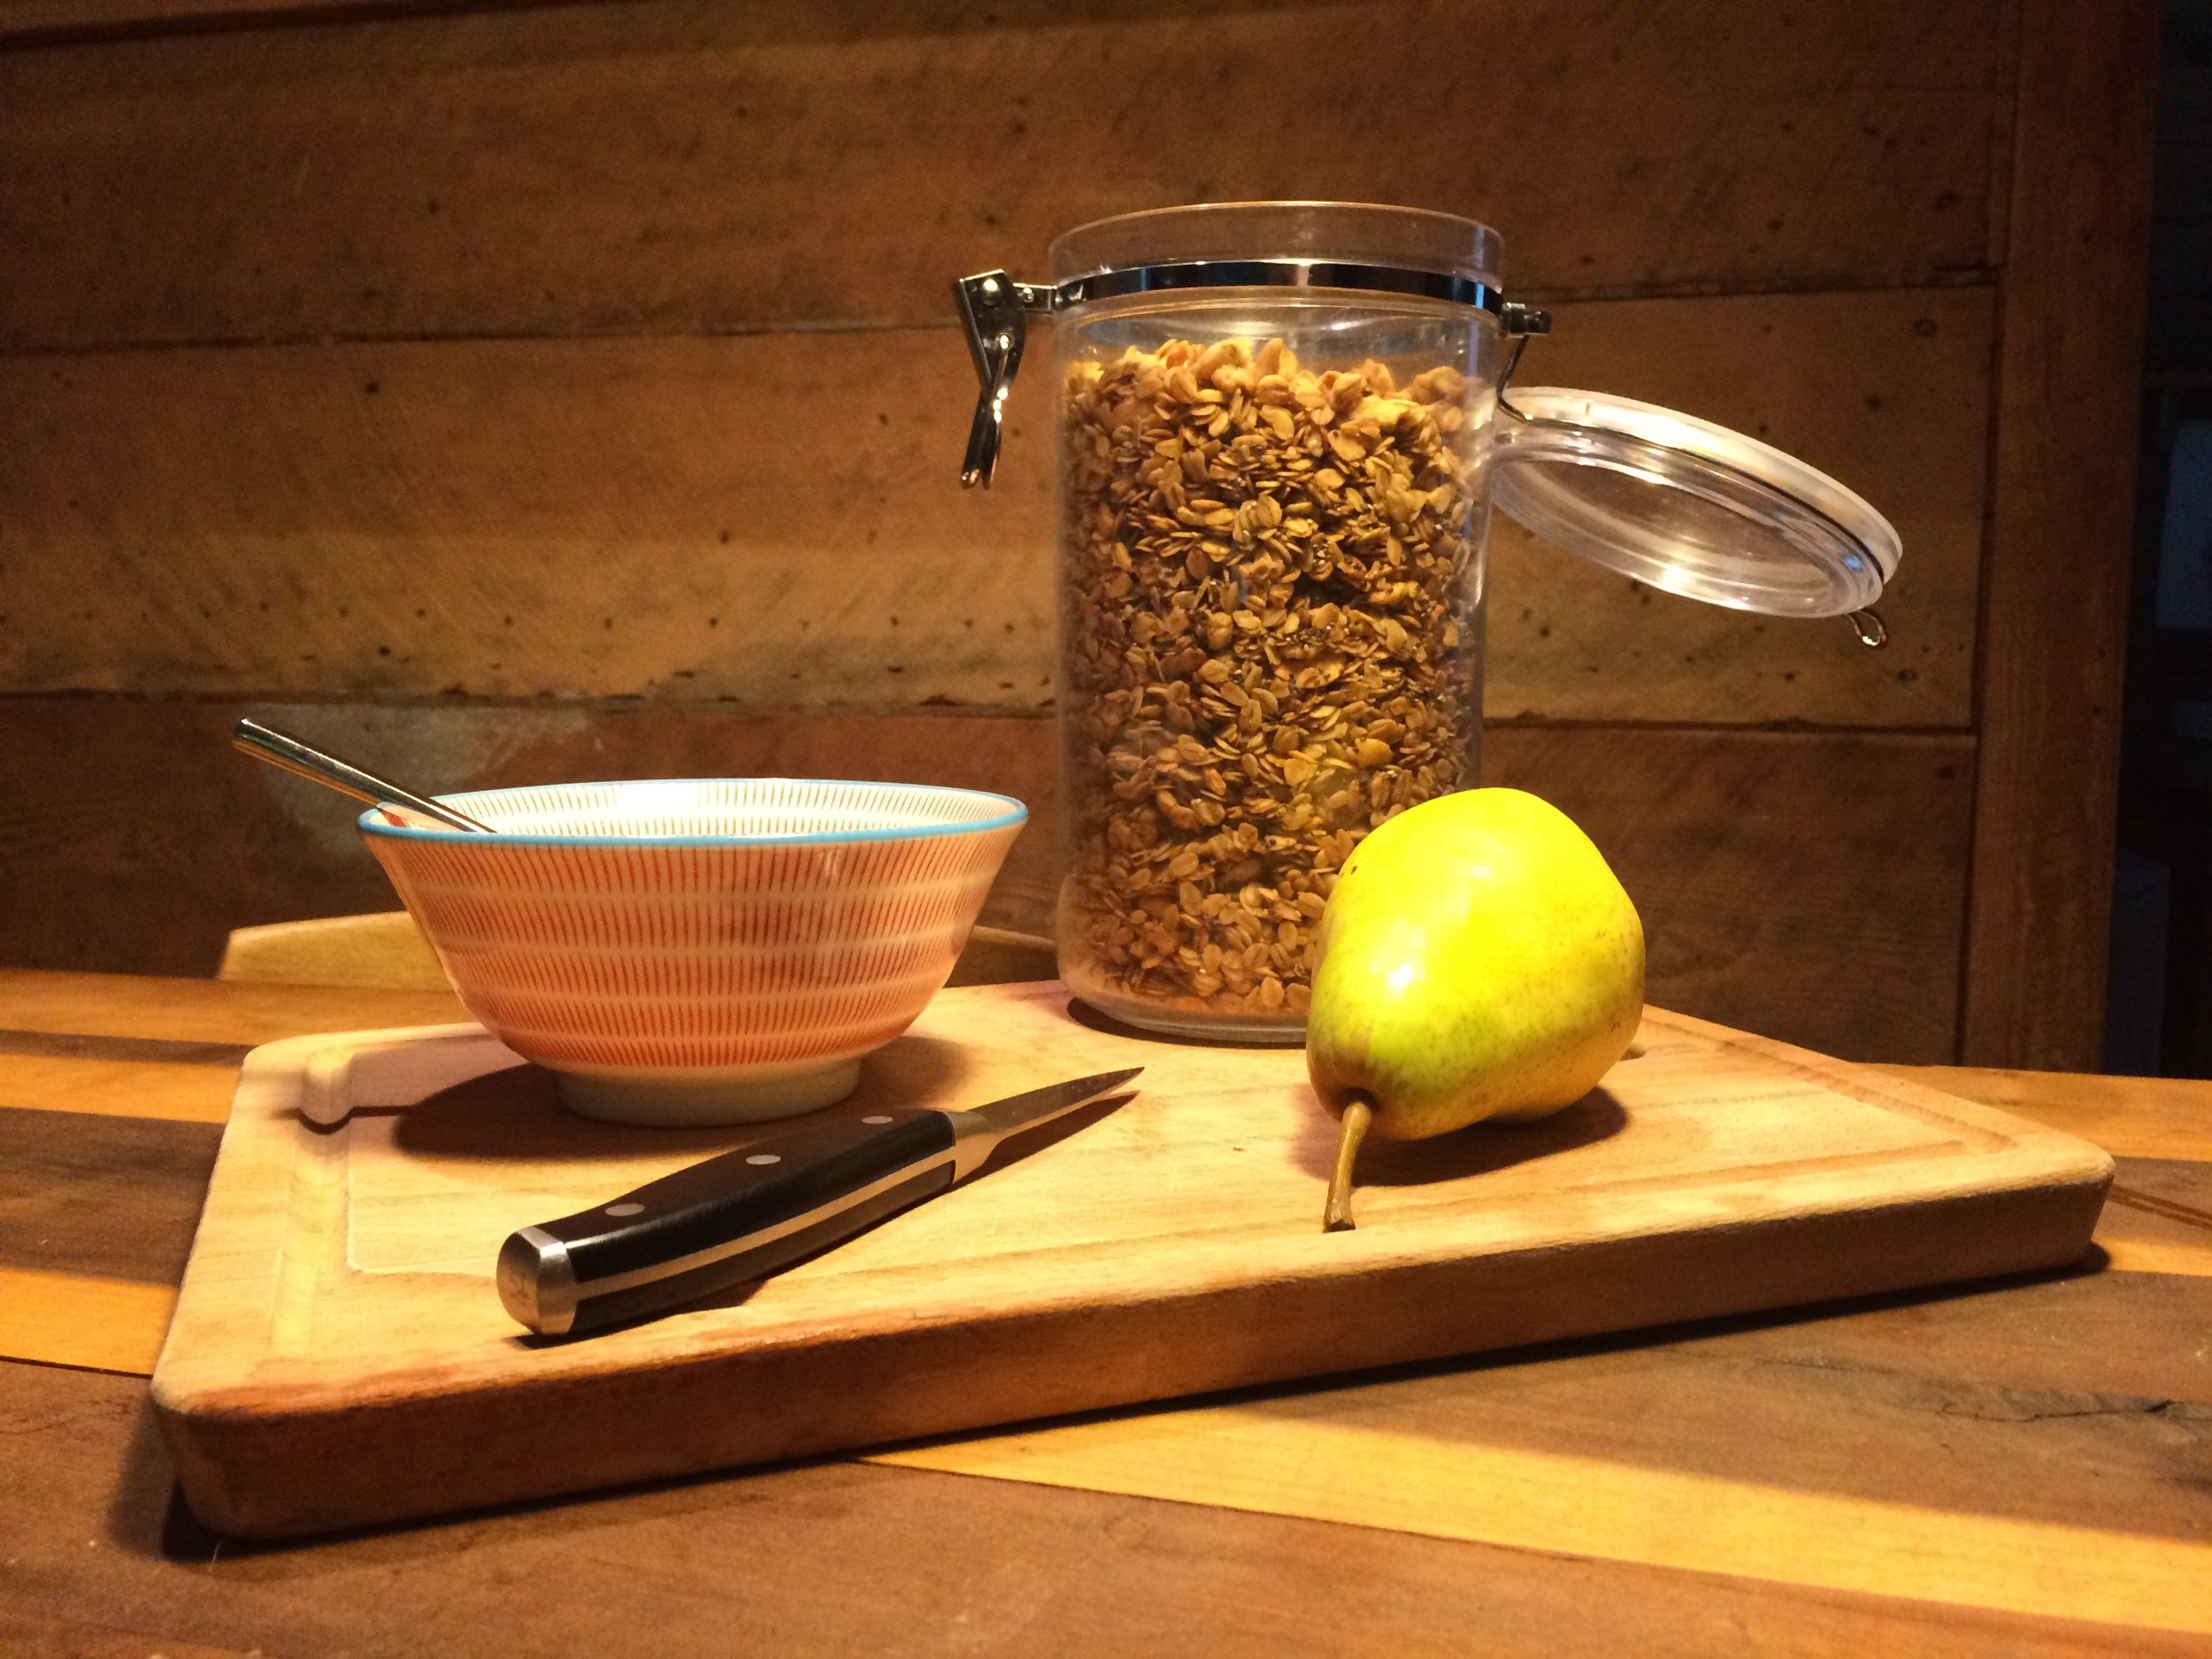
Breakfast is served.
NO STIR OLIVE OIL MAPLE NUT SPICE GRANOLA with CHIA
INGREDIENTS:
--5 cups rolled oats (choose gluten-free if you'd like a GF recipe)
--2 cups chopped raw nuts (I like pecans, almonds, cashews, walnuts, or a combo)
--1/2 cup chia seeds (or other seeds), optional
--1/2 cup olive oil (or vegetable oil, melted coconut oil, melted unsalted butter, or a combo--may I suggest half olive oil and half melted, good-quality butter for a special batch), plus a splash for the pan
--1/4 cup maple syrup
--4 tsp honey, or 2 T brown sugar
--2 tsp cinnamon (or pumpkin pie spice)
--2 tsp vanilla extract
--1/4 tsp pure vanilla powder, optional (I like this kind; expensive but so good and a little goes a long way--I've had the same jar for two years and I use it all the time)
--1 tsp kosher salt
DIRECTIONS:
Pre-heat the oven to 325 degrees. Drizzle some olive oil (or other oil) on a full size (18" x 26") rimmed sheet pan, or two half sized rimmed sheet pans, rubbing the oil all over with your fingers to coat the pan, making sure to get the edges and corners.
Mix oats and nuts in a large mixing bowl to combine, then sprinkle any small seeds on top.
In a small saucepan, combine the oil, syrup, and honey over low heat just until the honey melts into the other ingredients and the mixture is homogeneous. Remove from the heat and stir in the vanilla extract, salt, cinnamon, vanilla powder or other spices with a heat-proof rubber spatula. (If you are using brown sugar instead of honey, no need to heat--just stir together all the above ingredients in a bowl or measuring cup.) Pour the whole mixture over the oats and nuts, scraping the pan to get every drop. Stir and spread the liquid with the spatula slowly, turning and coating the oats and nuts and scraping the bottom of the bowl until no dry pockets of oats remain.
Spread the mixture evenly on the oiled sheet pan, pressing it down with the spatula.
Bake for 16-18 minutes, or until the granola is just starting to get the slightest bit golden brown. Let it stay in the pan until cool, then uproot the oats and clusters using a plastic pancake spatula. Stored in a sealed container in a dry place it should stay good for a few weeks, but it's never actually lasted long enough here to find out.

Half Whole Wheat Bread Recipe for Two Loaves

I have always enjoyed making bread, but being pregnant and REALLY LOVING good bread, I found that the store bought stuff wasn’t quite cutting it most of the time. I used to have a bread machine but never really liked how the bread turned out. Also, deep down I thought it was cheating maybe if I didn’t knead the bread myself for twenty minutes. However, I learned from one of my favorite bakers--Vince at Sure to Rise Bakery, in Cashmere, WA--that the standing mixer makes as good of loaves as any, so I busted out the KitchenAid and haven’t looked back since. I always make two loaves at a time now. It’s just as easy as one if your mixer can handle it, and you can gift or freeze the second loaf if you won’t eat it. This is not usually a problem for us. If you don't have a standing mixer or prefer to knead (it's good for the soul!), it just takes more time and elbow grease--hats off to you my friend!

Napping baby, happily baking mom.
I personally love the taste of bread with some whole wheat in it, but have yet to find the right recipe for making my own perfect 100% whole wheat loaf. Also, Jim likes white bread--and making the bread 50/50 is I suppose the ultimate definition of a good marital compromise. I will keep trying on the whole wheat, though, and maybe I will nail it sometime and then we all win. If you prefer all white bread, just substitute more bread flour (or all-purpose) for the whole wheat in this recipe--you may need just a smidge more of the all-purpose than you would whole wheat. And always store your whole wheat flour in the fridge to preserve its freshness.

Rise and shine!
Half Whole Wheat Bread
--adapted from America's Test Kitchen and Ina Garten
(makes two loaves)
Ingredients:
--6 T butter
--1/2 c. water
--1 1/2 c. milk (I use whole, but you could sub 2%, 0%, buttermilk, or water here)
--3 t instant yeast (I like the SAF brand)
--1 1/2 T honey
--1 egg (if you don't want to use any egg, just add 1/4 c more water/milk)
--1 T kosher salt
--2.5 c bread flour
--2.5-3.5 c whole wheat flour
— (optional) 2 T vital wheat gluten
Directions:
Put the water on to boil. Cut the butter in pieces and place in the bottom of the bowl of a standing mixer. Pour 1/2 c. boiling water over the butter and stir to melt butter. Stir in honey and milk and sprinkle yeast over top. Turn machine on low using the dough hook attachment, and let it stir for a minute or two, then add the egg and continue stirring. Add the bread flour and the salt and mix on medium low for a few minutes until all the flour disappears, scraping the sides of the bowl with a rubber spatula to mix in all flour pockets. Add the whole wheat flour while the machine is going, one cup at a time or so, waiting until each previous addition is mixed in before adding the next. You want the dough to be still moist, but not sticking to the sides of the bowl--the perfect degree of tackiness is where the bowl will be totally clean and the dough is in a ball with part of it "climbing" up the mixer. If the dough is just sticking to the sides with the hook mushing around in the middle of it, add more flour (you can use all bread flour or a mix of the two), a little at a time, scraping the sides and bottom of the bowl, until it pulls into a ball. Knead with the hook on medium speed for 4-6 minutes, until it forms a nice round ball. If for some reason your dough is really dry and stiff, you can add a TINY bit more water or milk, a very little bit at a time, until the dough loosens a bit.
****If kneading by hand--follow all the above instructions using a large bowl, stirring with a wooden spoon and scraping with a rubber spatula until the dough starts to come together into a ball. Dump the shaggy mass out onto the floured counter and knead, gradually adding the remaining flour called for in the recipe. Knead for ten to fifteen minutes, adding as little flour as possible, and trying to use quick touches and quick scrapes of the counter to keep the dough from sticking rather than flour. If you are persistent, you can turn a sticky mess into a nice dough just with kneading as the flour develops its gluten strands and absorbs the water. With a bit of practice you'll start to know your dough and be able to just turn your brain off and enjoy the magical art (and free therapy) of kneading bread dough. :) Continue with the rest of the recipe!*****
A good rule of thumb for dough is you want to be able to press your finger or palm in it quickly and pull back without the dough sticking, but if you leave it there for a longer amount of time (long enough for the warmth of your skin to warm the dough) it starts to stick. Also, you want it to feel springy and "alive," as if you were feeling your earlobe. And then there’s the infamous “windowpane” test where if you stretch a small piece of the dough, you should almost be able to see through it like a little doughy windowpane.
Knead the dough on the counter by hand for thirty seconds or so, then lightly oil or butter the mixing bowl and place the dough back in, turning once to oil the top. Cover with plastic wrap or a plastic bag pulled tight, and let sit in a warm, draft-free place to rise for an hour or two until doubled in size.
Punch down the dough and knead into a ball on the counter, then divide into two halves. Grab each half and pinch the bottom while rolling on its side repeatedly, a pinch with each roll, to make each half into a smooth-topped ball (picture below). Flip over, smooth side down, then punch the balls into rough square shapes with your knuckles. Starting at the top corner of each square, roll the top inch or so down and flatten gently with the heel of your hand as you roll, then roll and flatten the next section, repeating until the whole square is rolled into a log (see picture below). Gently press each loaf, seam-side down, into oiled loaf pans. Cover with plastic (or better, slide each pan into a plastic bag, then blow into the bag to inflate a bit, and twist the opening and pin against a wall to hold), and let rise another 30 minutes to an hour or so, until each loaf crests the side of the pan, depending on how warm your house is. Partway through this rise, preheat the oven to 375 degrees. Bake the loaves for 35-45 minutes--rotating front to back and side to side after about twenty minutes, being VERY GENTLE so as not to startle the loaves and undo all of the hard rising work of the yeasties--or until the tops are dark brown and the loaves sound hollow when you tap the top with your fingertips. Let cool for 3-5 minutes in the pan (if you leave them in there too much longer they will get soggy bottoms!) and then flip carefully into an oven mitt and place on a cooling rack.
Slice and enjoy!

Grab, pinch, and roll until the non-pinched side is a smooth dome.

I roll with the left hand as I tamp down the roll with my right hand, working right to left.

What's better than sliced bread?

Basic Dill Vinaigrette

Basic Dill Vinaigrette
(makes enough for one big salad)
--1/3 cup olive oil
--2-3 T rice vinegar (I use seasoned, if you prefer unseasoned you may find you enjoy adding just a tiny drop of honey or maple syrup or a good, aged balsamic to add a bit of sweetness)
--2-3 tsp dijon mustard
--1 tsp chopped fresh dill, preferably with flowers
--salt and fresh ground pepper to taste
Whisk until emulsified and pour over any salad of your choice! It's especially good on spicy greens, I find.