
Whole Grain Pear Muffins (With Browned Butter Variation)

There’s just something about muffins that makes them one of my favorite foods. They are portable, customizable, and delicious. When I can set out some muffins in the morning and call it breakfast, maybe a hard boiled egg and fruit if I’m feeling extra, I feel like I’ve set us all up for success. It’s even better when they are whole grain and easy to prepare! These ones can be whipped up quickly with oil (I prefer olive oil), or made a bit more fancy with browned butter and a few extra minutes. As you can maybe tell, I’m a bit of a nut about browned butter in everything recently; my best hint is below.
The browned butter version makes a more tender, crumbly muffin with a delicate texture and delicious sweet flavor, while the oil version are sturdy workhorses that also taste delicious and balanced, the bitterness of the olive oil a nice counterpoint to the brown sugar and pears.
These have less sugar than most muffin recipes and are still plenty sweet. I was curious how they stack up in terms of sugar with other breakfast options, so I did some math. Each of these muffins clocks in at about 2 tsp of sugar, just under 8g of added sugar. To give some reference, a half cup of Bob’s Red Mill Lemon Blueberry Granola has 10 g added sugar, and one serving of Field Day Organic Raisin Bran has 7g of sugar. That makes these a totally acceptable breakfast treat or after school snack in my book. I think if you are truly concerned about sugar you could certainly cut back a bit further although not by much; you need a certain amount of sugar for proper baking chemistry and the structure of the muffins.
We had a surplus of pears on hand that were given to us by a friend (another bonus of living in fruit-growing country) which led to these muffins. They can be made with pears that are on their last legs and need to be used, too—they won’t affect flavor at all. I hope you also find yourself with extra fruit on hand sometime soon!
A note on browning butter: This is a skill that gets easier with practice. My best tip is this: the first time you do it, set a stopwatch when the butter hits the pan and keep a close eye and nose on the butter, not stirring until you start to smell the nutty aroma. Note the time. Stir and watch like a hawk until some of the butter solids turn golden and all the butter takes on a bit of a darker hue. Remove from heat and stop the watch. Now you have a baseline idea of timing for next time, provided you use the same pan, same heat setting and similar amount of butter. You can use a timer to help you with the hands off part and it makes the whole process much easier and more hands-off in the future!


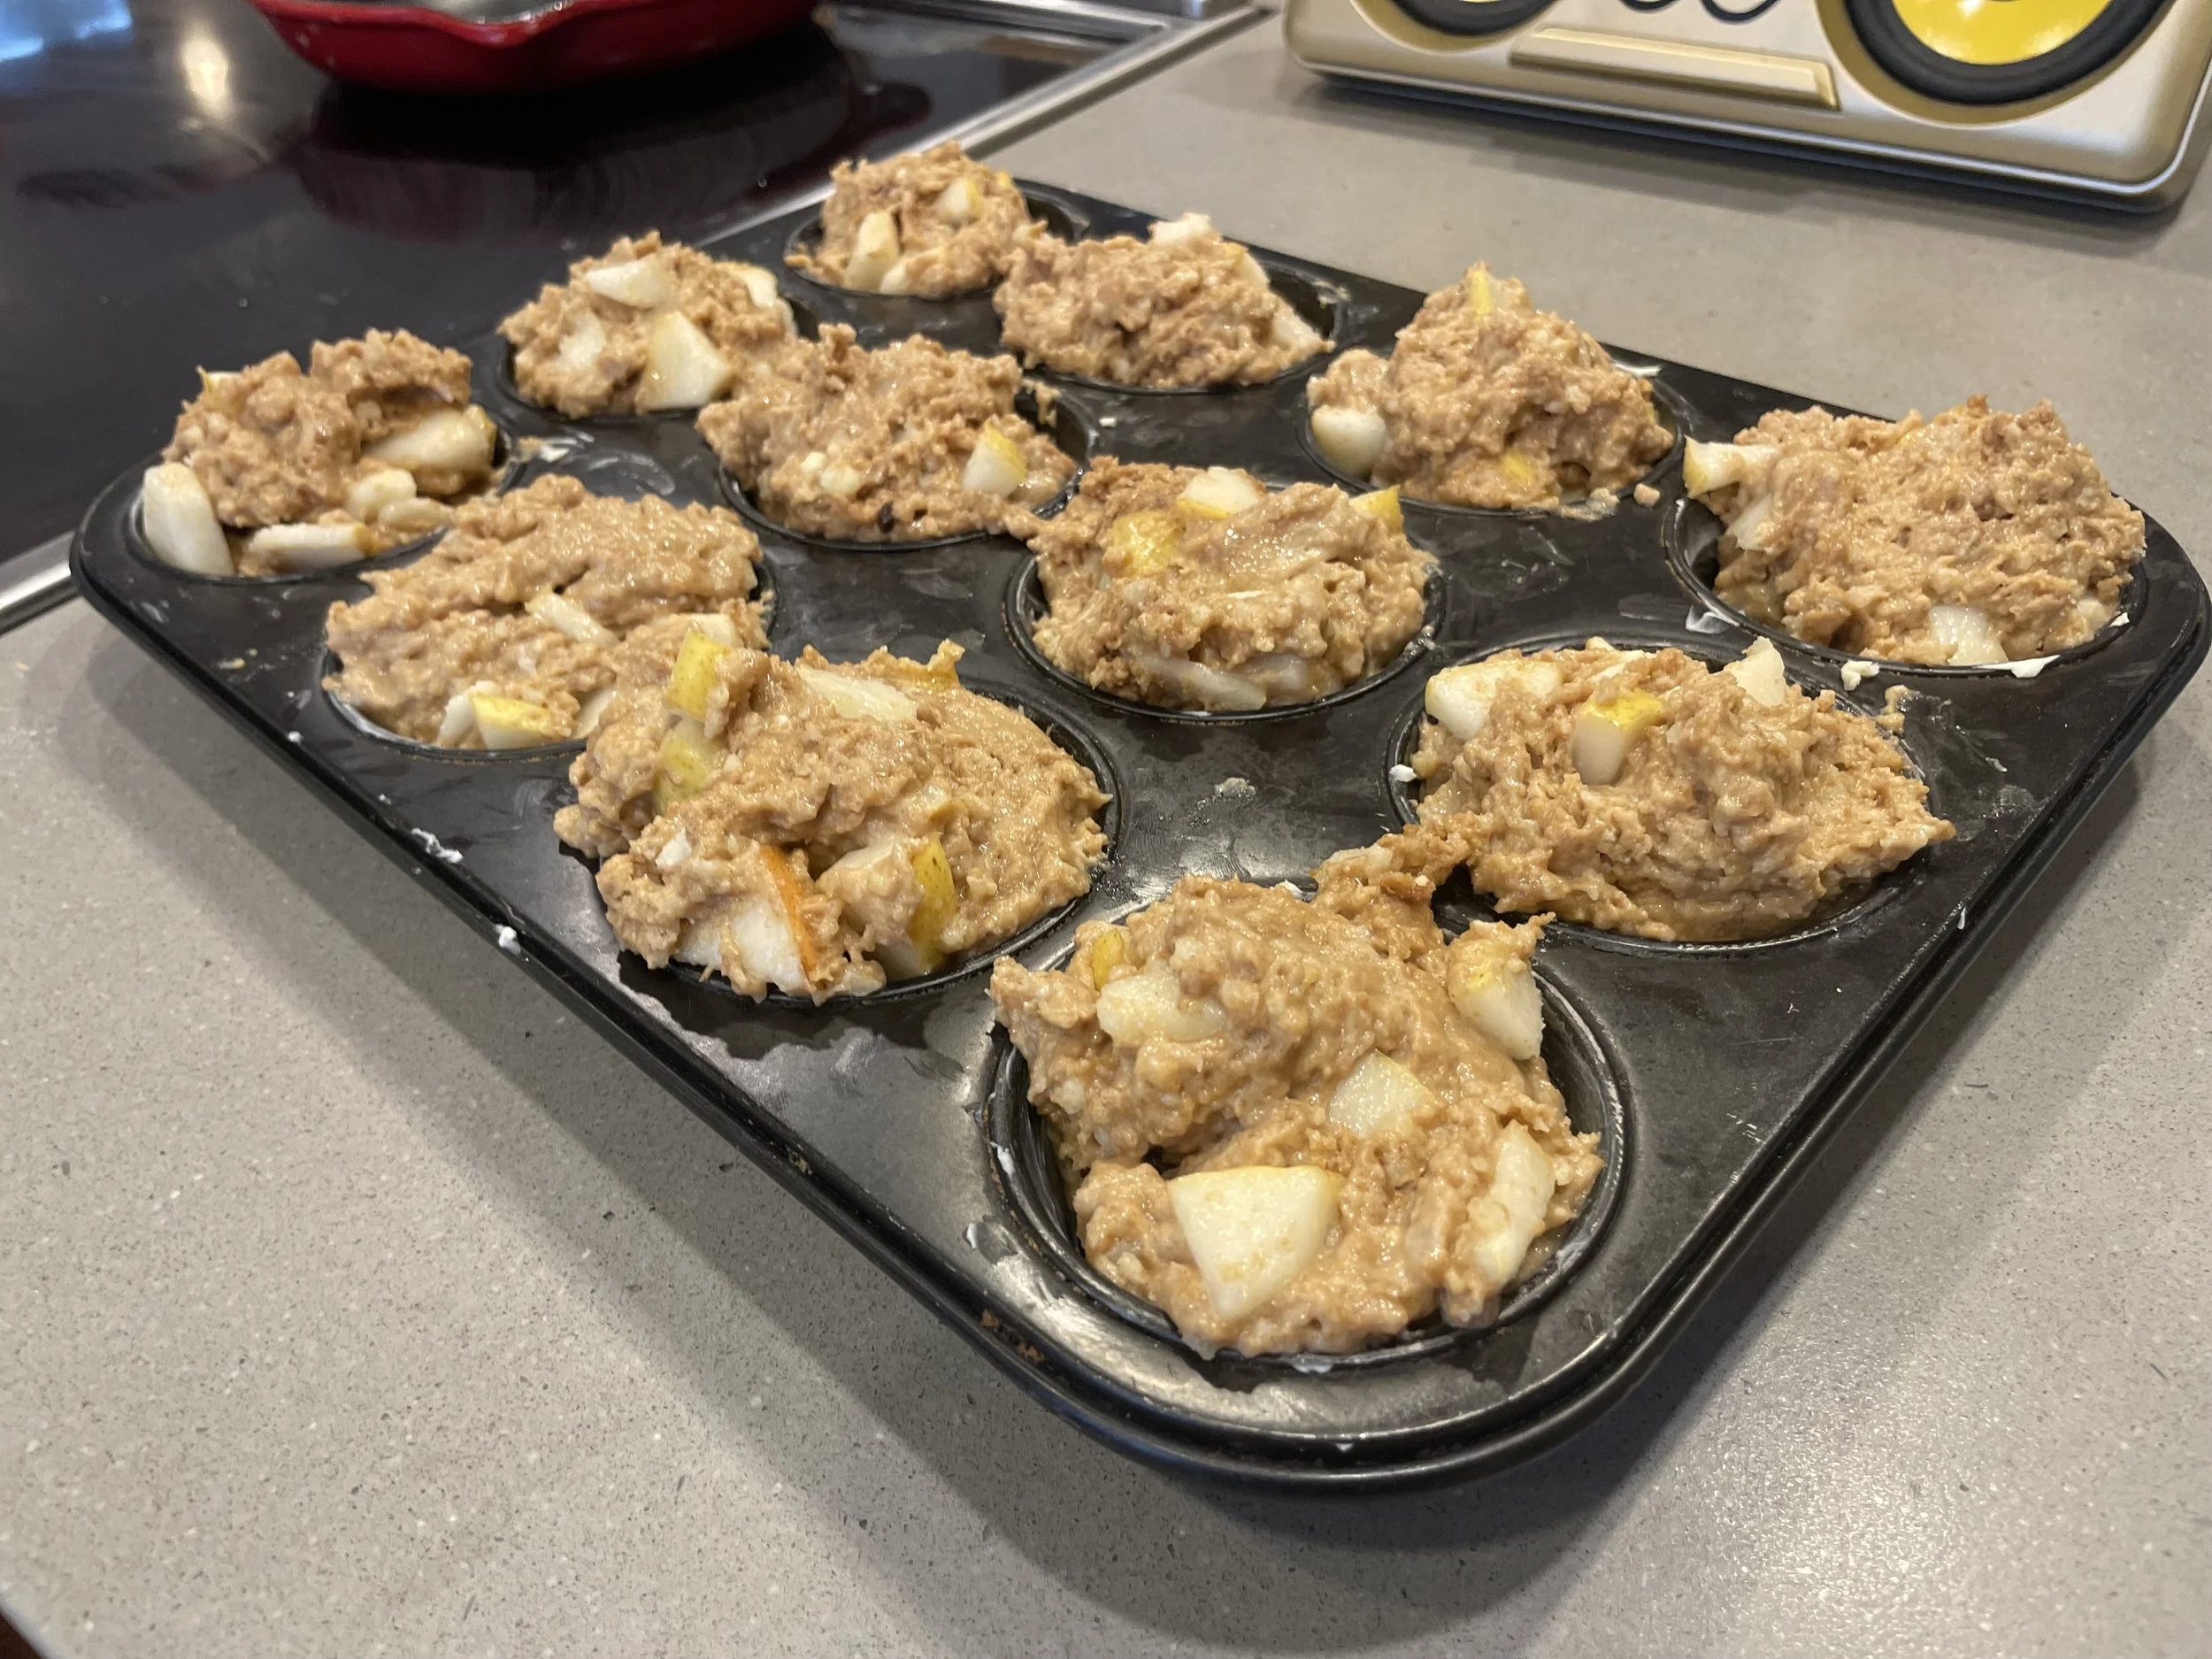
WHOLE GRAIN PEAR MUFFINS (WITH BROWNED BUTTER VARIATION)
SERVES 12
ABOUT 45 minutes
INGREDIENTS:
—2/3 c olive or vegetable oil, or 11 T unsalted butter for browned butter variation
—2 eggs
—1 tsp vanilla
—3/4 c minus 1 T milk
—1 T apple cider vinegar or lemon juice
(—or, substitute 3/4 c buttermilk or whole plain yogurt for the above milk+lemon mixture)
—2 c whole wheat flour
—1/2 c wheat germ (or substitute more WW flour or AP flour)
—2/3 c brown sugar, packed
—1 tsp baking powder
—1/2 tsp baking soda
—3/4 tsp kosher salt
—1 tsp cinnamon
—3 medium pears, diced, about 2.5 cups (I leave the skin on)
DIRECTIONS:
—Preheat oven to 375, butter or oil a 12-cup muffin tin, or line with paper liners.
—Make soured/clabbered milk by adding vinegar or lemon to milk and letting sit for about 3 minutes.
—If using browned butter variation, place butter in a sauté pan or skillet over medium heat. Watch closely as it melts and begin stirring constantly as it starts to give off a nutty aroma, turns a slightly darker color, and a few of the butter solids turn golden. Stir well and remove from heat. Transfer every last drop to a large mixing bowl.
—If using oil, add oil to mixing bowl and whisk eggs, vanilla, brown sugar, and clabbered milk together until homogenous. .
—If using butter, whisk eggs, vanilla, brown sugar, and clabbered milk into the browned butter in the bowl until homogenous.
—Sprinkle flour, wheat germ, and the rest of the dry ingredients on top of the wet mixture. Carefully fold and mix together until some dry ingredients remain. Add pears and mix just until no white streaks or dry pockets remain.
—Scoop batter by half-cup scoops into muffin tin, evening them out so each muffin domes up over the tin about 1-2cm.
—Bake for 20-25 minutes or until lightly browned and tops of muffins spring back when gently pushed, or when a wooden tester inserted in the middle of the largest muffin in the middle of the tin comes out clean, rotating pan front to back at about 18-20 minutes.
-Leave in tins for 5 minutes before gently removing to a wire rack to let cool further. I use a butter knife to work carefully around each muffin for an easier release.
—Enjoy! These keep, covered at room temperature for 24-48 hours and in the fridge up to a week after that. The older muffins are great split and toasted, with butter, just in case you needed that extra information. :)


Sweet and Salty Browned Butter Popcorn

This probably doesn’t qualify as a recipe so much as simply a good thing to make. The kids can even make the popcorn themselves with our old-school air popper. (This appliance deserves its own aside—it punches well above its $15 price and more than deserves its share of precious kitchen drawer space. Let’s just say I haven’t gotten an instant pot yet because I don’t “have” the space for it, but I’m happy to let this popcorn maker hog all the space it needs.) But back to the popcorn. It takes a total of about five minutes, it’s cost-effective, and IMHO tastes much better than the stuff out of the bag!
SWEET AND SALTY BROWN BUTTER POPCORN
Serves: 4-6 as a snack
INGREDIENTS
—1/2 cup unpopped popcorn kernels, or about 8 cups popped, plus oil if needed
—5 T butter
—1/2-1 tsp kosher salt
—1 T brown sugar. or honey
DIRECTIONS
Pop corn according to directions on the popcorn maker. Or, use a large heavy pot with a lid on medium high heat to pop the corn with 2T oil for about five minutes, covered, shaking the pot gently until all of the kernels are popped.
Meanwhile, place butter in a skillet over medium heat, stirring occasionally until lightly brown with a nutty aroma. Watch it closely so as not to burn it. Remove from heat immediately, stir in the brown sugar or honey and salt, and drizzle the mixture over the popcorn, stirring as you go. Taste and adjust seasoning, sprinkling more sugar and/or salt to your taste, or even adding up to 1 tsp of curry powder for a delicious variation. The possibilities are endless!


Our air popper, nestled in its well-deserved kitchen drawer space.

Orange Vanilla Cream Soft Serve

Try this immediately! Well, I mean, once the oranges are frozen.
This one is inspired by the resurgence of the orange creamsicle flavor that I’ve been seeing everywhere—our local ice cream shop, Tillamook limited edition at the store, and apparently even in a Wendy’s Frosty.
Well, I daresay this recipe is better, easier, and way more delicious than all of those. Yes, I’m tooting my own horn, but this is four ingredients, all natural, and so easy. The hardest part is honestly remembering to put the oranges in the freezer ahead of time and then patiently waiting for them to get frozen!
INGREDIENTS:
—3 oranges, peeled and frozen (bonus tip, if you have time to chop the oranges into chunks before freezing, it helps them blend easier!)
—3/4 cup heavy whipping cream (or unsweetened coconut / nut cream for non-dairy)
—3-4 T sugar, to taste
—1 tsp vanilla
DIRECTIONS:
Mix all ingredients in a food processor or high-powered blender on high speed until well blended and creamy. Taste and adjust sweetening to your liking; add more cream for a thinner consistency. Enjoy immediately!

Creamy dreamy

Frosty cool treats! Better than those chain spots down the streets.

One step closer to summertime bliss!

Oranges in the summertime? Trust me, worth it!!!!

Strawberry Rhubarb Crisp

Breakfast! I mean, dessert.
I have no shame when it comes to begging, borrowing, and stealing rhubarb. Now, I’ve never actually stolen any, though I’ve been tempted by a thick patch once or twice. I have been known to (gasp!) buy some in a pinch, but rhubarb is one of those things (like zucchini) that in most places it seems like there’s always a kindly person with extra garden bounty who is happy to share. One time I was forlornly talking about how I was looking for some while checking out at the local health food store. The kindly clerk said, “There is a ton at the place I’m renting and I am not going to use it. Here’s my address, come on by!” Perhaps a normal person would have felt awkward and shy about this, but I will overcome a lot of things for free rhubarb, so I showed up at her house the next day and took her up on it, very gratefully.

Waiting for the rhubarb lovers to join…
I have been trying to grow our own for almost ten years now, including two very special plants sent from Wisconsin by my mother-in-law, and this year it’s finally at a size where I can meaningfully harvest it. While I will miss my random encounters with strangers over rhubarb (oh, and definitely don’t be shy if you have extra, I can always put more to use…hint, hint), it feels amazing to be able to go out and cut off several stalks and make one of our favorite desserts. This is also the time of the year when strawberries start going on sale but invariably some baskets are better than others; the tasteless ones or the ones on manager’s special, super sale, or the ones in the back of your fridge, a day away from being composted, are absolutely perfect for this dessert. Free strawberries are a bit harder to come by (whoever heard of someone having too many strawberries?), but of course, if you’re even more lucky and have friends with strawberries, or can go pick at a farm near you while the rhubarb is still in season, then this dessert will be even more out-of-this-world.

The elusive rhubarb patch, in the flesh.
I’m a strawberry rhubarb purist; I don’t like vanilla, cinnamon, orange, or lemon trying to interfere with the perfect marriage of strawberries and rhubarb in my crisps, but you can find plenty of recipes out there that add other stuff in if you are into that kind of thing. My favorite recipe is this one: simply fruit plus sugar with a flour, oat and butter topping, baked to perfection. It’s amazing with a scoop of ice cream, or—my personal favorite—for breakfast the next day with some plain yogurt. I hope you have lots of friends and neighbors with extra rhubarb!
Note: This recipe can easily be made gluten-free—see substitutions below.


INGREDIENTS
FRUIT FILLING
—4 cups strawberries, hulled and sliced (from about 2.5-3lbs strawberries)
—5 cups rhubarb, sliced into 1/2 inch pieces, from about 8-10 medium stalks
—1.5 cups sugar
—3.5 T flour (substitute cornstarch for gluten-free)
CRISP TOPPING
—1 cup all-purpose flour (substitute 1:1 gluten-free flour blend for GF)
—1 cup rolled oats (use GF rolled oats for gluten free)
—1 cup brown sugar, packed
—1 cup (2 sticks) butter, cut into chunks
—pinch salt
DIRECTIONS:
Preheat oven to 375 degrees.
Mix sliced strawberries and rhubarb in a 9x13 baking dish. Add 1c sugar and 3.5 T flour or cornstarch and mix thoroughly until fruit is coated with flour/sugar mixture.
Combine all of the crisp topping ingredients in a food processor, or a large bowl if you’re making the crisp by hand. By hand: using a pastry cutter, two knives, or your fingers, mix all ingredients together in the bowl, cutting or pinching butter into small chunks until the mixture is uniform with pea-sized butter clumps. By food processor: process all ingredients in 8-10, 2 second pulses or until the mixture is uniform with pea-sized butter clumps.
Pour crisp topping ingredients over fruit mixture, pressing down and spreading to the corners until mostly even.
Bake for 45-60 minutes until topping is light brown and the edges of the crisp are bubbling. Let sit for 15-30 minutes (or longer) to let the juices thicken. Serve with ice cream, whipped cream, or plain!

The end goal—perfection.
Peanut Butter Play Dough

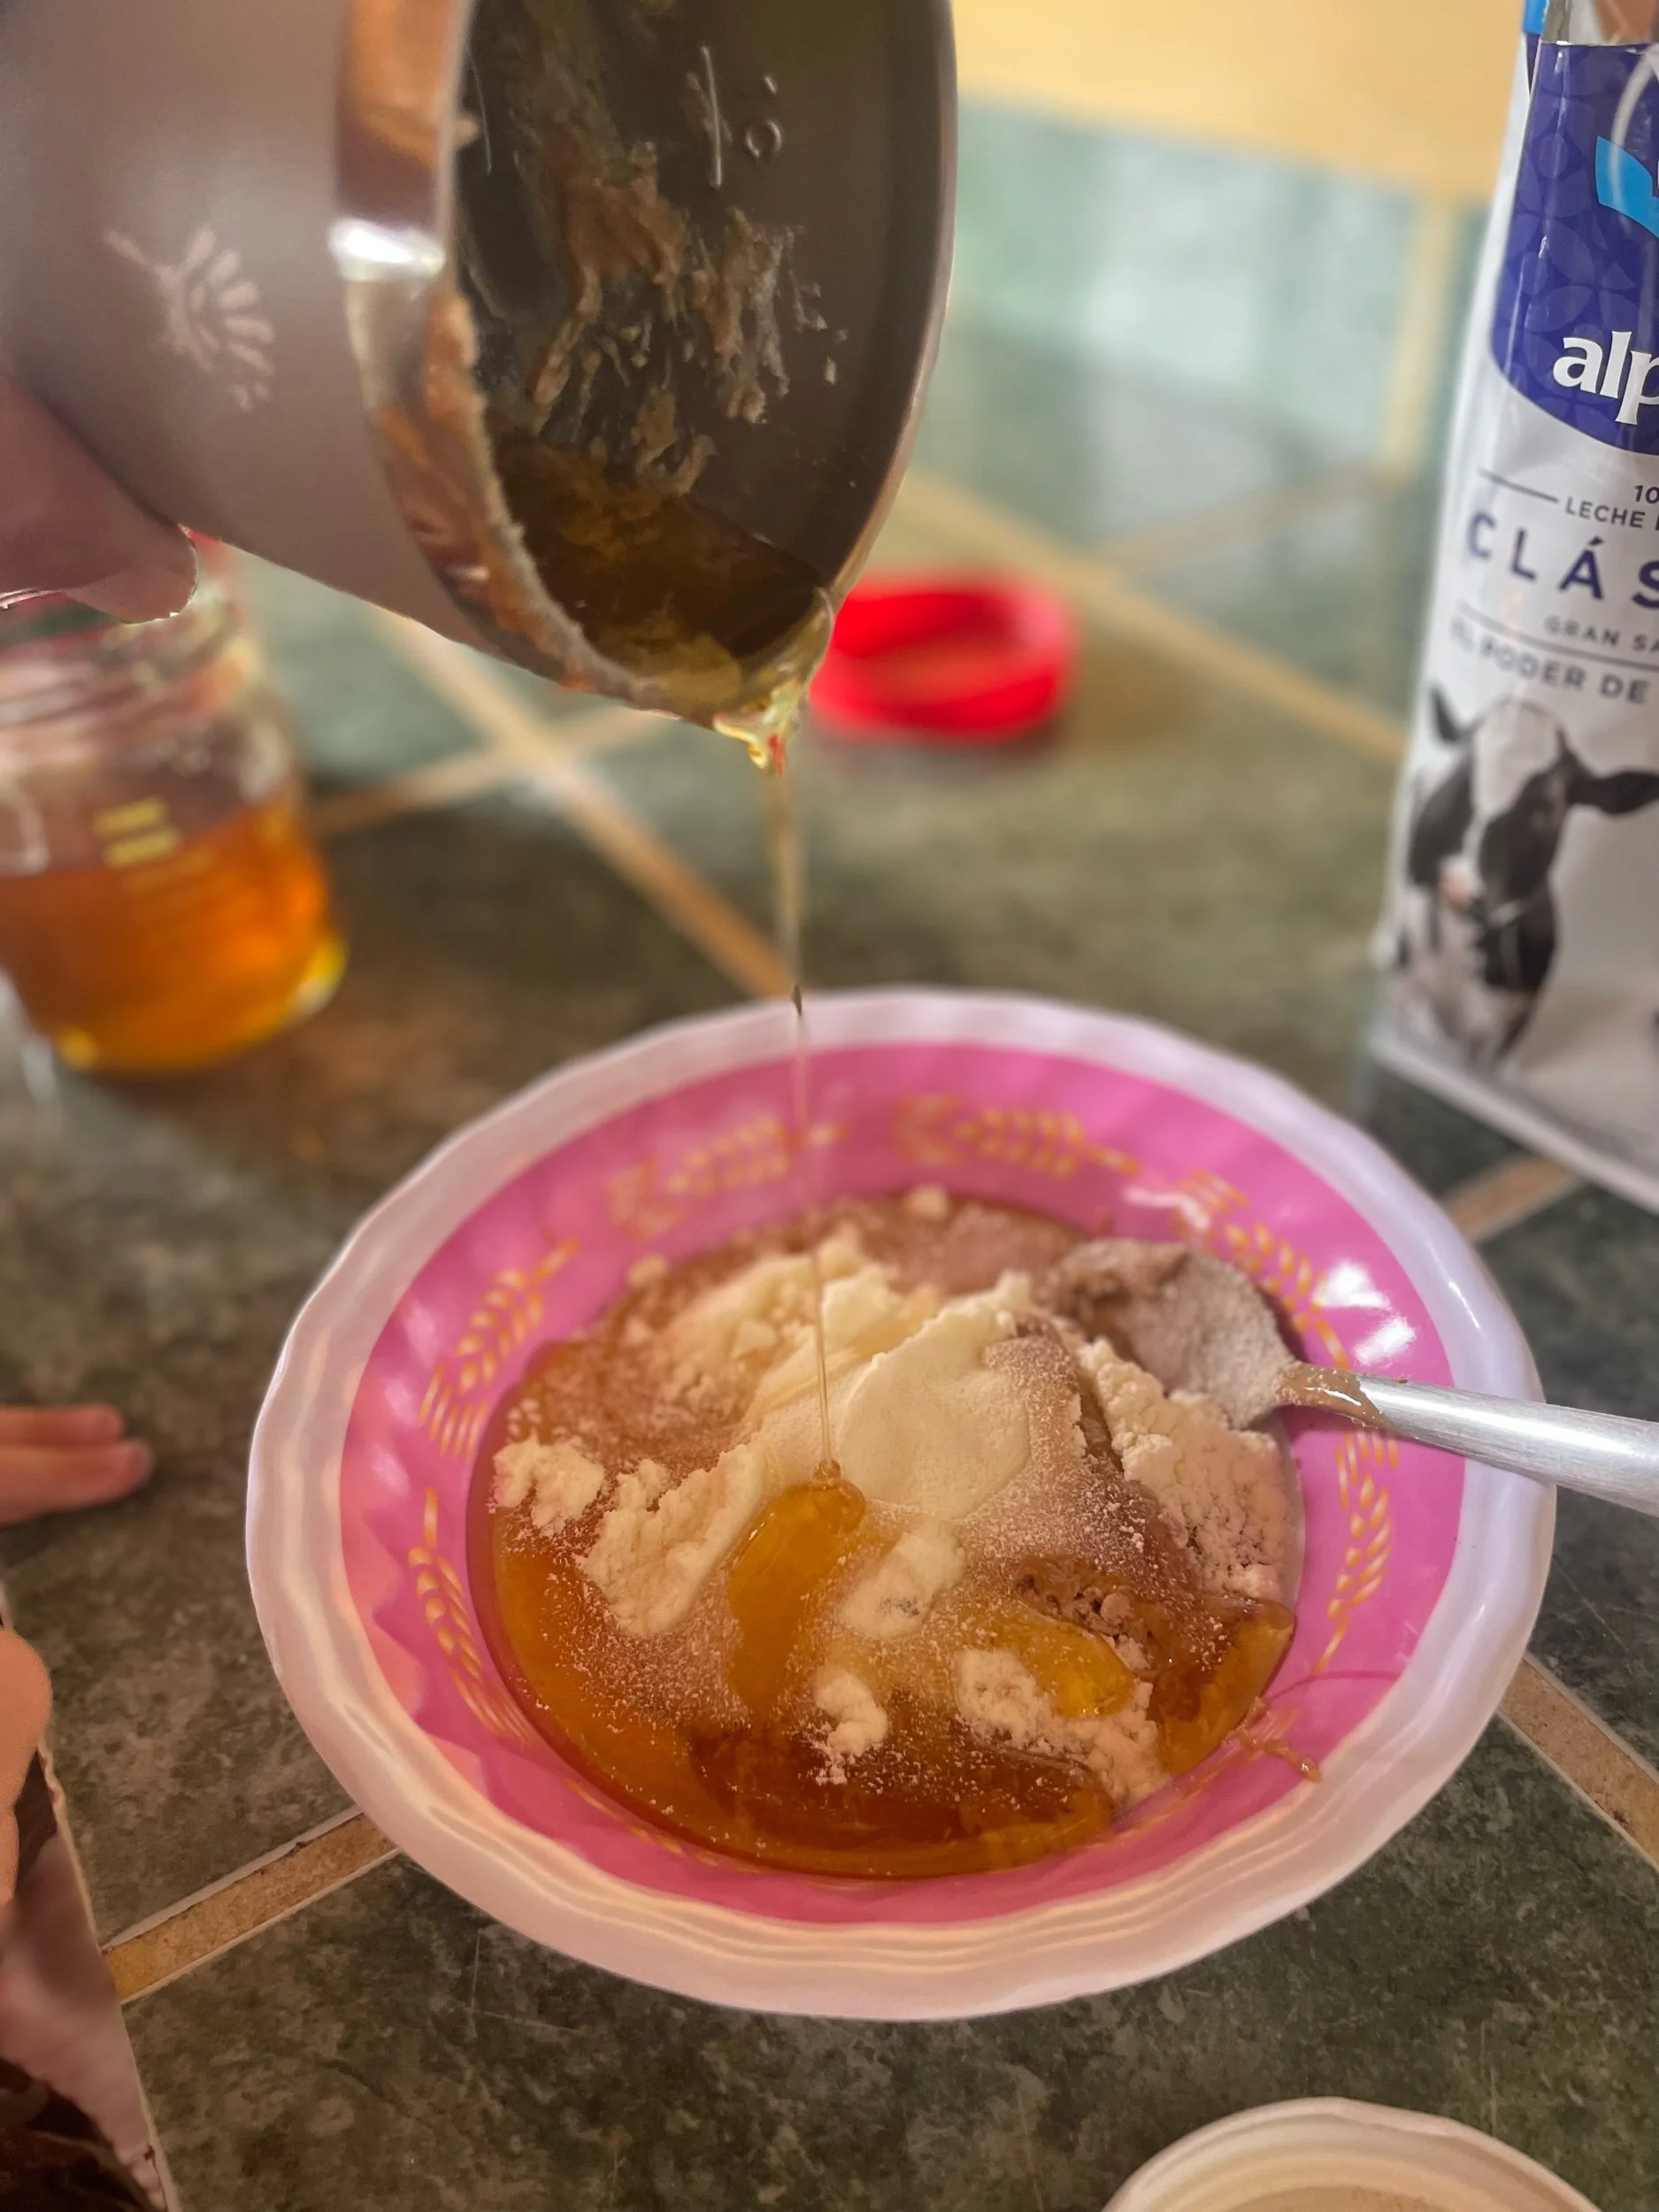
My mom used to make this for and with me when I was little, and even though it seems like a snack made for kids, this wondrous treat has kept me going through some of the toughest physical challenges of my life. When I was 19, studying abroad in New Zealand, my friend Jen and I did a 2 week backpacking trip. We ate this literally by the bucket, mixing it directly in massive peanut butter containers once we’d already inhaled/drank/slurped from spoons half of the peanut butter. In Pakistan, on a ski mountaineering expedition in 2008, we had a pre-trip planning mixup whereby we showed up without any of the on-mountain food we were meant to bring. The news sent me into a panic—I’m supposed to climb and ski this 8000m peak way out of my league and only eat POWDERED FOOD IN A BAG?!?? Luckily my snack-hoarding tendencies meant that I had just happened to bring two big jars of peanut butter, and a massive bag of powdered goats’ milk. (The milk was for coffee if there wasn’t any, and the peanut butter was my mental security blanket. If the shit hits the fan, I will be fine as long as I have some peanut butter.) I remembered this energy packed comfort food from my childhood, borrowed some honey from the camp cook and we made a bunch of these squishy little power balls. They powered us up to 24,500 fleet where we were stuck in a storm for three days but thankfully had energy to get down safely. I credit the edible playdough for our successful failed attempt. :)
At the moment, I’m on an adventure of another kind with my family. We saved up, rented our house out, and have taken an extended trip for the fall to absorb some culture, warm temperatures, Spanish language, and hopefully a wave or two if we can, in between working and schooling. With a minimal kitchen and lots of moving pieces, brainstorming easy and delicious snacks has been difficult until this old favorite jumped into my mind. There’s no cooking involved, it takes a minute to make, keeps fine for the day without refrigeration, and the ingredients are readily available. It’s infinitely adaptable: maple syrup, or other sweeteners, try almond butter, or different powdered milks, dip frozen balls in melted chocolate, mix in oats or chocolate chips or cinnamon or whatever else you fancy! You have full permission to play with your food.

PEANUT BUTTER PLAY DOUGH
Ingredients:
—3/4 c powdered milk (cow, goat, nut, coconut)
—3/4 cup natural peanut butter (preferably just peanuts and salt)
—1/4 honey
—optional mix-ins like chocolate chips, crushed freeze-dried strawberries or other fruit/vegetables, kale powder, collagen powder, nuts, dried fruit, or whatever you can dream up!
Mix the first three ingredients thoroughly and adjust for taste and consistency (more milk powder if it’s too runny, more honey for sweetness, etc.). Slowly add mix-ins (if using) a little at a time and then adjust for consistency and taste. Eat immediately! Unused portion can be stored, covered, in the fridge for up to one week, and these travel well for a few days without refrigeration, but I haven’t tested them much beyond that as they have always been eaten before that. (edit: If you want them to be more like a bar shape, you can use a rolling pin to roll them out and slice, then wrap in parchment for storage.)


Melonade (or, Watermelon Slushy, or What To Do With a Bad Melon , or How to Salvage an Overripe Melon)

When life gives you bad melons, make good melonade.
I used to brag about my abilities to choose fruit from the store. I thought I knew the trick for everything (thump the melon, sniff the pineapple, only pick avocados that have the stem still in the end, etc.). I was unstoppable. I brought home the perfectly ripe fruit every time, and it gave me a proud feeling that I was providing for my family like a real gatherer. Because, I have to be honest with myself, the real reason I love going grocery shopping is that it taps into my innate gathering nature. It’s exciting to see the possibilities and what I might bring home and make with it, even if it’s slightly easier than our ancestors had it when gathering from the land (despite the fact that our ancestors didn’t have the toy aisle, the candy aisle, and the popsicle section to contend with while bringing their small children along while gathering). My lizard brain can’t tell the difference between gathering from the land or from the store, it only knows when the pantry is stocked.

Oh the shame.
It turned out that I was just on a lucky melon streak, and as streaks always do, it ended last summer and I chose several bad melons in a row. I hate food waste to the same degree that I love grocery shopping (not the prices, but the having of the groceries part) and watermelon, so this was disappointing on many levels. Melon-choosing had become a source of anxiety rather than pride. My confidence was shot. I needed help.
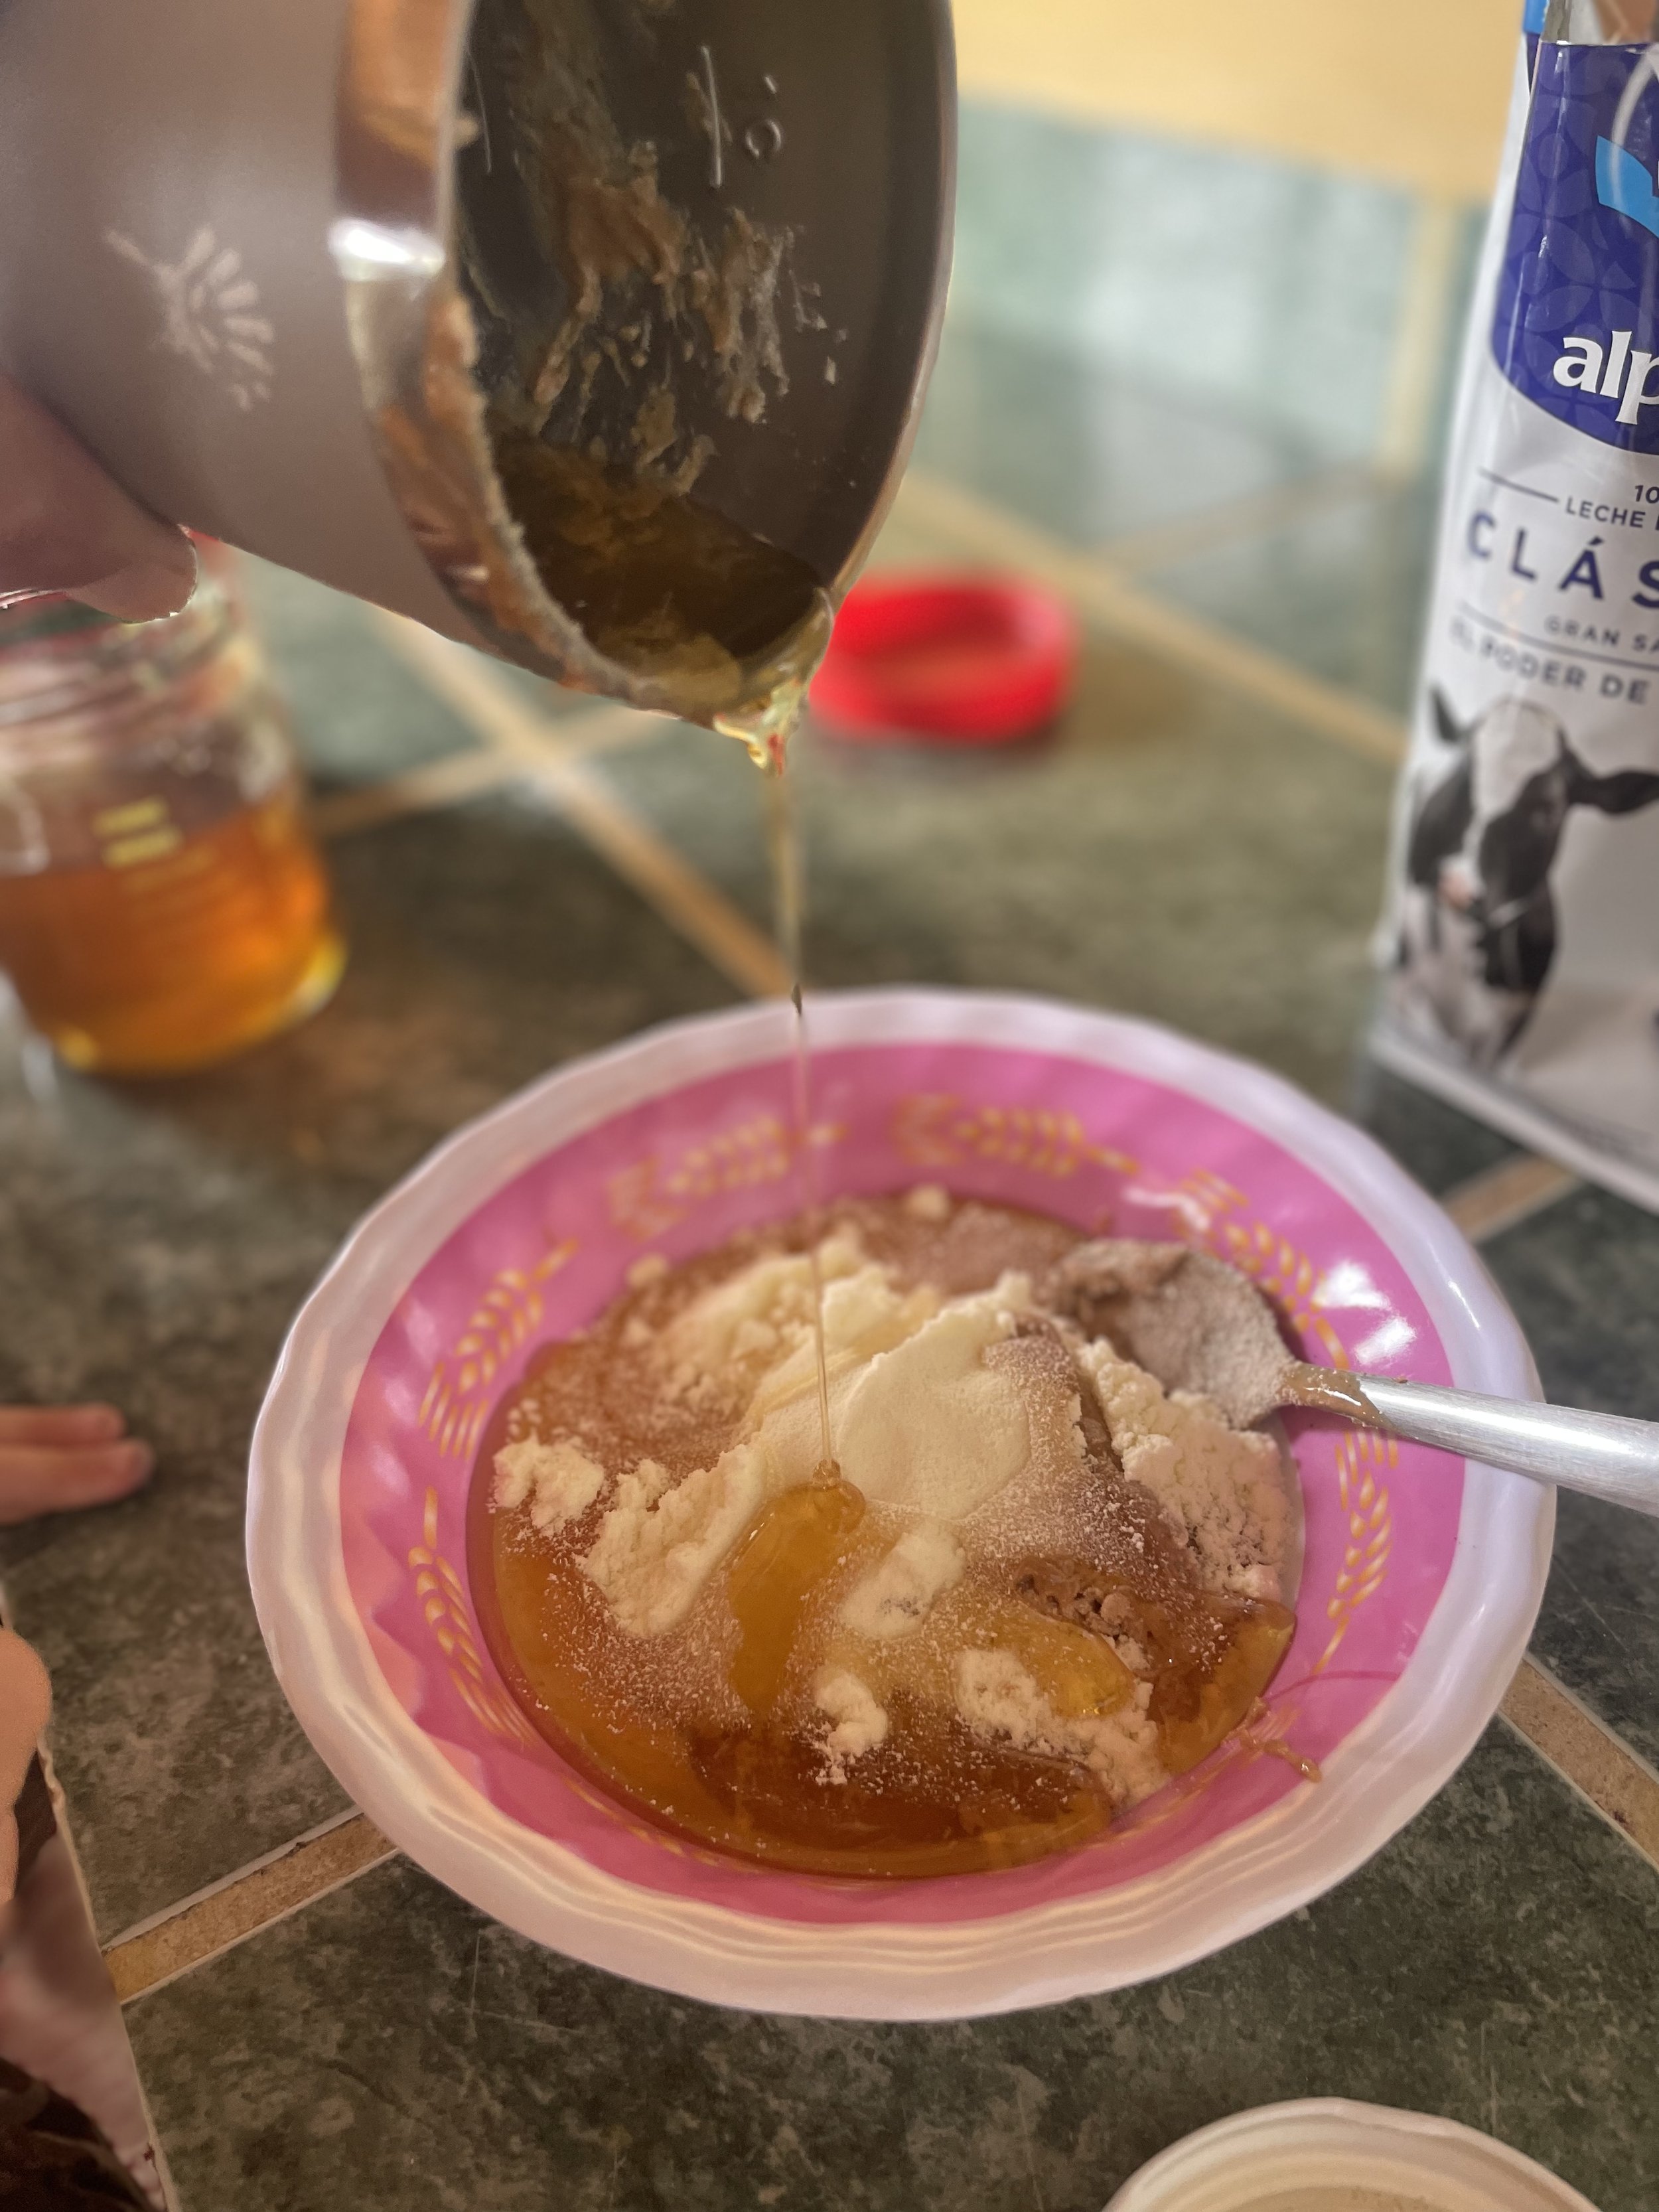
I confessed to the produce person about my bad melon streak, and he stepped right in, choosing me the perfect melon. I went back the following week and asked him again; another perfect melon. I watched him and listened to him explain how he did it, which gave me the false confidence to try to pick my own at a different market—it was organic and expensive but I felt confident I had a good one. I cut into it the next day only to discover mushy, mealy, overripe flesh. It wasn’t rotten yet, but it was close. I couldn’t bear to throw it all away, so I lopped it into chunks and froze it on a tray. Freezing is always my temporary solution to hold off eventual food waste. Surprise! It worked. Frozen, the texture no longer matters, and the extra sweetness of the overripe melon is a boon.
We blitzed it in the blender with lime Spindrift and a bit of maple syrup, but you could use really any liquid (lemonade would be nice), additional sweetener, and optional alcohol for a blended watermelon margarita. You can of course make it with a good melon. It’s great for when you have too much fruit or extra fruit salad and know you won’t be able to eat it all. (Remind me to tell you about when we cut and froze 20 watermelons to make watermelon margaritas for our wedding and then forgot to take the melon chunks out of the freezer until the last minute, leaving our poor bartenders—friends that we had hired—to deal with the ensuing chaos). This is not really a recipe, but more a way to avoid food waste and make something yummy out of something that otherwise would get chucked, so I hope you discover your own bliss. :). Not that you would ever pick a bad melon!!!!

When I can’t bear to throw it away, I freeze it. Then, occasionally a solution occurs.
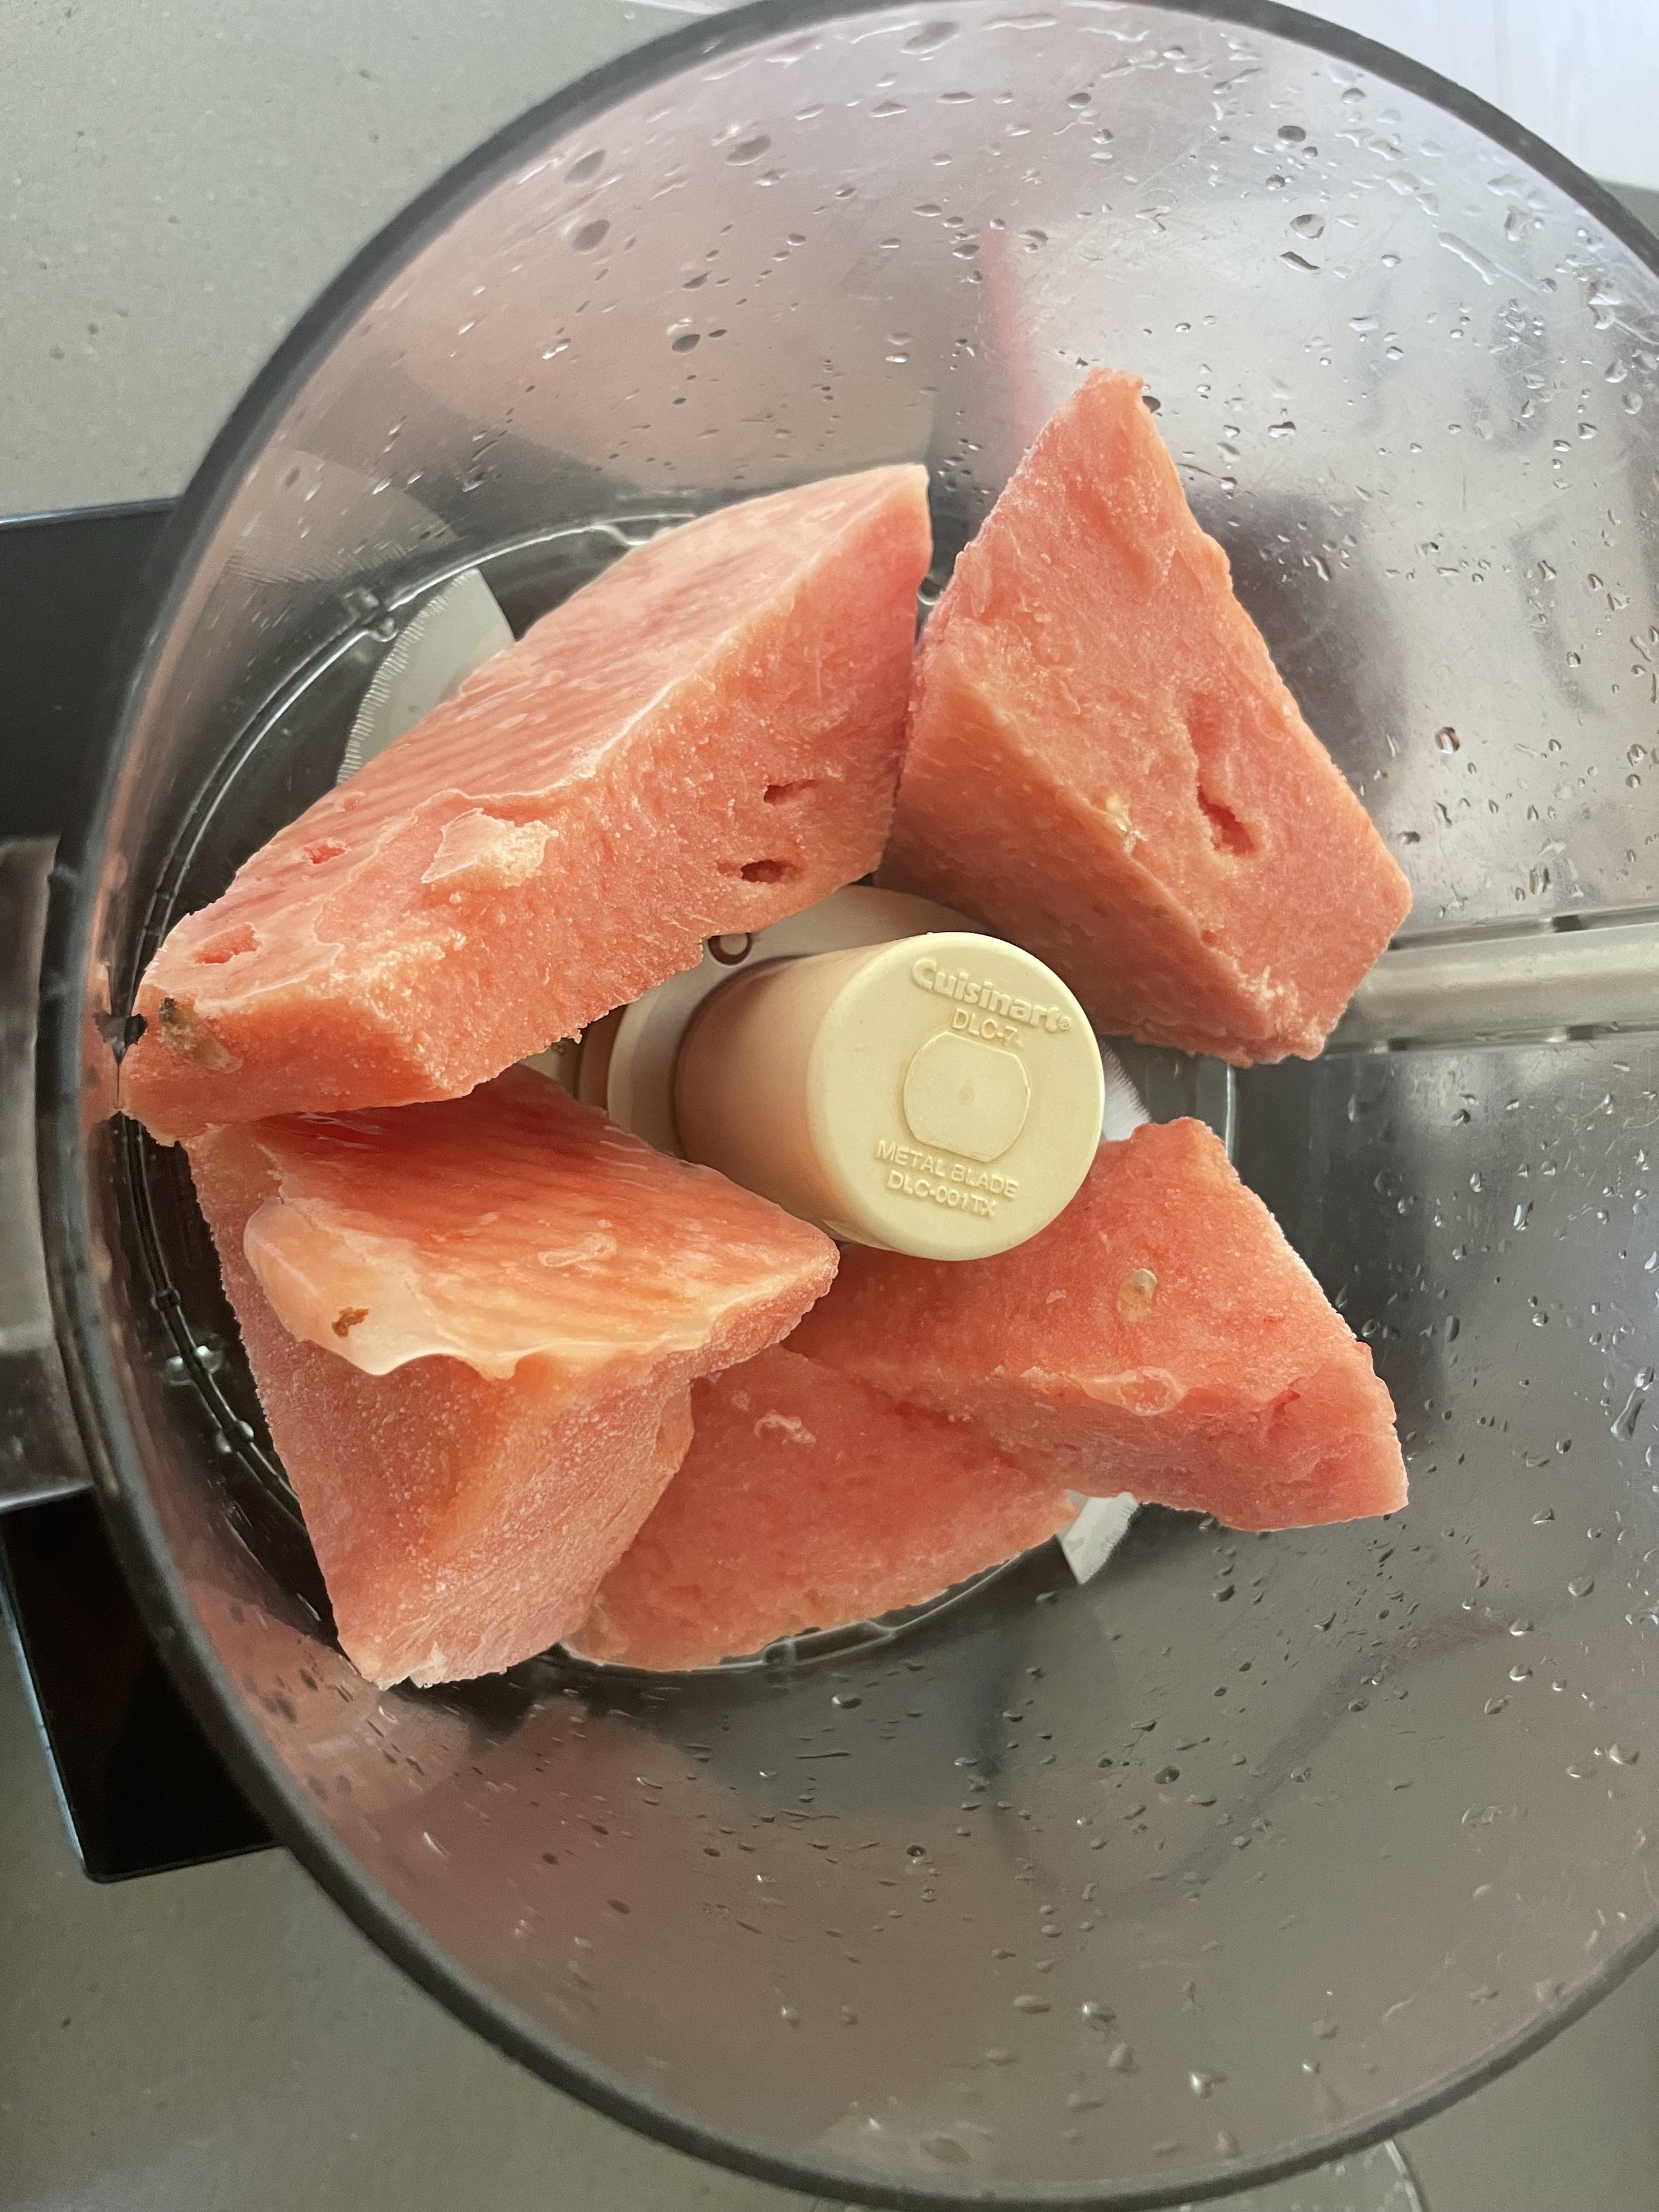
About to be something good…..

Not instant, but gratification nonetheless.
WATERMELON SLUSHY
Yield: 4 servings
INGREDIENTS:
—3-4 cups frozen melon chunks (from an overripe melon, or any frozen melon)
—8-12 oz citrus sparkling water (Spindrift is great here), lemonade, or water and a squeeze of lemon or lime
—1 T maple syrup or sugar, to taste
DIRECTIONS:
Blend in a blender, food processor, or with an immersion blender until thick and slushy, adding more liquid as necessary to achieve the right consistency. Taste and adjust seasonings (add more lemon or sugar as necessary), and serve immediately. Marshmallow garnishes are optional. :).
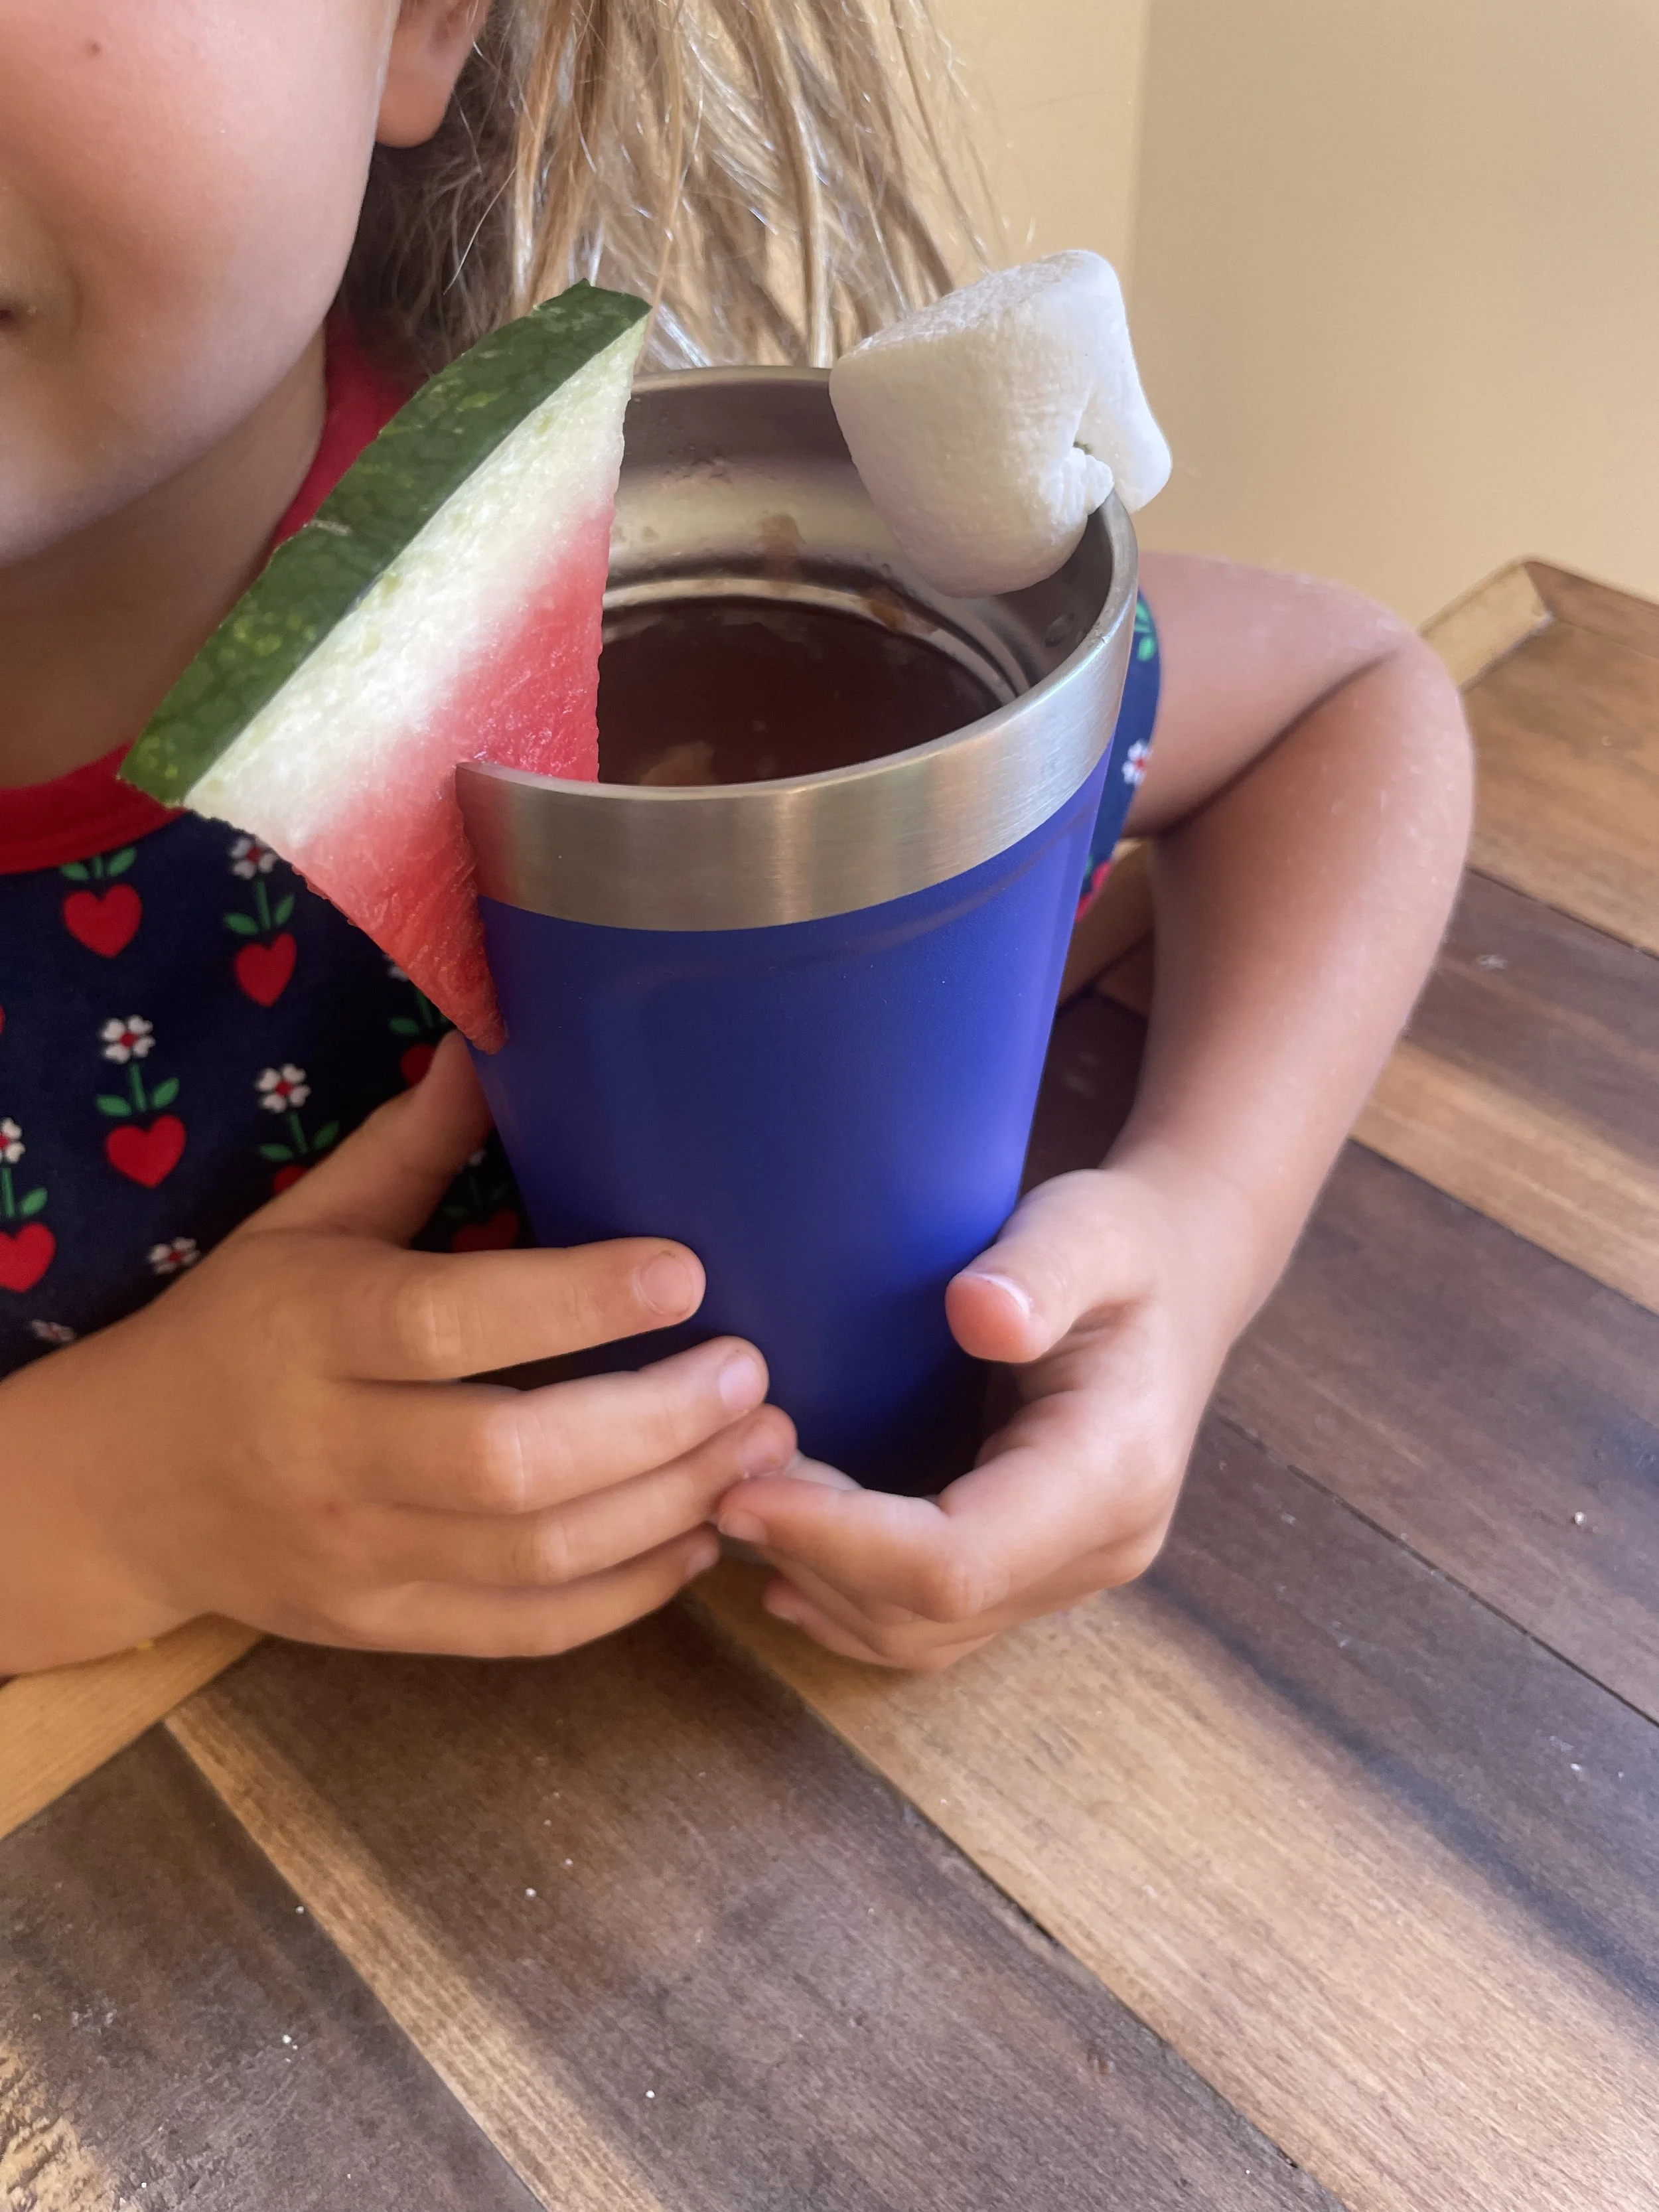
Marshmallows make everything better.

Miso Hummus

I have a soft spot for chunky guacamole, chunky peanut butter, chunky mashed potatoes, and small, chunky dogs. So it’s no surprise that I was never into smooth, storebought hummus until I had the miso hummus at Uncommon Kitchen, a small and fabulous takeout restaurant in Tahoe City, CA. It was so much more substantial and interesting; I loved the complex flavor and the thicker, almost chunky texture. It was not watered down, because there is no water in it unlike many hummus recipes, meaning you get all of the vegetal bean flavor and the funky sweetness from the miso.
At the time, back when I lived in Tahoe, a container of that hummus was my ski bum splurge, a treat that was luxurious but also made me feel great. And then as a very thoughtful gift, my friend Nikki bought me a cookbook from the Uncommon Kitchen—a small, self-laminated and bound senior project of a local (genius, obviously) high school student. I tried making the hummus recipe in it once, a long time ago, but as a former recipe improviser I didn’t follow the recipe well enough and was medium-impressed by the results. I continued to purchase the hummus from their store until I moved to Washington. The cookbook got stashed somewhere with a bunch of papers, and only last year during a recent move was it uncovered again. I dusted it off with interest, since like many people during the pandemic, I got a lot better at cooking dried beans, and discovered that garbanzo beans cooked from scratch are amazing. They do not require soaking, and they cook pretty quickly if you have a good bean source. (If you have old beans, they will almost never soften no matter how long you cook them, and you will understand where the phrase “tough beans” comes from). We started buying dried garbanzos from Palouse Brand during the pandemic and our falafel, hummus, and pasta e Fagioli game improved 100 percent or more, although any good chickpeas (even canned if you’re short on time) will be great in this recipe. And the best part is if you cook a big pot of dried garbanzo beans, you will have them for a whole week of recipes. Beans freeze well too! I’ve included the directions for making the beans from scratch as it’s my preferred method, but you can substitute canned beans if you’d like—it’s actually what the original recipe calls for. :)

MISO HUMMUS
YIELD: 16 oz (two cups) hummus
(recipe adapted from Eating Wisdom, a cookbook of recipes from the Uncommon Kitchen in Tahoe City, CA)
INGREDIENTS:
1 3/4 c cooked garbanzo beans (from scratch, see recipe below, or from one can, drained)
2 cloves garlic (simmered unpeeled with the garbanzo beans if cooked from scratch, raw if not), peeled
3/4 tsp kosher salt (Diamond Crystal)
3 T white miso
3 T tahini
pinch Piment D’Espilette, 1/4 tsp paprika, or a pinch of Aleppo pepper or chili flakes (optional but amazing)
2 T olive oil
1/4 c lemon juice (from one lemon, or from a quality jar of lemon juice with no preservatives, such as Santa Cruz Naturals)
INSTRUCTIONS:
Process beans in a food processor until they start to break down; add the rest of the ingredients and continue to process for another full minute or two, stopping the machine to scrape down the sides as necessary, until the hummus is a light, fluffy, creamy consistency and pale in color. Adjust seasonings (I usually bump up the salt and drizzle with a bit of olive oil and/or lemon) and serve. Keep refrigerated—unused hummus will stay good for a week or so in a jar in the fridge.
GARBANZO BEANS FROM SCRATCH
Place 1 to 1.5 cups dried beans in a large, ovenproof pot with a lid (such as a dutch oven), and then add 1 T salt and fill the pot with water to within two inches of the top. I like to add a few cloves of unpeeled garlic as well, to take out of their peels after cooking and add to the hummus for a more mellow garlic flavor (see above), but this is optional. For reference, 3/4 cup of dried beans cooks up to roughly 1 3/4 cup of beans, which is the amount in one can of beans. You want them covered with plenty of water so the water doesn’t all evaporate and the beans burn. If you want to cook more than about 1.5 cups of beans, you may need to watch them closer (regardless of which method you use) to make sure the water hasn’t cooked off, adding more water as necessary.
Stovetop method: This is a bit faster and good to use if you will be around for 1.5 to 2 hours and able to occasionally tend to the cooking. Bring uncovered pot of beans to a boil and reduce to a simmer. Stir occasionally and simmer, uncovered. Begin checking for doneness after about 1 hour of cooking—beans may take up to two hours but should be done in around one hour. Beans are done when they are still firm and retaining their shape (they may lose a few skins), but are creamy and tender to the bite.
Oven method: This is more of a set it and forget it method. Preheat the oven to 325 degrees. You can just stick the covered pot in the oven while it’s preheating and begin checking beans for doneness after 1.5 to 2 hours.

Leftover Oatmeal Blueberry Muffins (or Leftover Oatmeal Raisin Muffins)
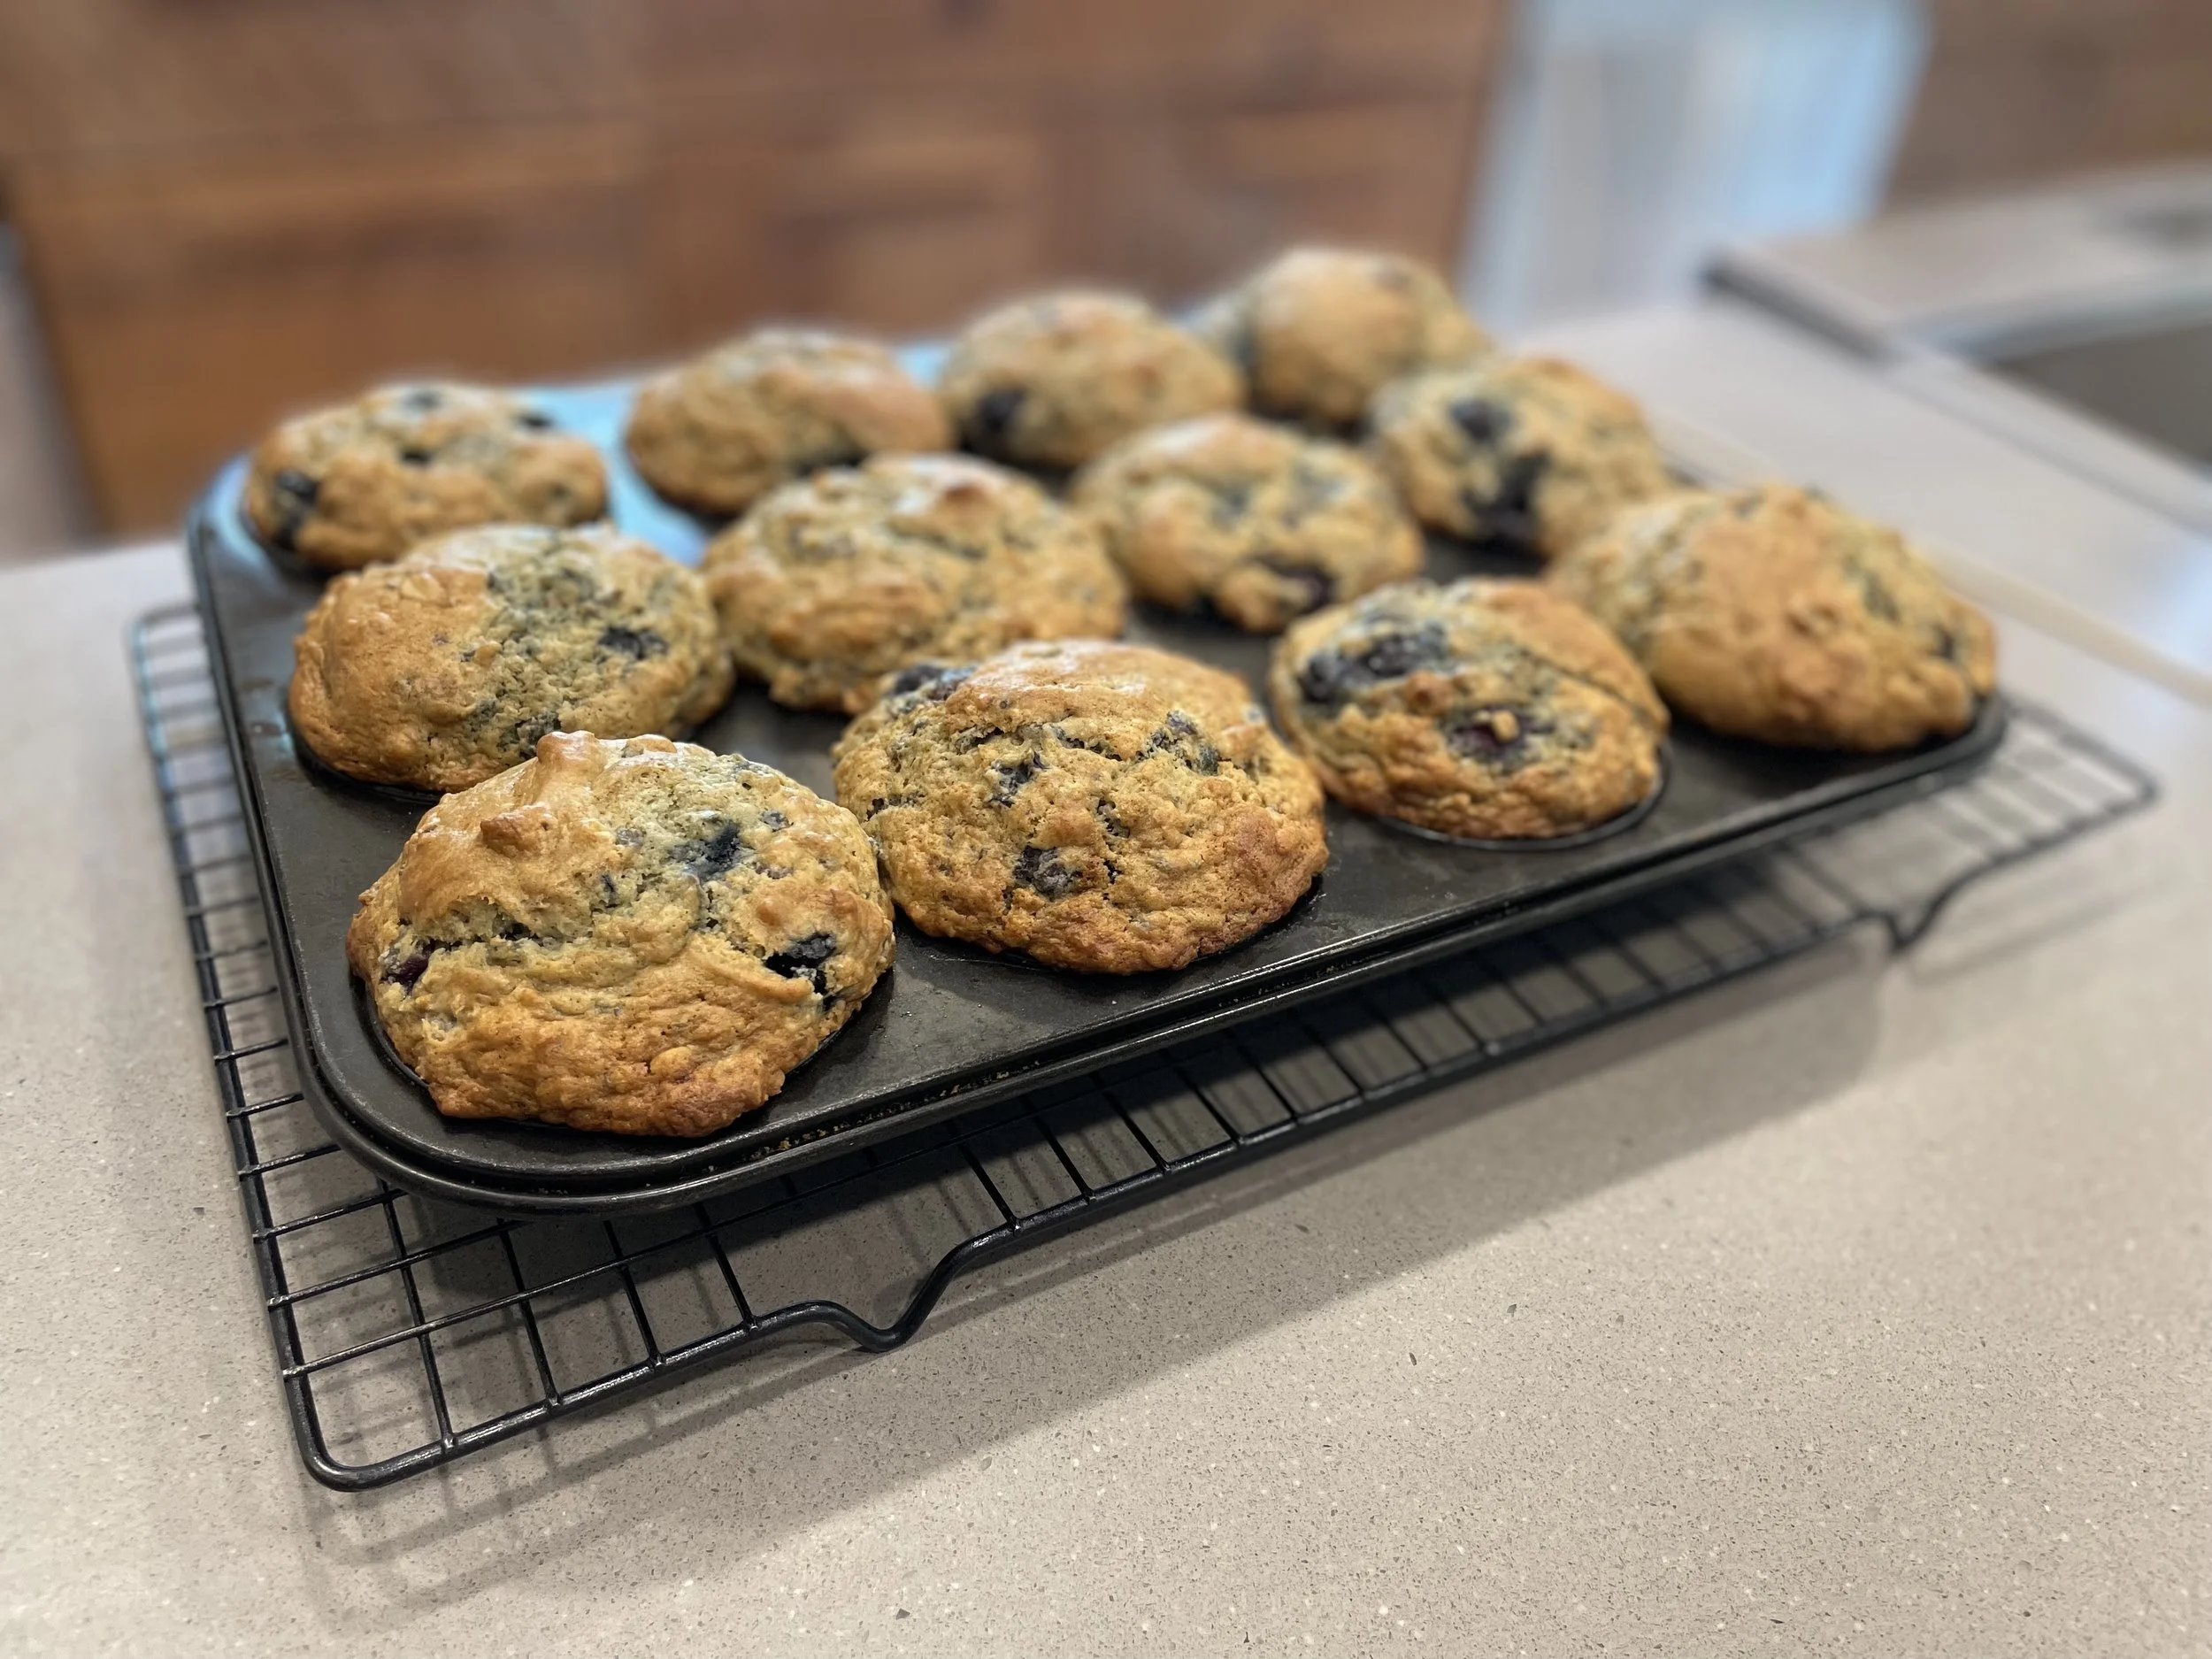
As much as food waste disappoints me, some things are just simply unappetizing in their leftover state. For example, one thing I find hard to swallow is leftover oatmeal. I make the same amount every time and sometimes we eat the whole thing and scrape the pan, and sometimes it seems like the oatmeal magically multiplied and no one was hungry. I would dutifully put the leftovers in a jar in the fridge, and then wait until a sufficient amount of time passed where I didn’t feel guilt about tossing it. The aha moment occurred when I was making one of my favorite oatmeal raisin muffin recipe. I opened the fridge to grab eggs and saw the cold oatmeal jar of shame sitting front and center and immediately did some research. I’m not the first person to put up a recipe, naturally, but I’ve since experimented with several recipes, some gloopy and chewy, and some delicious, and settled on this version as my go-to. If you like a cakey, sugary, tight-crumbed muffin, this is not your muffin. These are moist, craggy treats, not too sweet, with a loose, open structure. The slight bitter note of the olive oil keeps the sweetness in check, and keeps the muffs light and tender. In other words, muffin perfection. Love muffins? Hate wasting leftover oatmeal? Your delicious solution awaits.
————————————————————————————————————————————————————-
LEFTOVER OATMEAL BLUEBERRY MUFFINS
Recipe Notes: The secret with all muffins is to mix JUST UNTIL the last speck of dry ingredients has been folded into the wet ingredients and not one mix more. I find that if I mix the dry ingredients into the wet partially, then add the mix-ins (blueberries, raisins, etc) for the final mixing, I generally can avoid tough, dense over-mixed muffins.
*”Soured” milk is just milk with lemon juice or vinegar added. It acts like buttermilk in a recipe; if you have a source of good quality buttermilk you can use that instead. But if you have regular grocery store buttermilk it usually contains additives, so I prefer to clabber milk—it’s easy, cheap, and works great. Just use approximately 1 tablespoon vinegar or lemon juice (bottled or fresh) per 3/4 c to 1 c of milk. For this recipe I measure almost to 3/4 c milk then add lemon juice to get to 3/4 cup total liquid. I let it set for two minutes until it thickens, then proceed with the recipe as normal. (Please don’t use milk that has gone bad on its own!)
**I’ve used week-old leftover oatmeal in this recipe and it turned out great. Maybe I shouldn’t admit that.
***We usually cook our oatmeal with raisins and/or apples or blueberries, and I just leave these in and don’t worry about it for the recipe. We also cook our oatmeal in half milk and water but any unsweetened, cooked rolled oats will do. I haven’t tried the recipe with quick oats but I imagine it would work.
****If you don’t quite have enough cooked leftover oats, up to about a half cup shy, you can make up the difference with uncooked oats plus a little moisture (2T extra yogurt or milk for a half cup dry oats)
INGREDIENTS:
—1 1/2 cups leftover cooked rolled oats, any temperature
—2 eggs
—2/3 c olive oil or vegetable oil, or 11 T melted butter (cooled somewhat)
—3/4 c “soured” milk*, buttermilk, or plain whole milk yogurt
—2/3 c brown sugar, packed
—2 1/4 c all-purpose flour
—1 T baking powder
—1/2 tsp baking soda
—1/2 tsp kosher salt (1/4 tsp table salt)
—3/4 tsp cinnamon (optional)
—1 1/4 c frozen or fresh blueberries OR 3/4 cup raisins, or 1 c chopped apples (I leave the peels on!)
INSTRUCTIONS:
Preheat oven to 375 and butter, grease, or line a standard 12-muffin pan.
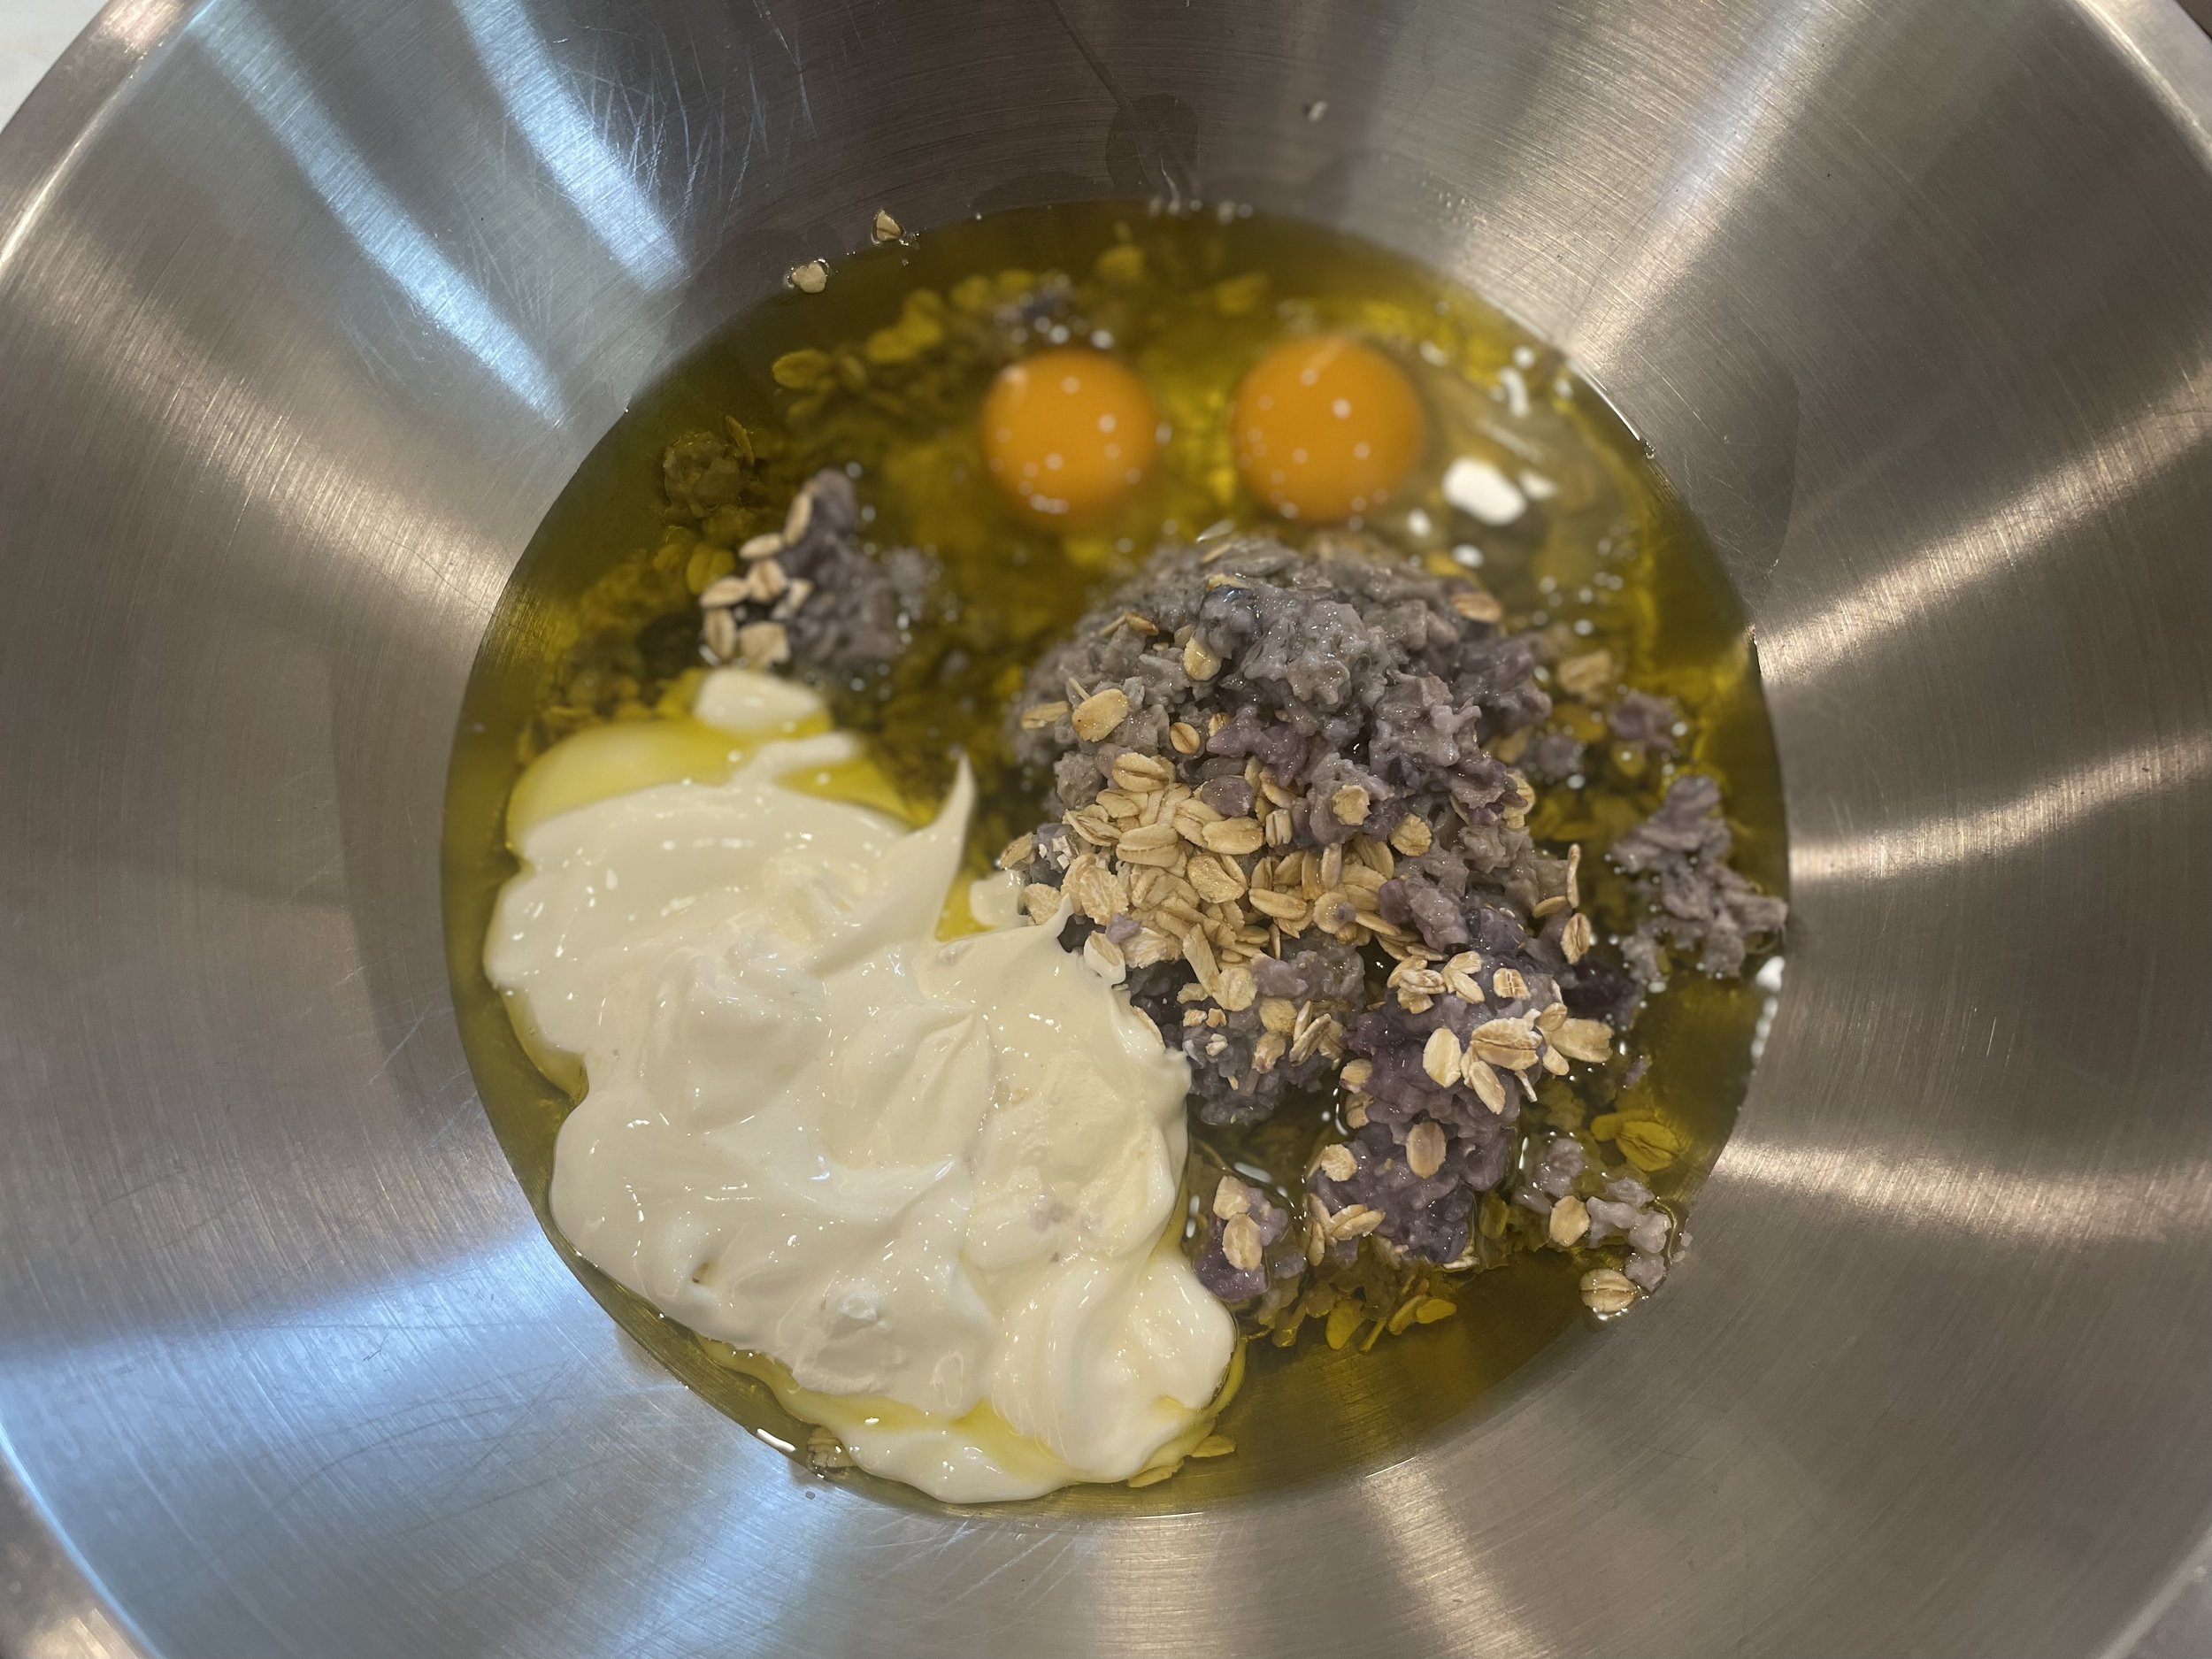
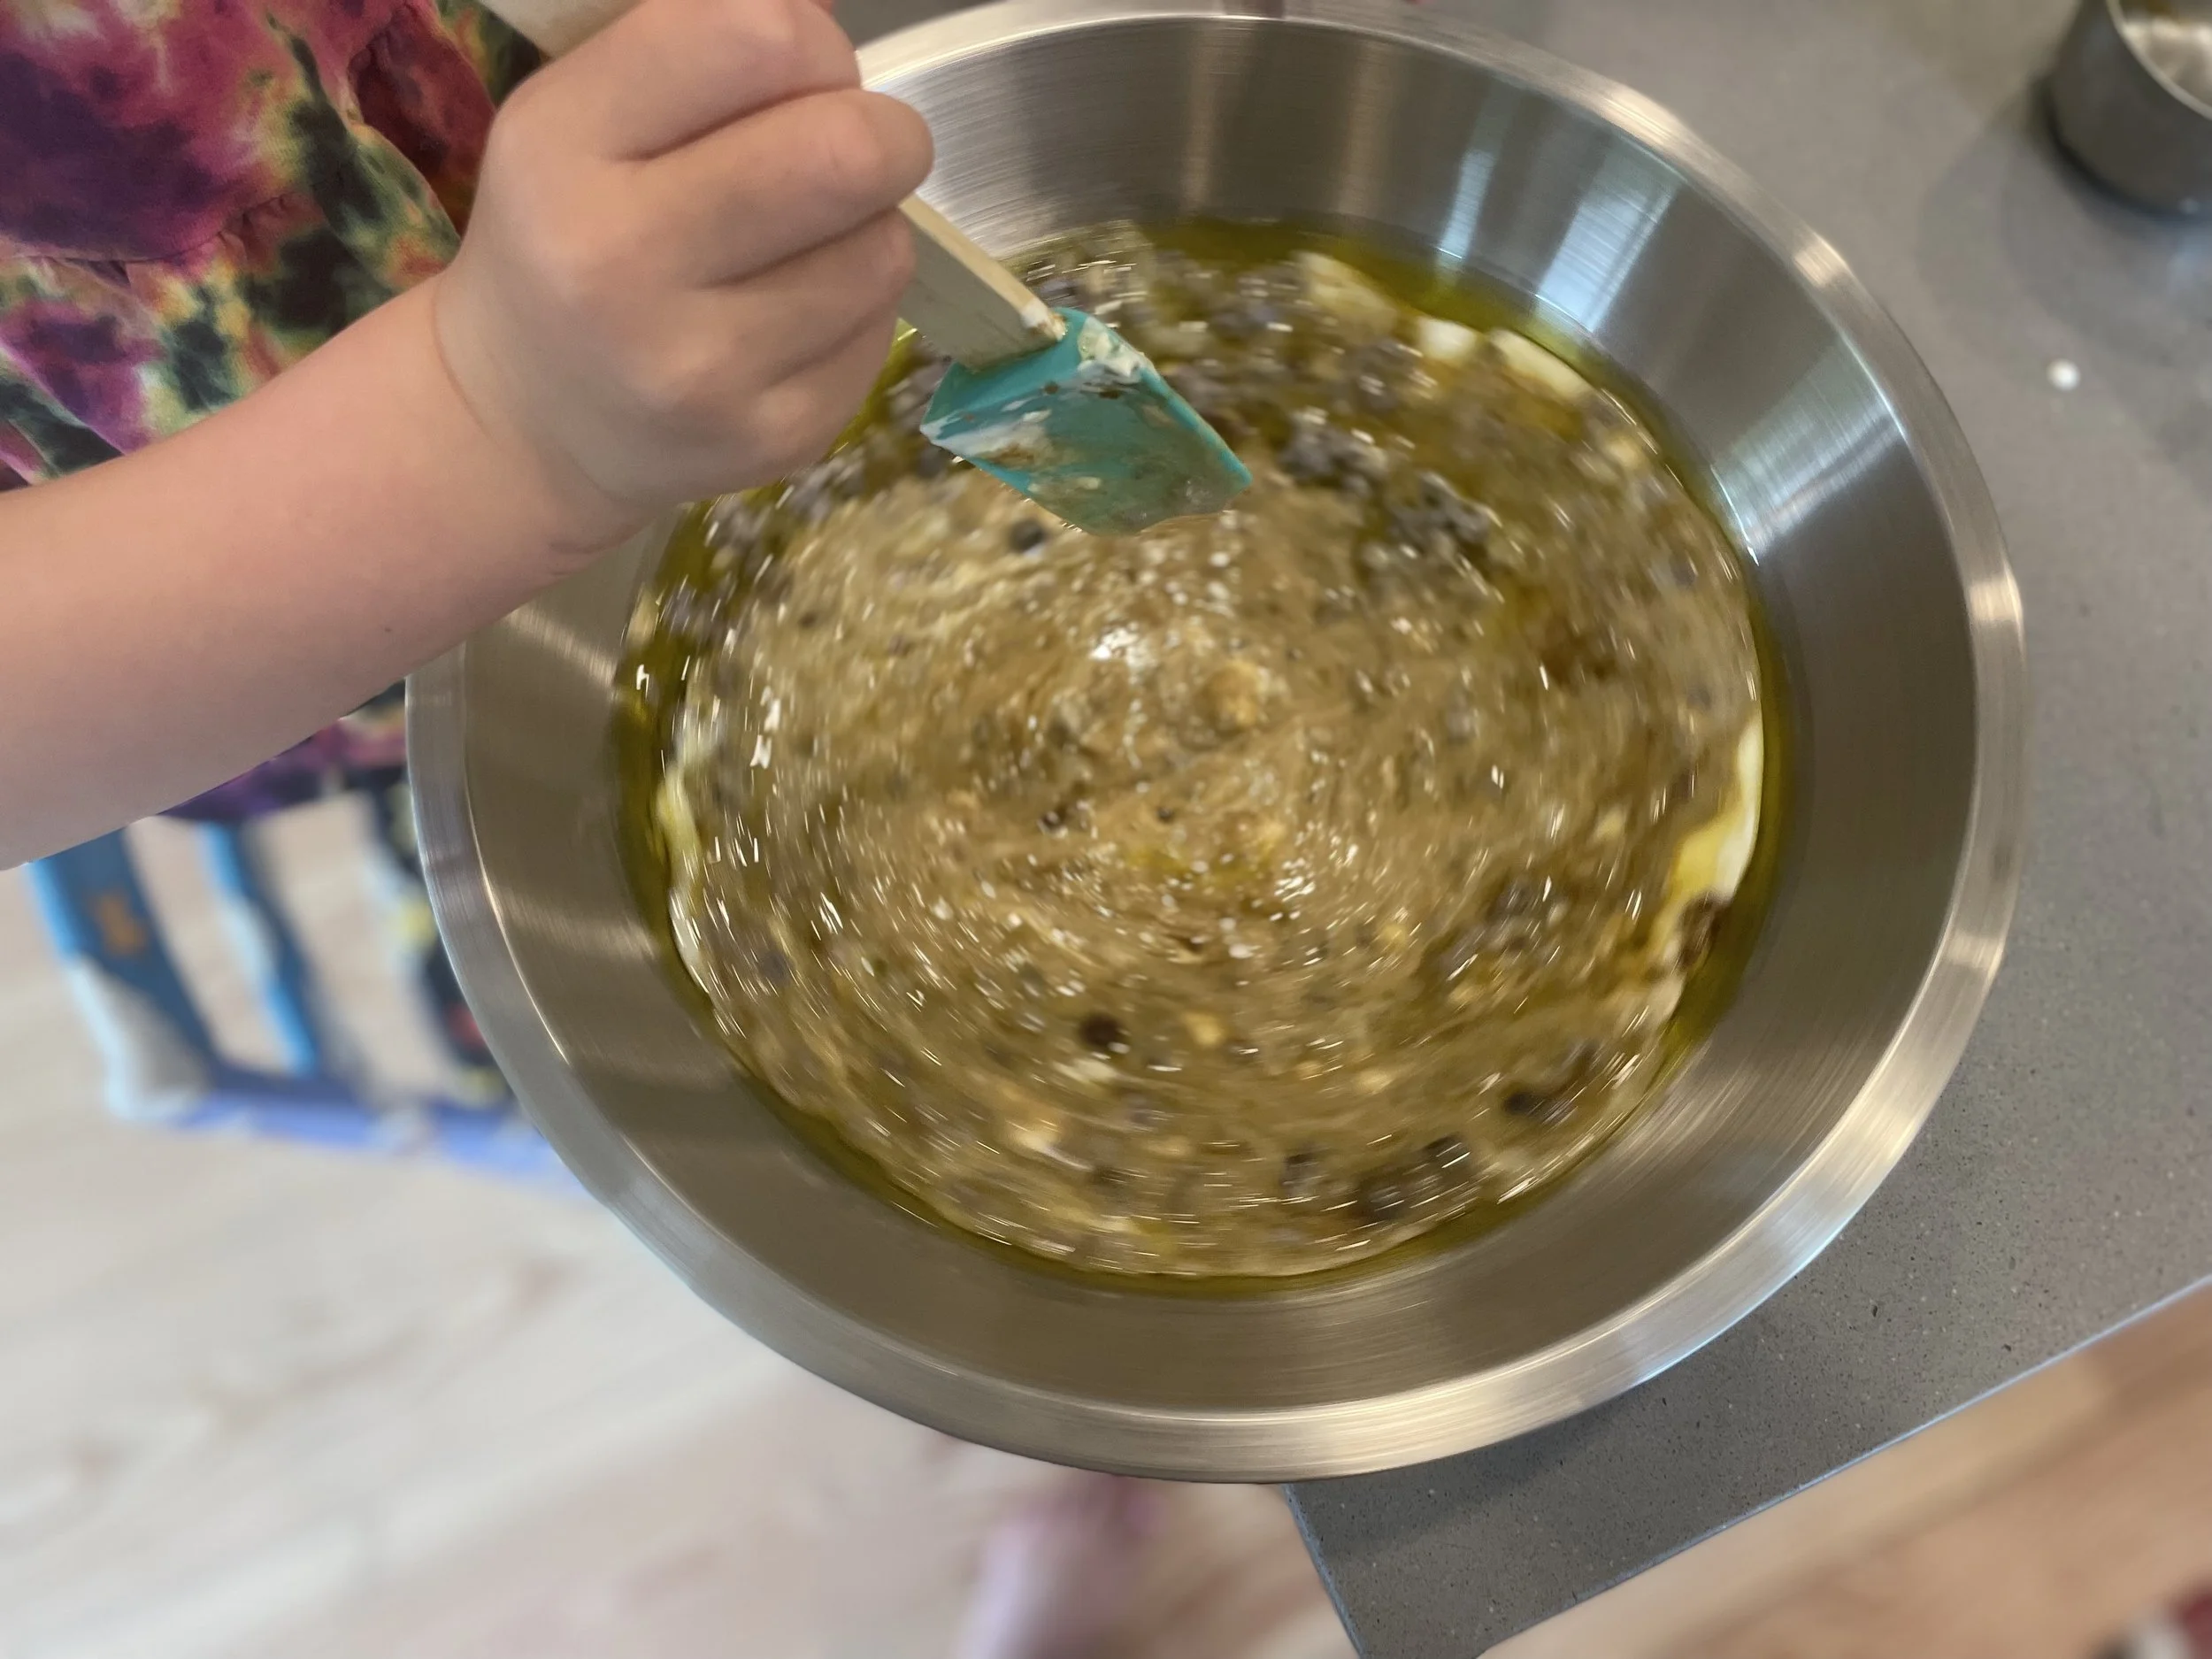
In a large bowl, mix leftover oatmeal, eggs, oil, yogurt, and brown sugar until well blended. Sprinkle flour over the surface of the wet ingredients, and sprinkle baking powder, soda, salt, and cinnamon (if using) on top of flour. Using a flexible spatula, fold the dry ingredients into the wet about halfway, then add blueberries or raisins and continue mixing and folding until just barely mixed and no pockets of dry ingredients remain.
Drop batter using a rounded half cup measure (or large spoon) into prepared muffin tin. The mixture should rise above each cup slightly but not tower above it; I get 12 large muffins. If you have a lot of extra batter, or want smaller muffins, use the cups you need of a second tin, making sure to fill any unused cups about 1/3 full with water.
Bake muffins for 22-30 minutes or until a wooden skewer stuck in the middle of the fattest muffin comes out just clean.
Let cool in pan for five minutes before gently releasing (using a butter knife) onto a cooling rack.
Enjoy!
Leftover muffins, fully cooled, can be stored at room temperature in an airtight container for 2 days.



5-ingredient “Orange Julius” Creamsicle Smoothie

I prefer my smoothies to match the wildflowers if possible.

Plan ahead—freeze the fruit! Bonus points for old used washed out plastic bags.
I haven’t been to a mall in a very long time so I’m not sure if Orange Julius even still exists, but if you’ve never had or been to an Orange Julius, it was a sort of a very early ancestor to the modern chain smoothie place. The signature drink was a very sweet, icy, orangy, creamy, frothy cup of heaven to teenaged me, hanging out in Southcenter mall, getting falsely accused of shoplifting at the hallmark store.
But, like so many childhood treats that I get nostalgic cravings for (twizzlers, anyone?), I feel like having one of those drinks today would be an oversweet disappointment to my adult taste buds. I wanted the idea of an Orange Julius, but made even more delicious using regular ingredients that I would normally eat.
So I worked on whipping up a quick and easy Orange Julius smoothie (the toddler loves it when things Have A Name) (Mom, what’s this smoothie called?” “It’s Julius, sweetie.”) with just a few normal ingredients, and my first try was fine but didn’t quite hit the mark, so I tried again, this time with a little prior thought.
The secret is freezing the peeled oranges. I found several Orange Julius copycat recipes and they taste great, I’m sure, but they called for sugar and frozen OJ concentrate. I usually don’t have that on hand, and I was hoping to not add any sugar or sweetener to our version, so I popped a few peeled oranges in the freezer overnight with a peeled banana and the combo gave it the creamy, orangey, icy taste that was even better than I remembered. From the eight glorious minutes of silence that happened while everyone ate theirs this morning, I’d say that Julius was a big hit. Guess I won’t be going to the mall anytime soon! :)

Better than being a teenager at the mall!
5-Ingredient “Orange Julius” Creamsicle Smoothie
yield: 2.5 servings (2 adult and 1.5 kid servings)
***PLAN AHEAD: put oranges and banana in freezer overnight or a few hours ahead!!
ingredients:
—2 medium oranges, peeled and frozen
—one medium ripe banana, peeled and frozen
—1-2 c plain whole milk yogurt
—1/4 c- 1 c milk, half and half, cream, coconut milk or cream, or your favorite nut milk or creamer
—splash of vanilla extract
—spinach or greens (optionl 6th ingredient) for a Green Julius
Instructions:
Blend all ingredients on high until creamy and fully blended, pushing down to make sure all of the frozen orange pieces get mixed. Add more liquid if you like a more drinkable smoothie and less for a very thick spoonable treat. You can add maple syrup, honey or sugar if you like it a bit more sweet. Enjoy!

Cabbage Salsa

Leavenworth—Bavarian village, mountain biking & skiing mecca, cabbage salsa hotspot
It's a Central Washington phenomenon. At least I've never seen or heard of it anywhere else until I moved here and went to Los Camperos, a homestyle family Mexican restaurant in Leavenworth. Jim took me here on a date on one of my first visits, when I was still living in California, and as I first sat down, I thought the people seemed extra friendly but otherwise it seemed like any other family Mexican restaurant (in a small Bavarian Washington town). But then they brought out the free chips, a dish of salsa, and an oval dish with a huge pile of confetti-flecked cabbage, and I immediately understood. The cabbage was crunchy, slightly sweet, salty, spicy, heavily limed, and totally addictive. The enchiladas were great, too, but the cabbage (salad? salsa?) haunted my dreams. I’ve since had other versions from different Mexican restaurants nearby—the central Washington thing—and they’ve been delicious. But there's something about the Los Camperos version, how it's simultaneously wilted but crunchy, with just a little kick, that keeps us coming back, and has inspired my own personal, years’-long quest to replicate it in a way that would work for regular home consumption by the bucketful. This is my most current version. Like all good recipes, it withstands tweaks and substitutions. It can be made ahead of time or last-minute, but it just needs to be made.
Update: Of course as soon as I posted this, I went to a party a few days later and my friend had made cabbage salsa that blew my version out of the water. Her secret is to make the pico a day early (tomatoes, jalapeño, onion, cilantro) and let it sit, then mix it with the cabbage the following day. Another (also cabbage-obsessed) friend told me about the El Salvadoran version of this salsa, called curtido, which is fermented cabbage, and it looks insanely good. The cabbage at Los Camperos is definitely made some time ahead, also. So, it appears that time would be an excellent addition to this recipe! I am generally not much of a plan-ahead cook and I still think this tastes great made last minute, but this recipe can definitely be made up to a day ahead and allowed to rest in the fridge. My Leavenworth friend’s version also benefited from lots of black pepper and some garlic, so I’ve noted those below. I also reduced the salt amount because I realize that this might be way salty for normal people as written.
SECOND UPDATE (4/21/22): I recently stumbled upon a breakthrough method for this salad, based upon my favorite, best-ever guacamole method which is a riff on one by Roberto Santibañez in the Genius Recipes cookbook. Since I’ve posted this recipe I’ve simplified my usual cabbage salsa recipe quite a bit and this makes it even easier/tastier. I’ve made a note below!

Cabbage Salsa
yield: 6-8 servings
ingredients:
—half a green cabbage, sliced in quarters lengthwise and then shredded crosswise as thin as possible
—1/2 tsp kosher salt (I use Diamond), plus more to taste
—1-2 T fresh lime juice, lemon juice, or rice vinegar
—1/4 c cilantro leaves and stems, loosely chopped (fine-ish chop)
—1/8 large red onion, sliced into small, thin slices
—1/2 tsp lime zest (optional)
—1 Roma tomato (or 6-8 cherry tomatoes) (optional)
—1-2 jalapeños (fresh or pickled), depending on your heat preferences, minced, plus a splash of the jalapeño pickling liquid if you use pickled (optional on the jalapeño but highly recommended!)
—freshly ground black pepper, to taste
—1-2 cloves garlic, minced or pressed (optional)
directions:
Mix all ingredients vigorously in a large bowl with two forks or salad tongs. Add more salt to taste, it can handle more than you might think. Serve immediately, or let rest for up to one hour at room temperature or several hours to overnight in the fridge. Just before serving, mix again, adjust seasonings, and serve with chips, tacos, burritos, or straight up and call it salad.
UPDATED METHOD: Dice or mince onions into small pieces. Place onions, cilantro, salt, and optional jalapeños and garlic in a mortar and pestle or in the bottom of your salad/salsa bowl. Mash them all together into a paste with the pestle or with the back of a spoon, and then toss the shredded cabbage in the bowl (or scrape the paste into your serving bowl with the cabbage). Using your fingers, mix and squeeze the cabbage to distribute the herbs and salt evenly throughout the cabbage (please use gloves if you are using hot chiles!). Add lime juice, pepper, optional zest and tomatoes, toss a few more times, taste and add additional salt or lime/vinegar if needed, and serve.
Notes: in a pinch, the tomatoes, lime juice and zest can be left out and you will still have excellent cabbage. If you use unseasoned rice vinegar you may want to add a tiny pinch of sugar to taste, but I often use unseasoned rice vinegar and never add any sugar and I never miss it. Also: the finer you shred it, the easier it is to scoop onto chips!

Easy No-Stir Olive Oil Maple Nut Spice Granola with Chia Seeds
Granola has been getting a bad rap lately in the press, which seems kind of unfair. On the one hand, it's great that people are aware of how much sugar can be in packaged granolas or even some recipes. But on the other hand, just because there are granolas out there pretending to be something they're not, hiding under the "healthy"-sounding name, doesn't mean all granolas are automatically wolves in sheep's clothing. Granola at its best combines all sorts of delicious, wholesome, real ingredients into a crunchy, storable, packable, anytime treat.

1950s stove not required to make this recipe.
I started wanting to eat oats a lot last year while pregnant, and then this past spring, with a newborn around, cooking a bowl of oatmeal seemed like an epic task most days. Foods that were appealing plus super quick and easy to eat became ABSOLUTELY NECESSARY. If they were homemade and had oats and nuts in them, well that was a total bonus. Enter my granola obsession.
I always liked the stuff, but didn't want to buy it because of the cost and the added sweeteners. I never got around to making it myself because every recipe I came across required stirring several times in the oven, which seemed like a pain. I like baking of the "set it and forget it" variety, as in, put the stuff in the oven, set the timer, and go do some other stuff in the meantime. So when I found a no-stir recipe from America's Test Kitchen, I knew I was in business. Mixing up the whole batch takes less time than cooking a pot of oatmeal, and then it bakes while I go do other things, and all I have to do is set the baby down for a second while I take it out of the oven and hopefully remember to turn the oven off.

Autumn in a bowl.
Over the past year or so, I've tweaked the recipe to meet my current needs in a granola, but the beauty of granola is that once you get your favorite version dialed, you can basically customize it however you'd like.
Add other seeds, nuts, flaked coconut, dried fruit, other spices if you want. Use different oils or sweeteners. The original recipe calls for brown sugar in addition to the maple syrup, to help form nice clusters, but I've discovered that I can substitute honey as long as I melt it down first. I've also cut back the total amount of sweetener in the recipe by A LOT (the version below basically works out to 4g of sweetener or so per heaping 1/2 cup of granola), so if you like your granola sweeter, you can add more. It will still be a far cry from dessert-level, but it is enough reminiscent of an oatmeal cookie that you might just want it for dessert anyhow.
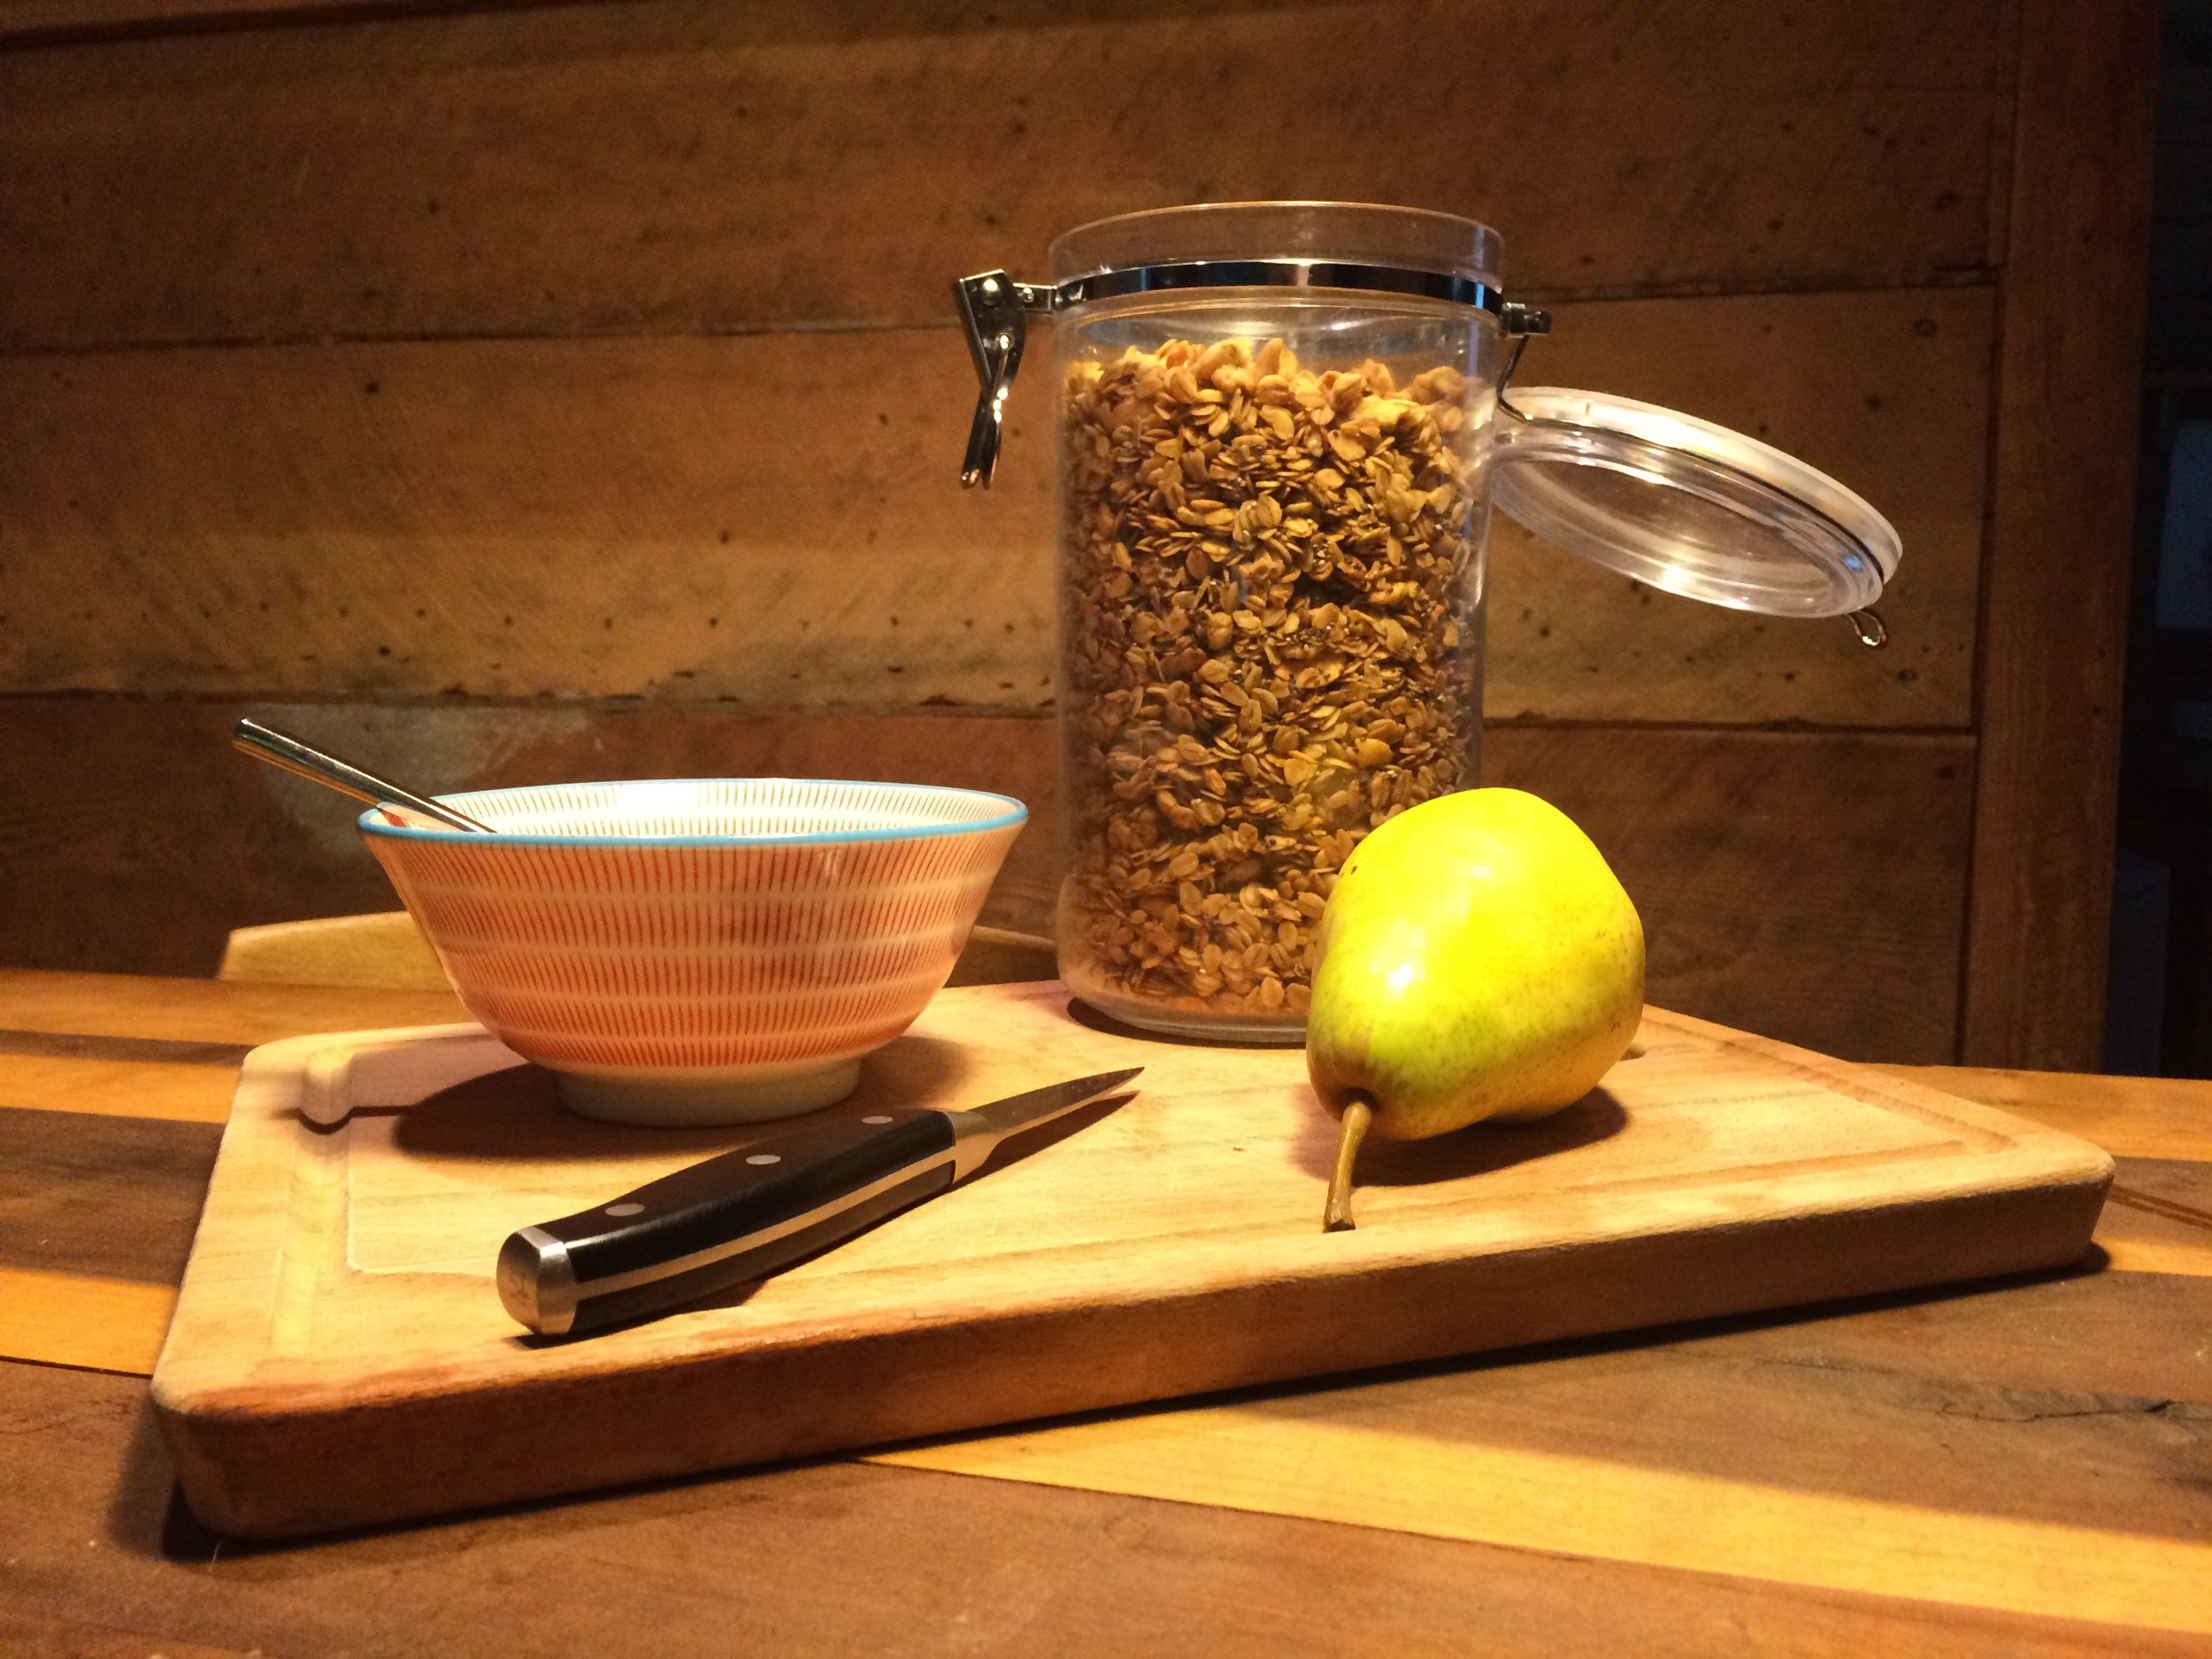
Breakfast is served.
NO STIR OLIVE OIL MAPLE NUT SPICE GRANOLA with CHIA
INGREDIENTS:
--5 cups rolled oats (choose gluten-free if you'd like a GF recipe)
--2 cups chopped raw nuts (I like pecans, almonds, cashews, walnuts, or a combo)
--1/2 cup chia seeds (or other seeds), optional
--1/2 cup olive oil (or vegetable oil, melted coconut oil, melted unsalted butter, or a combo--may I suggest half olive oil and half melted, good-quality butter for a special batch), plus a splash for the pan
--1/4 cup maple syrup
--4 tsp honey, or 2 T brown sugar
--2 tsp cinnamon (or pumpkin pie spice)
--2 tsp vanilla extract
--1/4 tsp pure vanilla powder, optional (I like this kind; expensive but so good and a little goes a long way--I've had the same jar for two years and I use it all the time)
--1 tsp kosher salt
DIRECTIONS:
Pre-heat the oven to 325 degrees. Drizzle some olive oil (or other oil) on a full size (18" x 26") rimmed sheet pan, or two half sized rimmed sheet pans, rubbing the oil all over with your fingers to coat the pan, making sure to get the edges and corners.
Mix oats and nuts in a large mixing bowl to combine, then sprinkle any small seeds on top.
In a small saucepan, combine the oil, syrup, and honey over low heat just until the honey melts into the other ingredients and the mixture is homogeneous. Remove from the heat and stir in the vanilla extract, salt, cinnamon, vanilla powder or other spices with a heat-proof rubber spatula. (If you are using brown sugar instead of honey, no need to heat--just stir together all the above ingredients in a bowl or measuring cup.) Pour the whole mixture over the oats and nuts, scraping the pan to get every drop. Stir and spread the liquid with the spatula slowly, turning and coating the oats and nuts and scraping the bottom of the bowl until no dry pockets of oats remain.
Spread the mixture evenly on the oiled sheet pan, pressing it down with the spatula.
Bake for 16-18 minutes, or until the granola is just starting to get the slightest bit golden brown. Let it stay in the pan until cool, then uproot the oats and clusters using a plastic pancake spatula. Stored in a sealed container in a dry place it should stay good for a few weeks, but it's never actually lasted long enough here to find out.

Half Whole Wheat Bread Recipe for Two Loaves

I have always enjoyed making bread, but being pregnant and REALLY LOVING good bread, I found that the store bought stuff wasn’t quite cutting it most of the time. I used to have a bread machine but never really liked how the bread turned out. Also, deep down I thought it was cheating maybe if I didn’t knead the bread myself for twenty minutes. However, I learned from one of my favorite bakers--Vince at Sure to Rise Bakery, in Cashmere, WA--that the standing mixer makes as good of loaves as any, so I busted out the KitchenAid and haven’t looked back since. I always make two loaves at a time now. It’s just as easy as one if your mixer can handle it, and you can gift or freeze the second loaf if you won’t eat it. This is not usually a problem for us. If you don't have a standing mixer or prefer to knead (it's good for the soul!), it just takes more time and elbow grease--hats off to you my friend!

Napping baby, happily baking mom.
I personally love the taste of bread with some whole wheat in it, but have yet to find the right recipe for making my own perfect 100% whole wheat loaf. Also, Jim likes white bread--and making the bread 50/50 is I suppose the ultimate definition of a good marital compromise. I will keep trying on the whole wheat, though, and maybe I will nail it sometime and then we all win. If you prefer all white bread, just substitute more bread flour (or all-purpose) for the whole wheat in this recipe--you may need just a smidge more of the all-purpose than you would whole wheat. And always store your whole wheat flour in the fridge to preserve its freshness.

Rise and shine!
Half Whole Wheat Bread
--adapted from America's Test Kitchen and Ina Garten
(makes two loaves)
Ingredients:
--6 T butter
--1/2 c. water
--1 1/2 c. milk (I use whole, but you could sub 2%, 0%, buttermilk, or water here)
--3 t instant yeast (I like the SAF brand)
--1 1/2 T honey
--1 egg (if you don't want to use any egg, just add 1/4 c more water/milk)
--1 T kosher salt
--2.5 c bread flour
--2.5-3.5 c whole wheat flour
— (optional) 2 T vital wheat gluten
Directions:
Put the water on to boil. Cut the butter in pieces and place in the bottom of the bowl of a standing mixer. Pour 1/2 c. boiling water over the butter and stir to melt butter. Stir in honey and milk and sprinkle yeast over top. Turn machine on low using the dough hook attachment, and let it stir for a minute or two, then add the egg and continue stirring. Add the bread flour and the salt and mix on medium low for a few minutes until all the flour disappears, scraping the sides of the bowl with a rubber spatula to mix in all flour pockets. Add the whole wheat flour while the machine is going, one cup at a time or so, waiting until each previous addition is mixed in before adding the next. You want the dough to be still moist, but not sticking to the sides of the bowl--the perfect degree of tackiness is where the bowl will be totally clean and the dough is in a ball with part of it "climbing" up the mixer. If the dough is just sticking to the sides with the hook mushing around in the middle of it, add more flour (you can use all bread flour or a mix of the two), a little at a time, scraping the sides and bottom of the bowl, until it pulls into a ball. Knead with the hook on medium speed for 4-6 minutes, until it forms a nice round ball. If for some reason your dough is really dry and stiff, you can add a TINY bit more water or milk, a very little bit at a time, until the dough loosens a bit.
****If kneading by hand--follow all the above instructions using a large bowl, stirring with a wooden spoon and scraping with a rubber spatula until the dough starts to come together into a ball. Dump the shaggy mass out onto the floured counter and knead, gradually adding the remaining flour called for in the recipe. Knead for ten to fifteen minutes, adding as little flour as possible, and trying to use quick touches and quick scrapes of the counter to keep the dough from sticking rather than flour. If you are persistent, you can turn a sticky mess into a nice dough just with kneading as the flour develops its gluten strands and absorbs the water. With a bit of practice you'll start to know your dough and be able to just turn your brain off and enjoy the magical art (and free therapy) of kneading bread dough. :) Continue with the rest of the recipe!*****
A good rule of thumb for dough is you want to be able to press your finger or palm in it quickly and pull back without the dough sticking, but if you leave it there for a longer amount of time (long enough for the warmth of your skin to warm the dough) it starts to stick. Also, you want it to feel springy and "alive," as if you were feeling your earlobe. And then there’s the infamous “windowpane” test where if you stretch a small piece of the dough, you should almost be able to see through it like a little doughy windowpane.
Knead the dough on the counter by hand for thirty seconds or so, then lightly oil or butter the mixing bowl and place the dough back in, turning once to oil the top. Cover with plastic wrap or a plastic bag pulled tight, and let sit in a warm, draft-free place to rise for an hour or two until doubled in size.
Punch down the dough and knead into a ball on the counter, then divide into two halves. Grab each half and pinch the bottom while rolling on its side repeatedly, a pinch with each roll, to make each half into a smooth-topped ball (picture below). Flip over, smooth side down, then punch the balls into rough square shapes with your knuckles. Starting at the top corner of each square, roll the top inch or so down and flatten gently with the heel of your hand as you roll, then roll and flatten the next section, repeating until the whole square is rolled into a log (see picture below). Gently press each loaf, seam-side down, into oiled loaf pans. Cover with plastic (or better, slide each pan into a plastic bag, then blow into the bag to inflate a bit, and twist the opening and pin against a wall to hold), and let rise another 30 minutes to an hour or so, until each loaf crests the side of the pan, depending on how warm your house is. Partway through this rise, preheat the oven to 375 degrees. Bake the loaves for 35-45 minutes--rotating front to back and side to side after about twenty minutes, being VERY GENTLE so as not to startle the loaves and undo all of the hard rising work of the yeasties--or until the tops are dark brown and the loaves sound hollow when you tap the top with your fingertips. Let cool for 3-5 minutes in the pan (if you leave them in there too much longer they will get soggy bottoms!) and then flip carefully into an oven mitt and place on a cooling rack.
Slice and enjoy!

Grab, pinch, and roll until the non-pinched side is a smooth dome.

I roll with the left hand as I tamp down the roll with my right hand, working right to left.

What's better than sliced bread?

Basic Dill Vinaigrette

Basic Dill Vinaigrette
(makes enough for one big salad)
--1/3 cup olive oil
--2-3 T rice vinegar (I use seasoned, if you prefer unseasoned you may find you enjoy adding just a tiny drop of honey or maple syrup or a good, aged balsamic to add a bit of sweetness)
--2-3 tsp dijon mustard
--1 tsp chopped fresh dill, preferably with flowers
--salt and fresh ground pepper to taste
Whisk until emulsified and pour over any salad of your choice! It's especially good on spicy greens, I find.