
Slow-Cooked Tomato Sauce
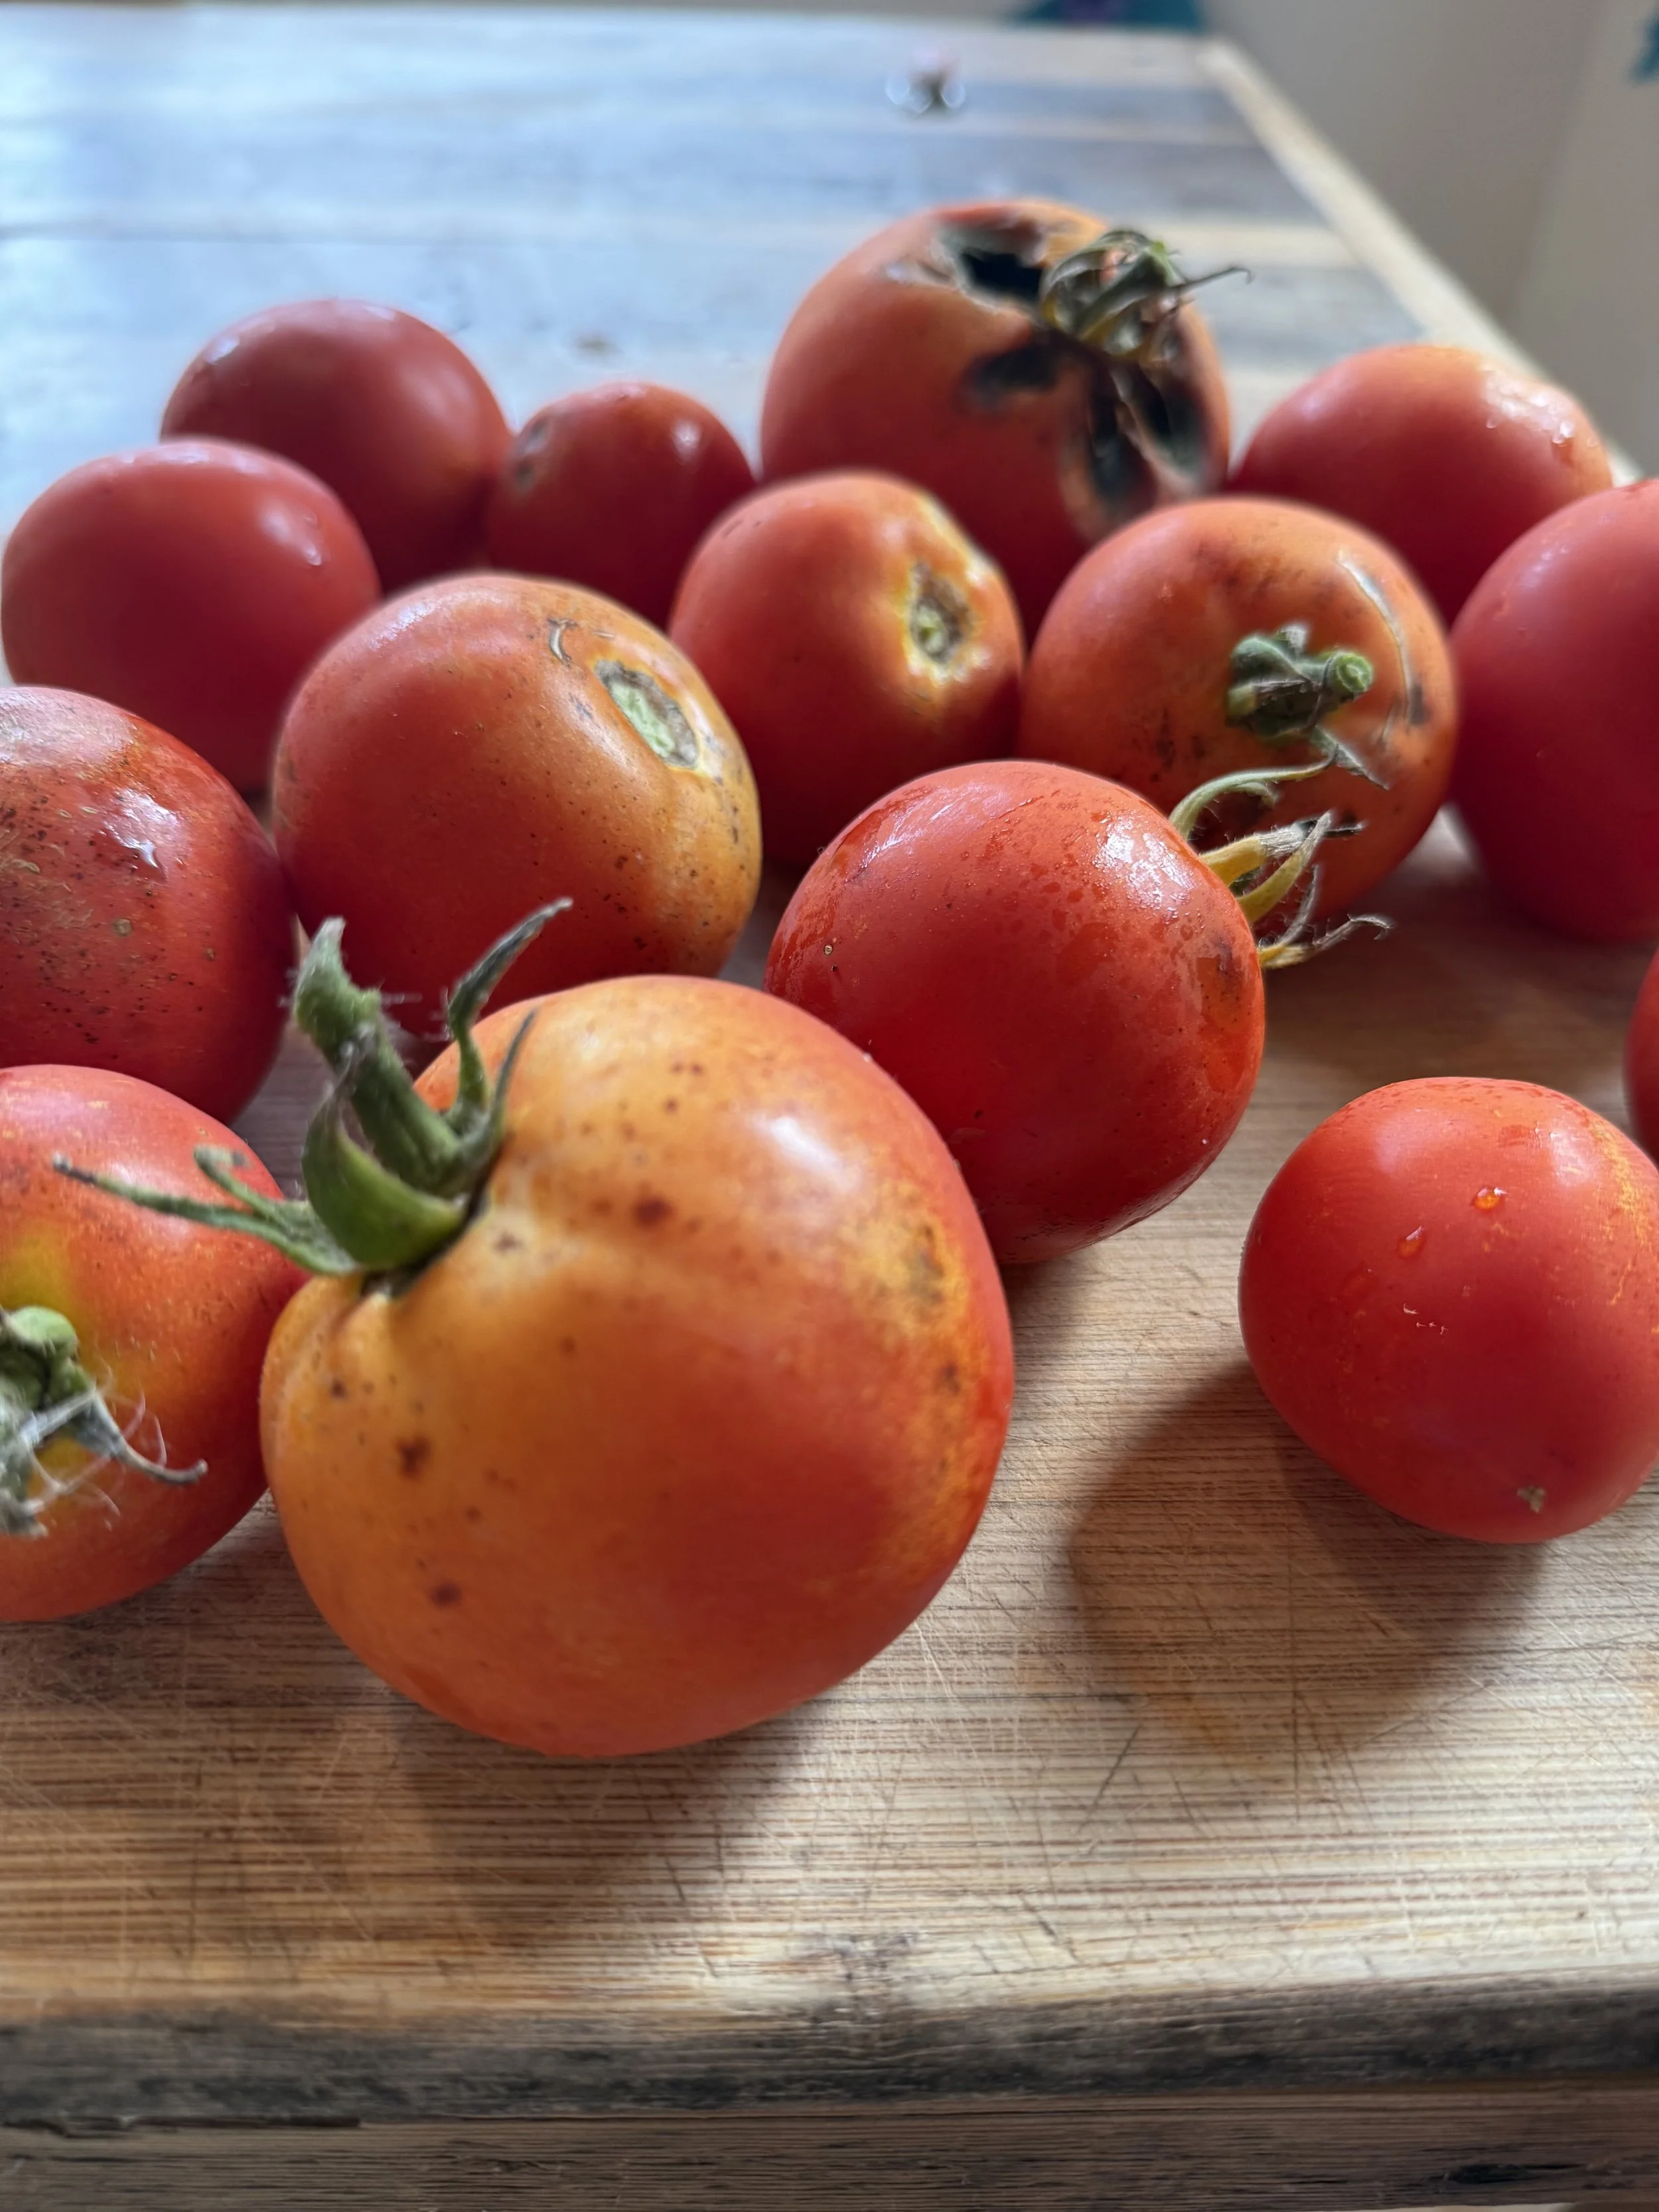
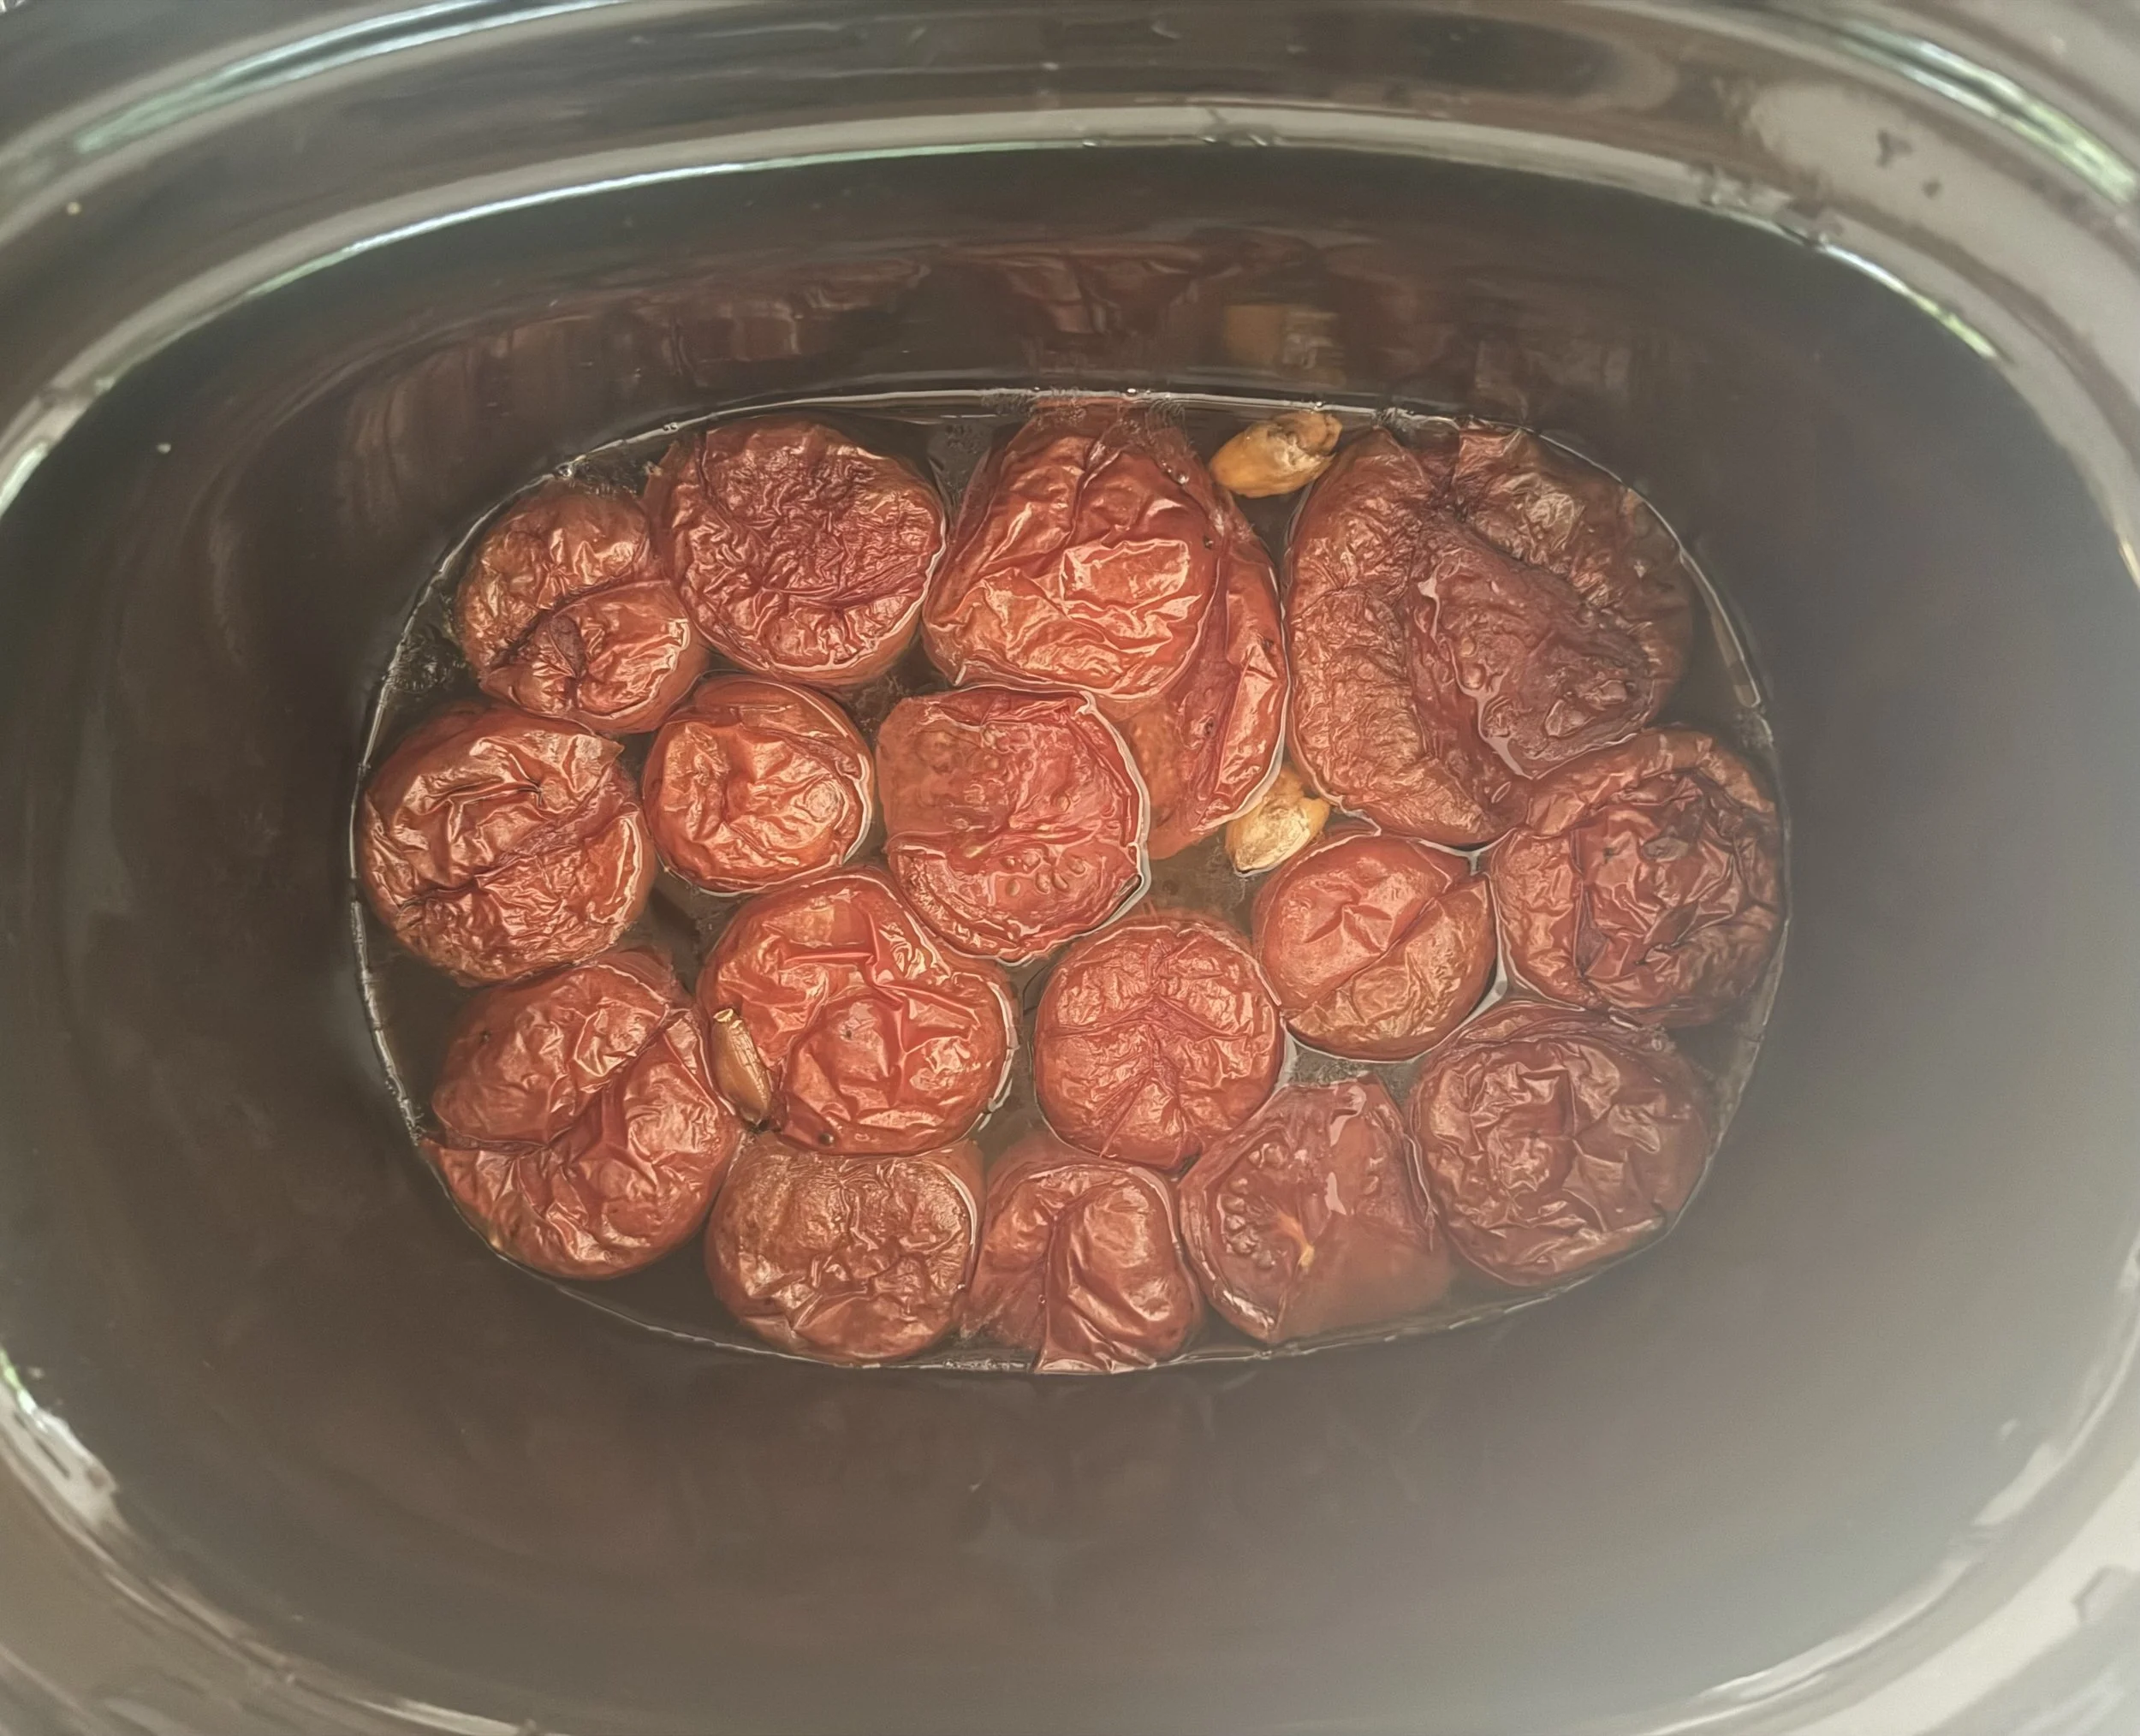
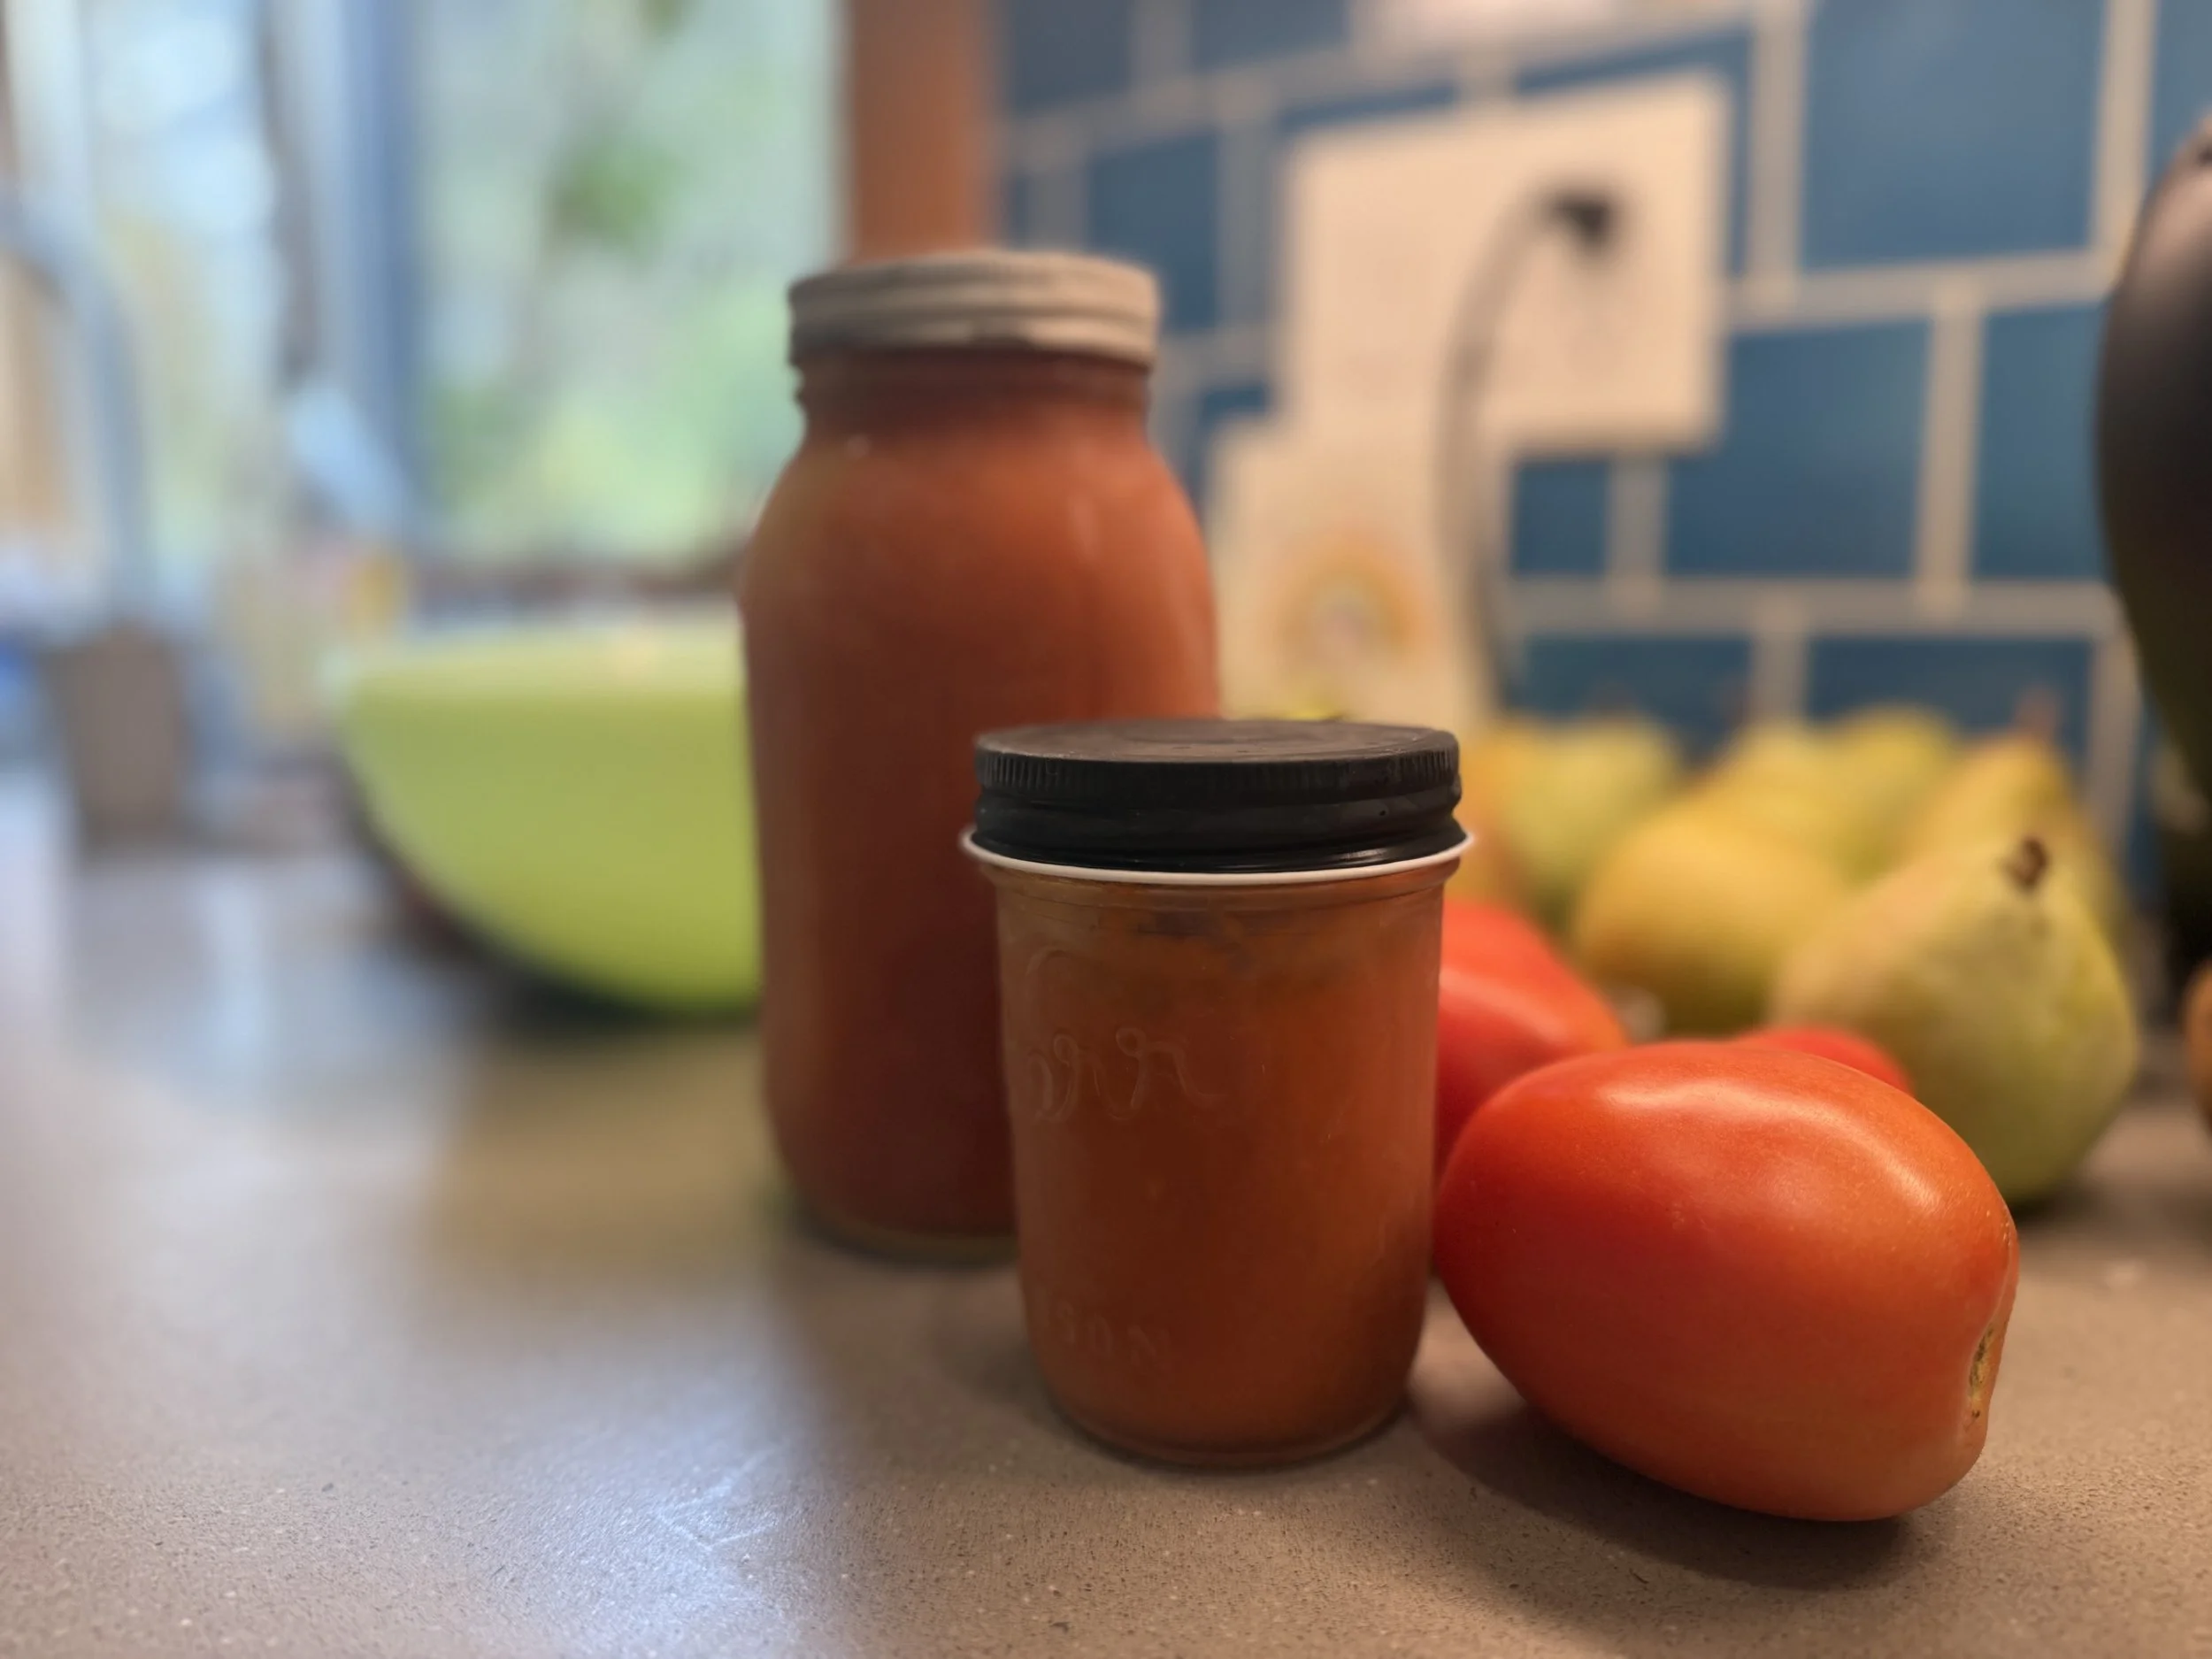
This recipe is so easy, it might not even need to be called a recipe. You literally throw some stuff in a slow-cooker or pot and walk away for overnight or even 24 hours, then blend and voila: a freezer-worthy quantity of umami-packed goodness! I first started doing this one year when I accidentally planted 80 tomato plants and panicked during September when I had pounds of tomatoes to use up each day. At one point I had a slow cooker going plus two pots on the stove round the clock for a week. It’s great for using up the last bounty of tomatoes or a bunch scored on sale. Roma tomatoes work best for thicker sauce, while slicers or heirlooms will make a thinner batch.
I personally have never minded tomato seeds (natural pectin!), skins, or even the tomato core in my sauce, although I do cut out (most) rotten or black spots because I’m not that hard core. (Pun! Unintended!)
If you aren’t a fan of seeds, skins, or cores, feel free to remove them, but keep in mind that removing the seeds will give you less liquid and a thicker final product—you will need less cooking time and more careful watching so as not to burn the sauce.

My favorite tomato washers, circa 2021.
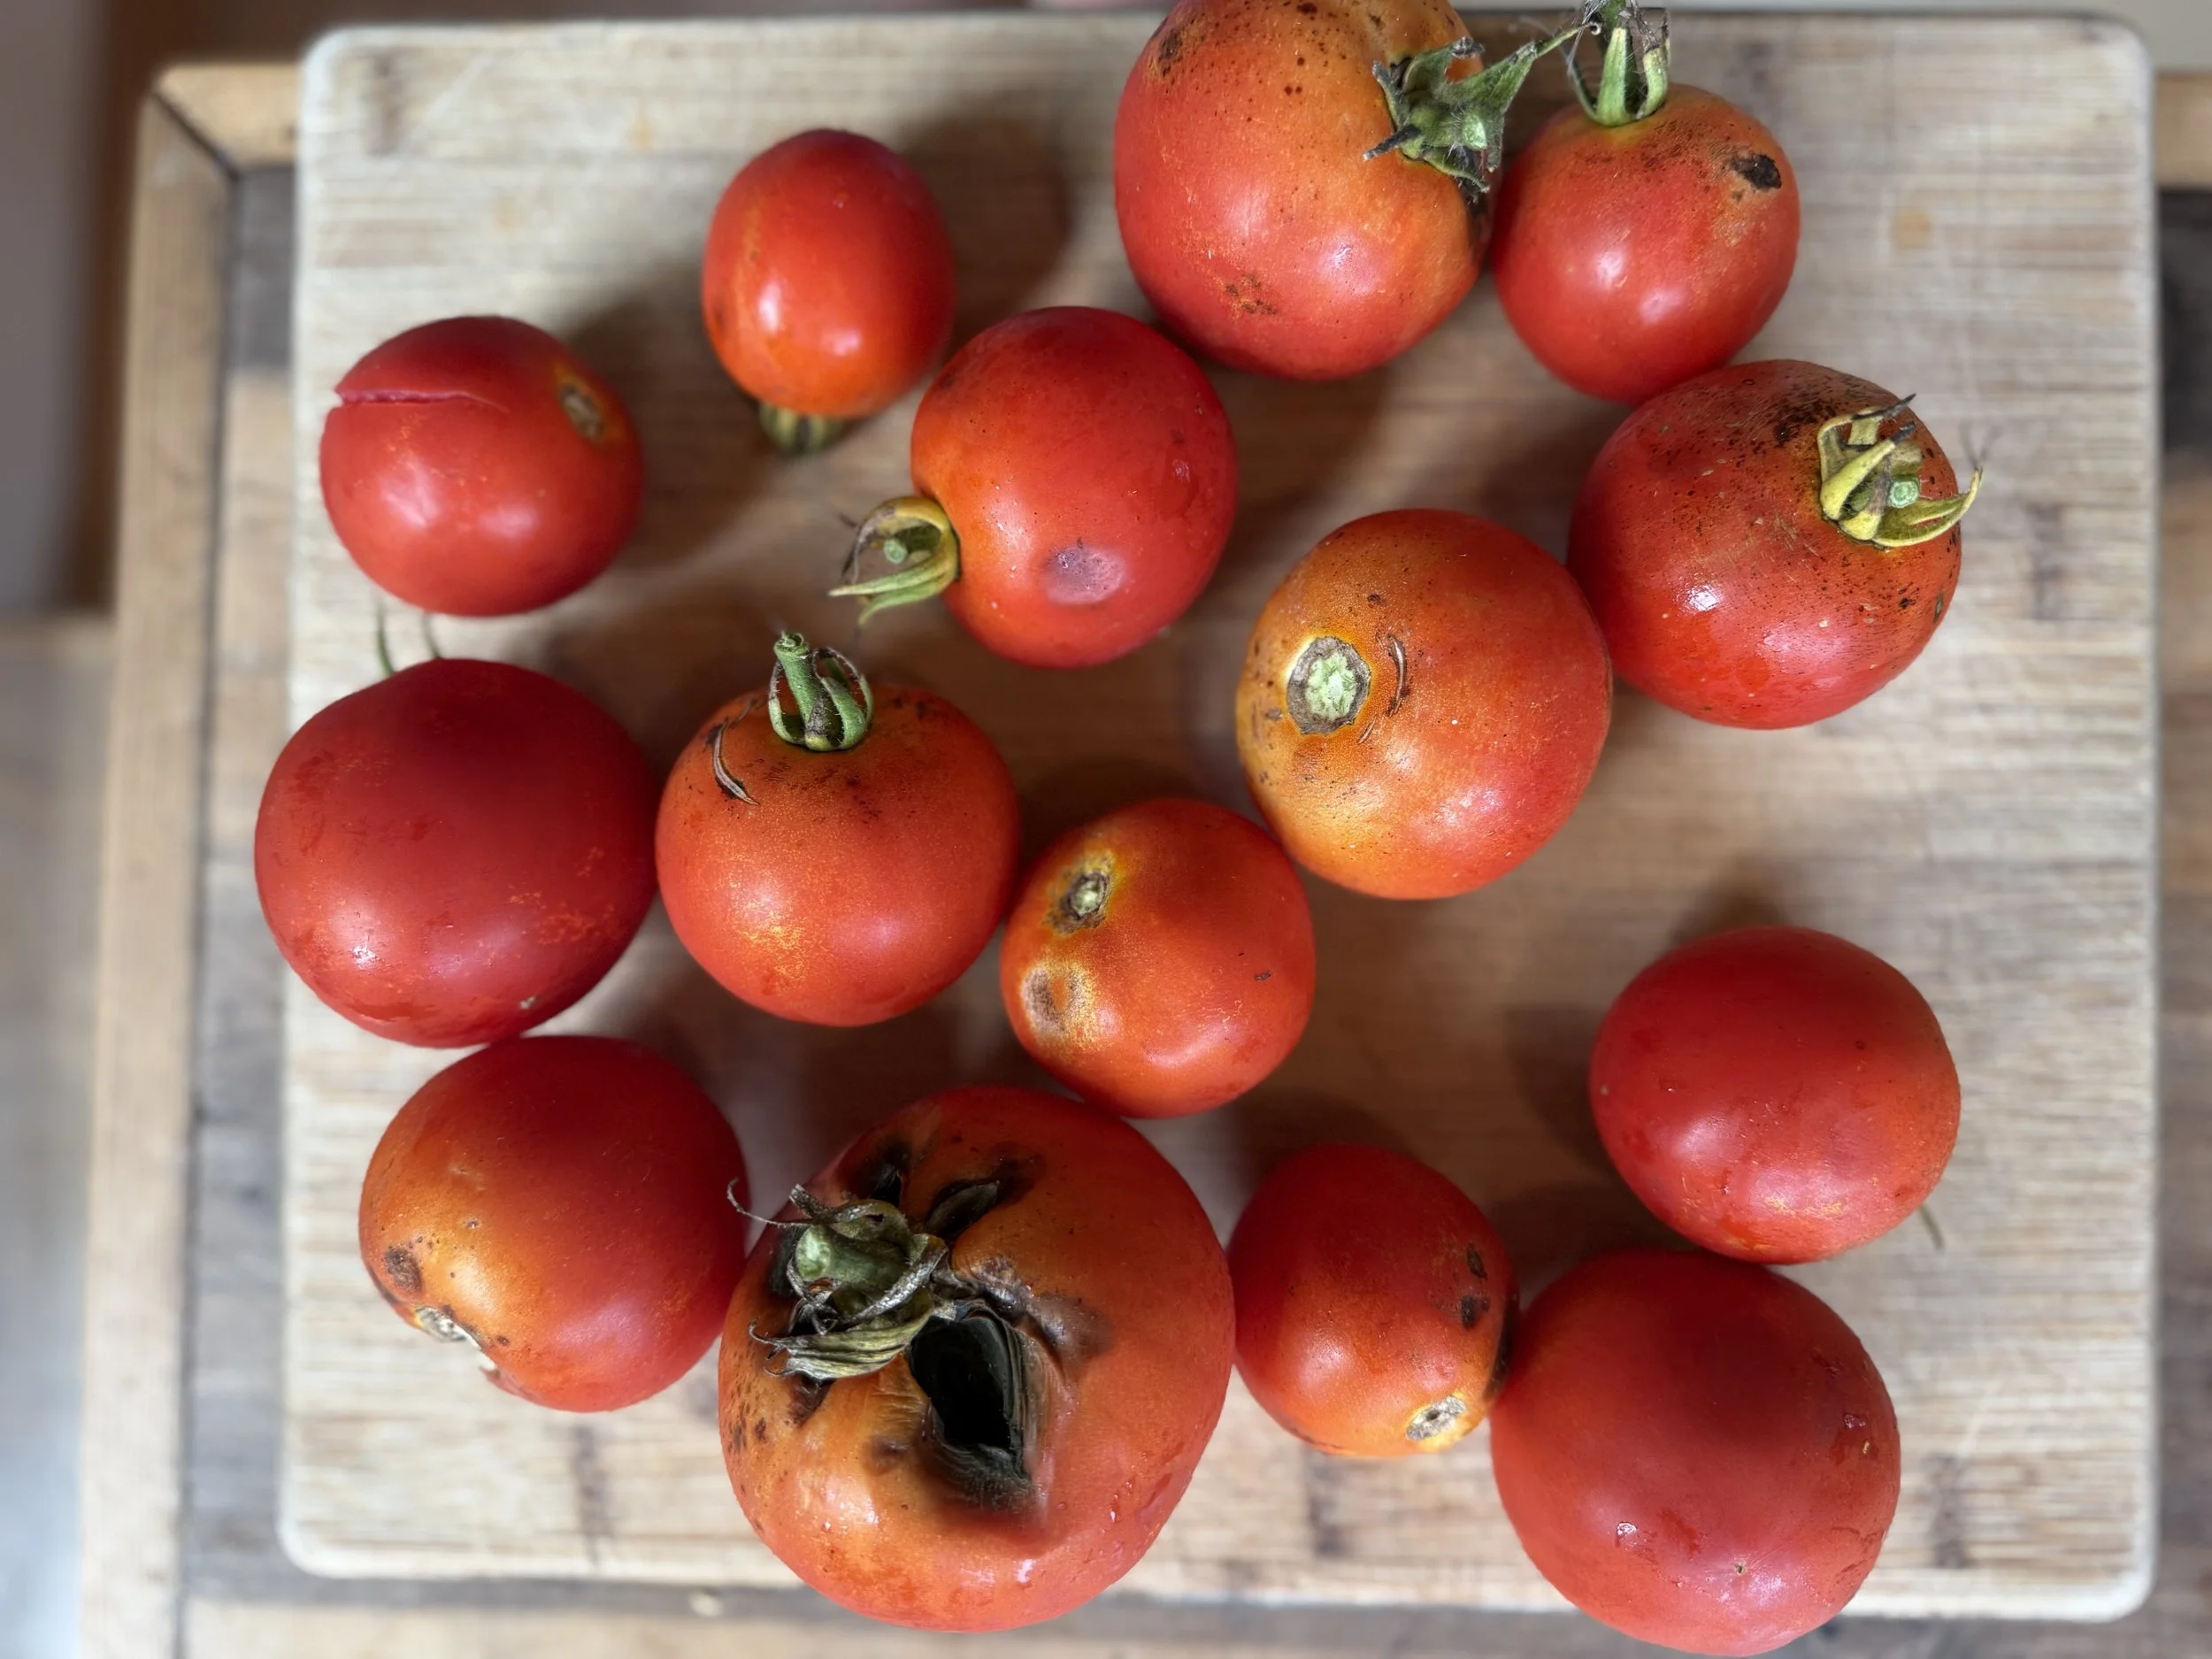
Ugly beauties, ready for sauce.
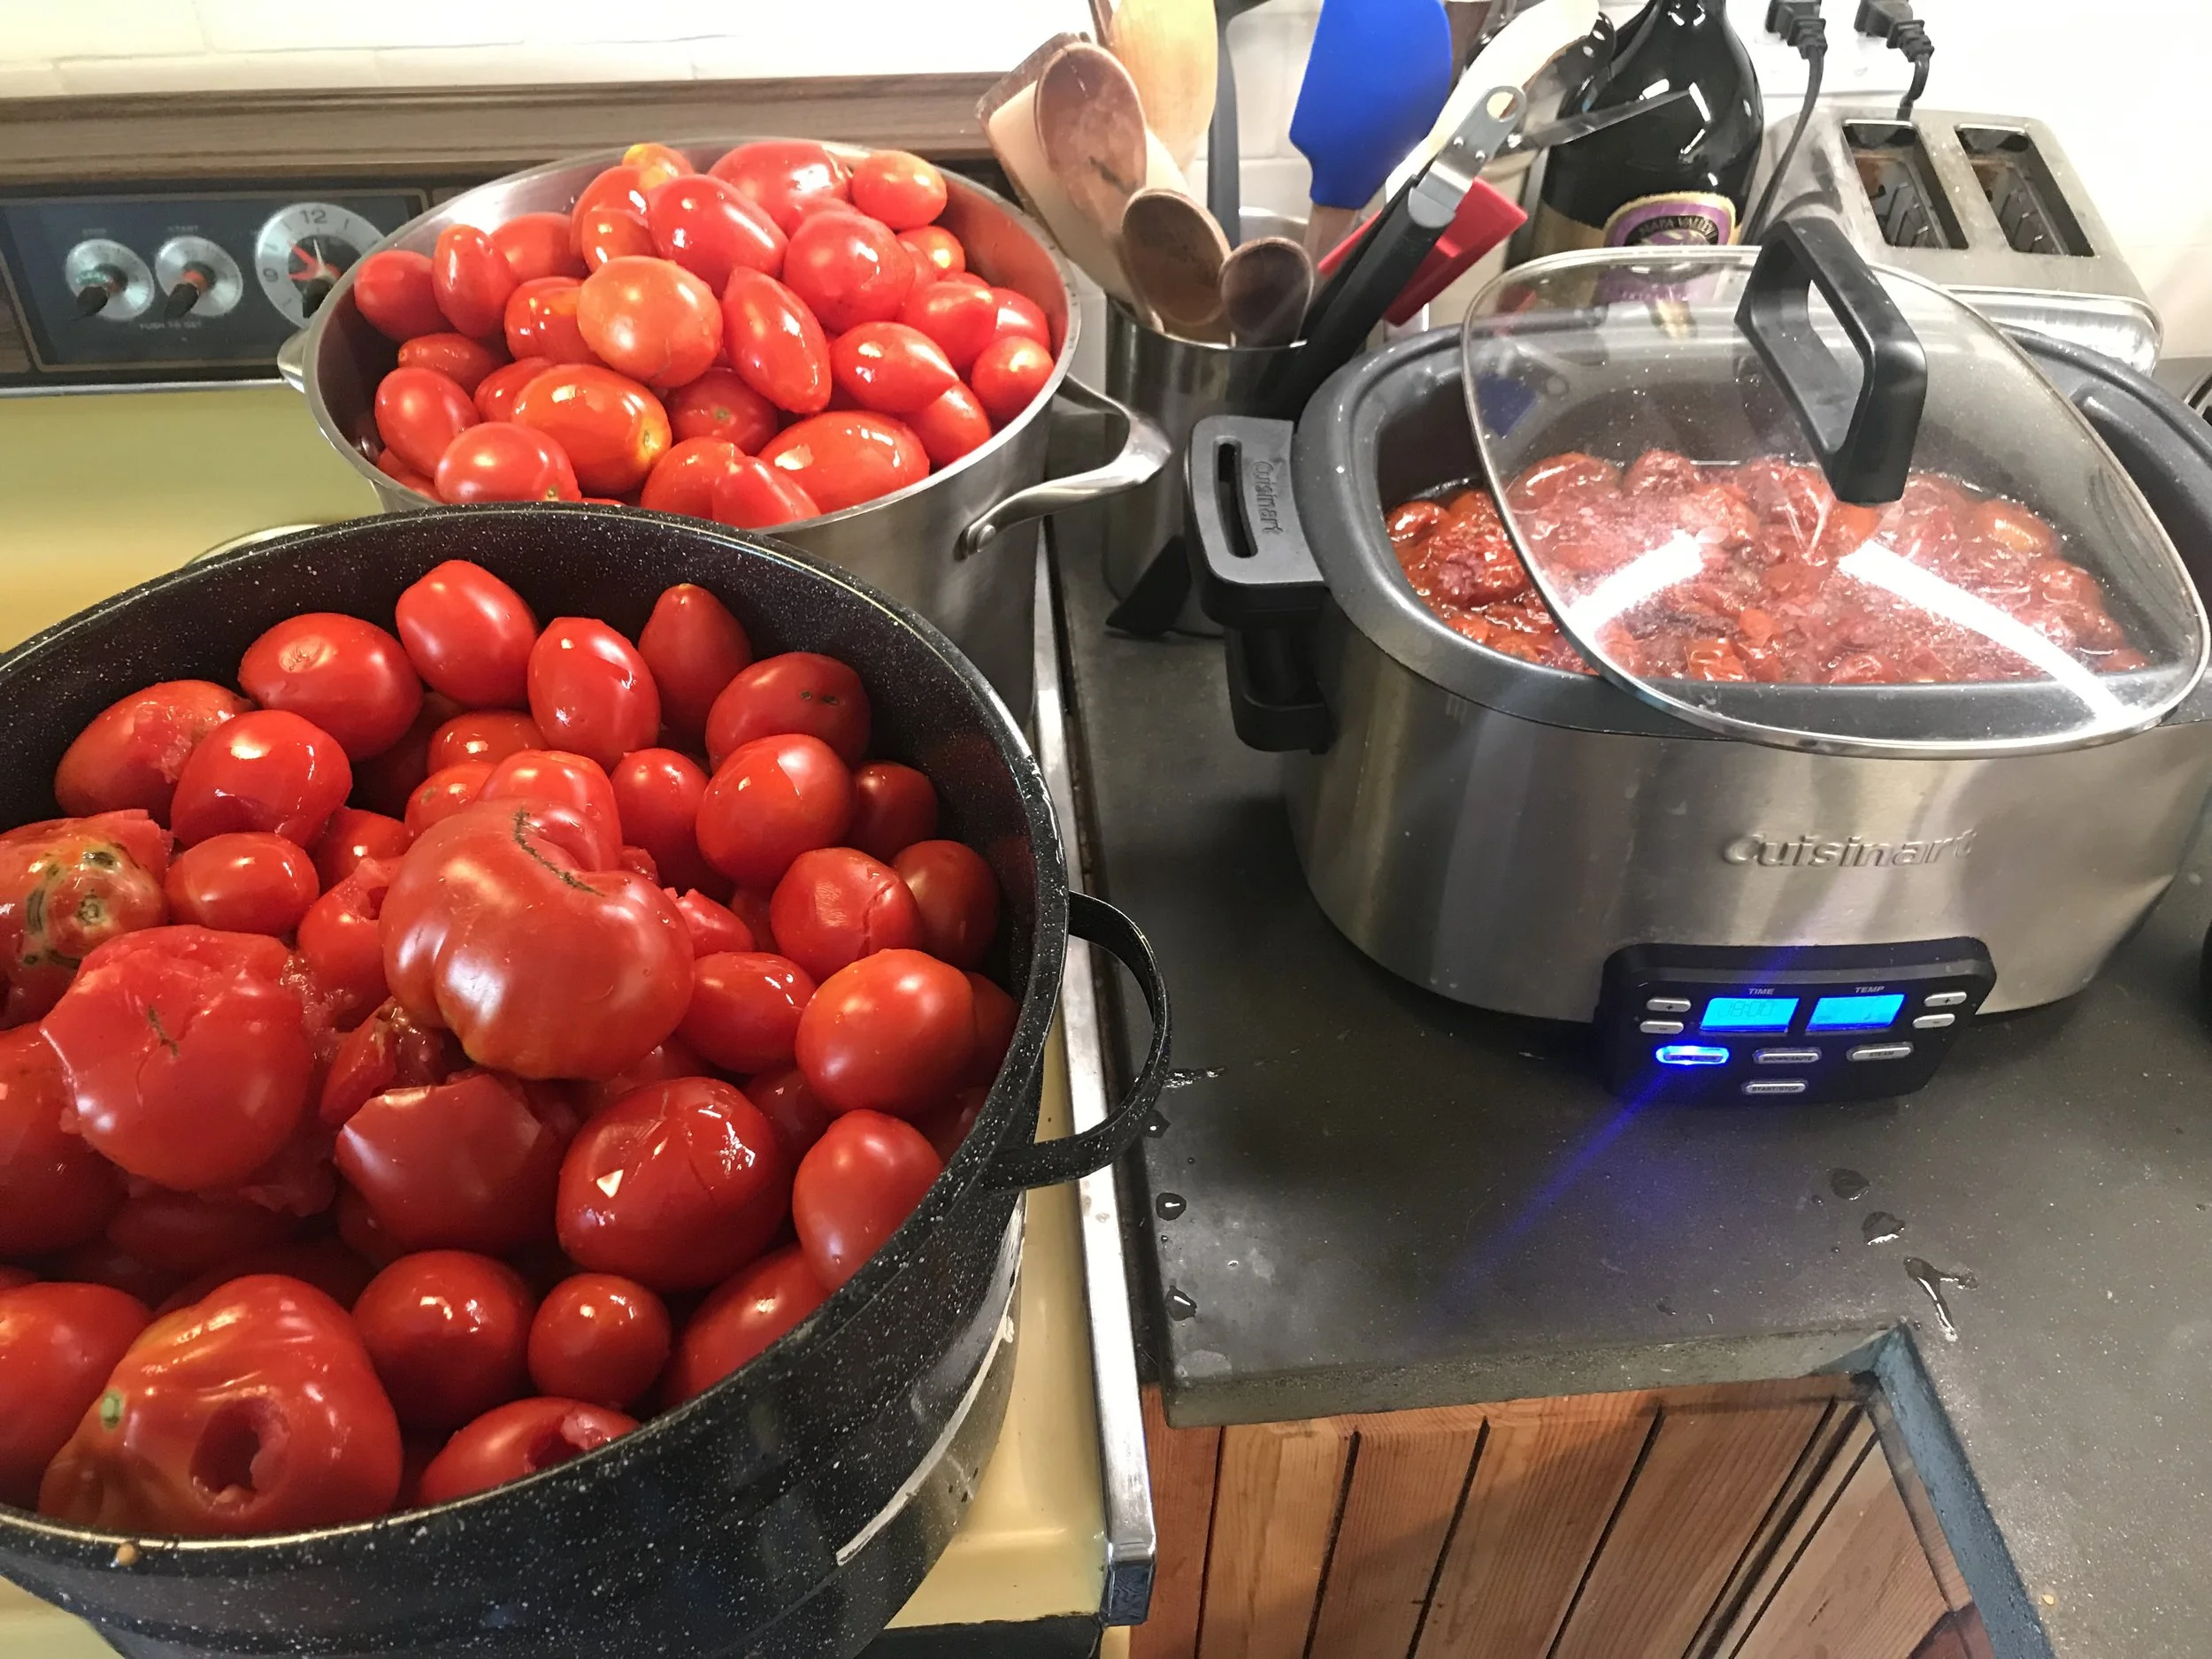
SLOW-COOKED TOMATO SAUCE
INGREDIENTS
—tomatoes (3-8 pounds or more)
—salt
—olive oil
—garlic (optional)
DIRECTIONS
—Place a slow-cooker on high, or put a large pot on the stove.
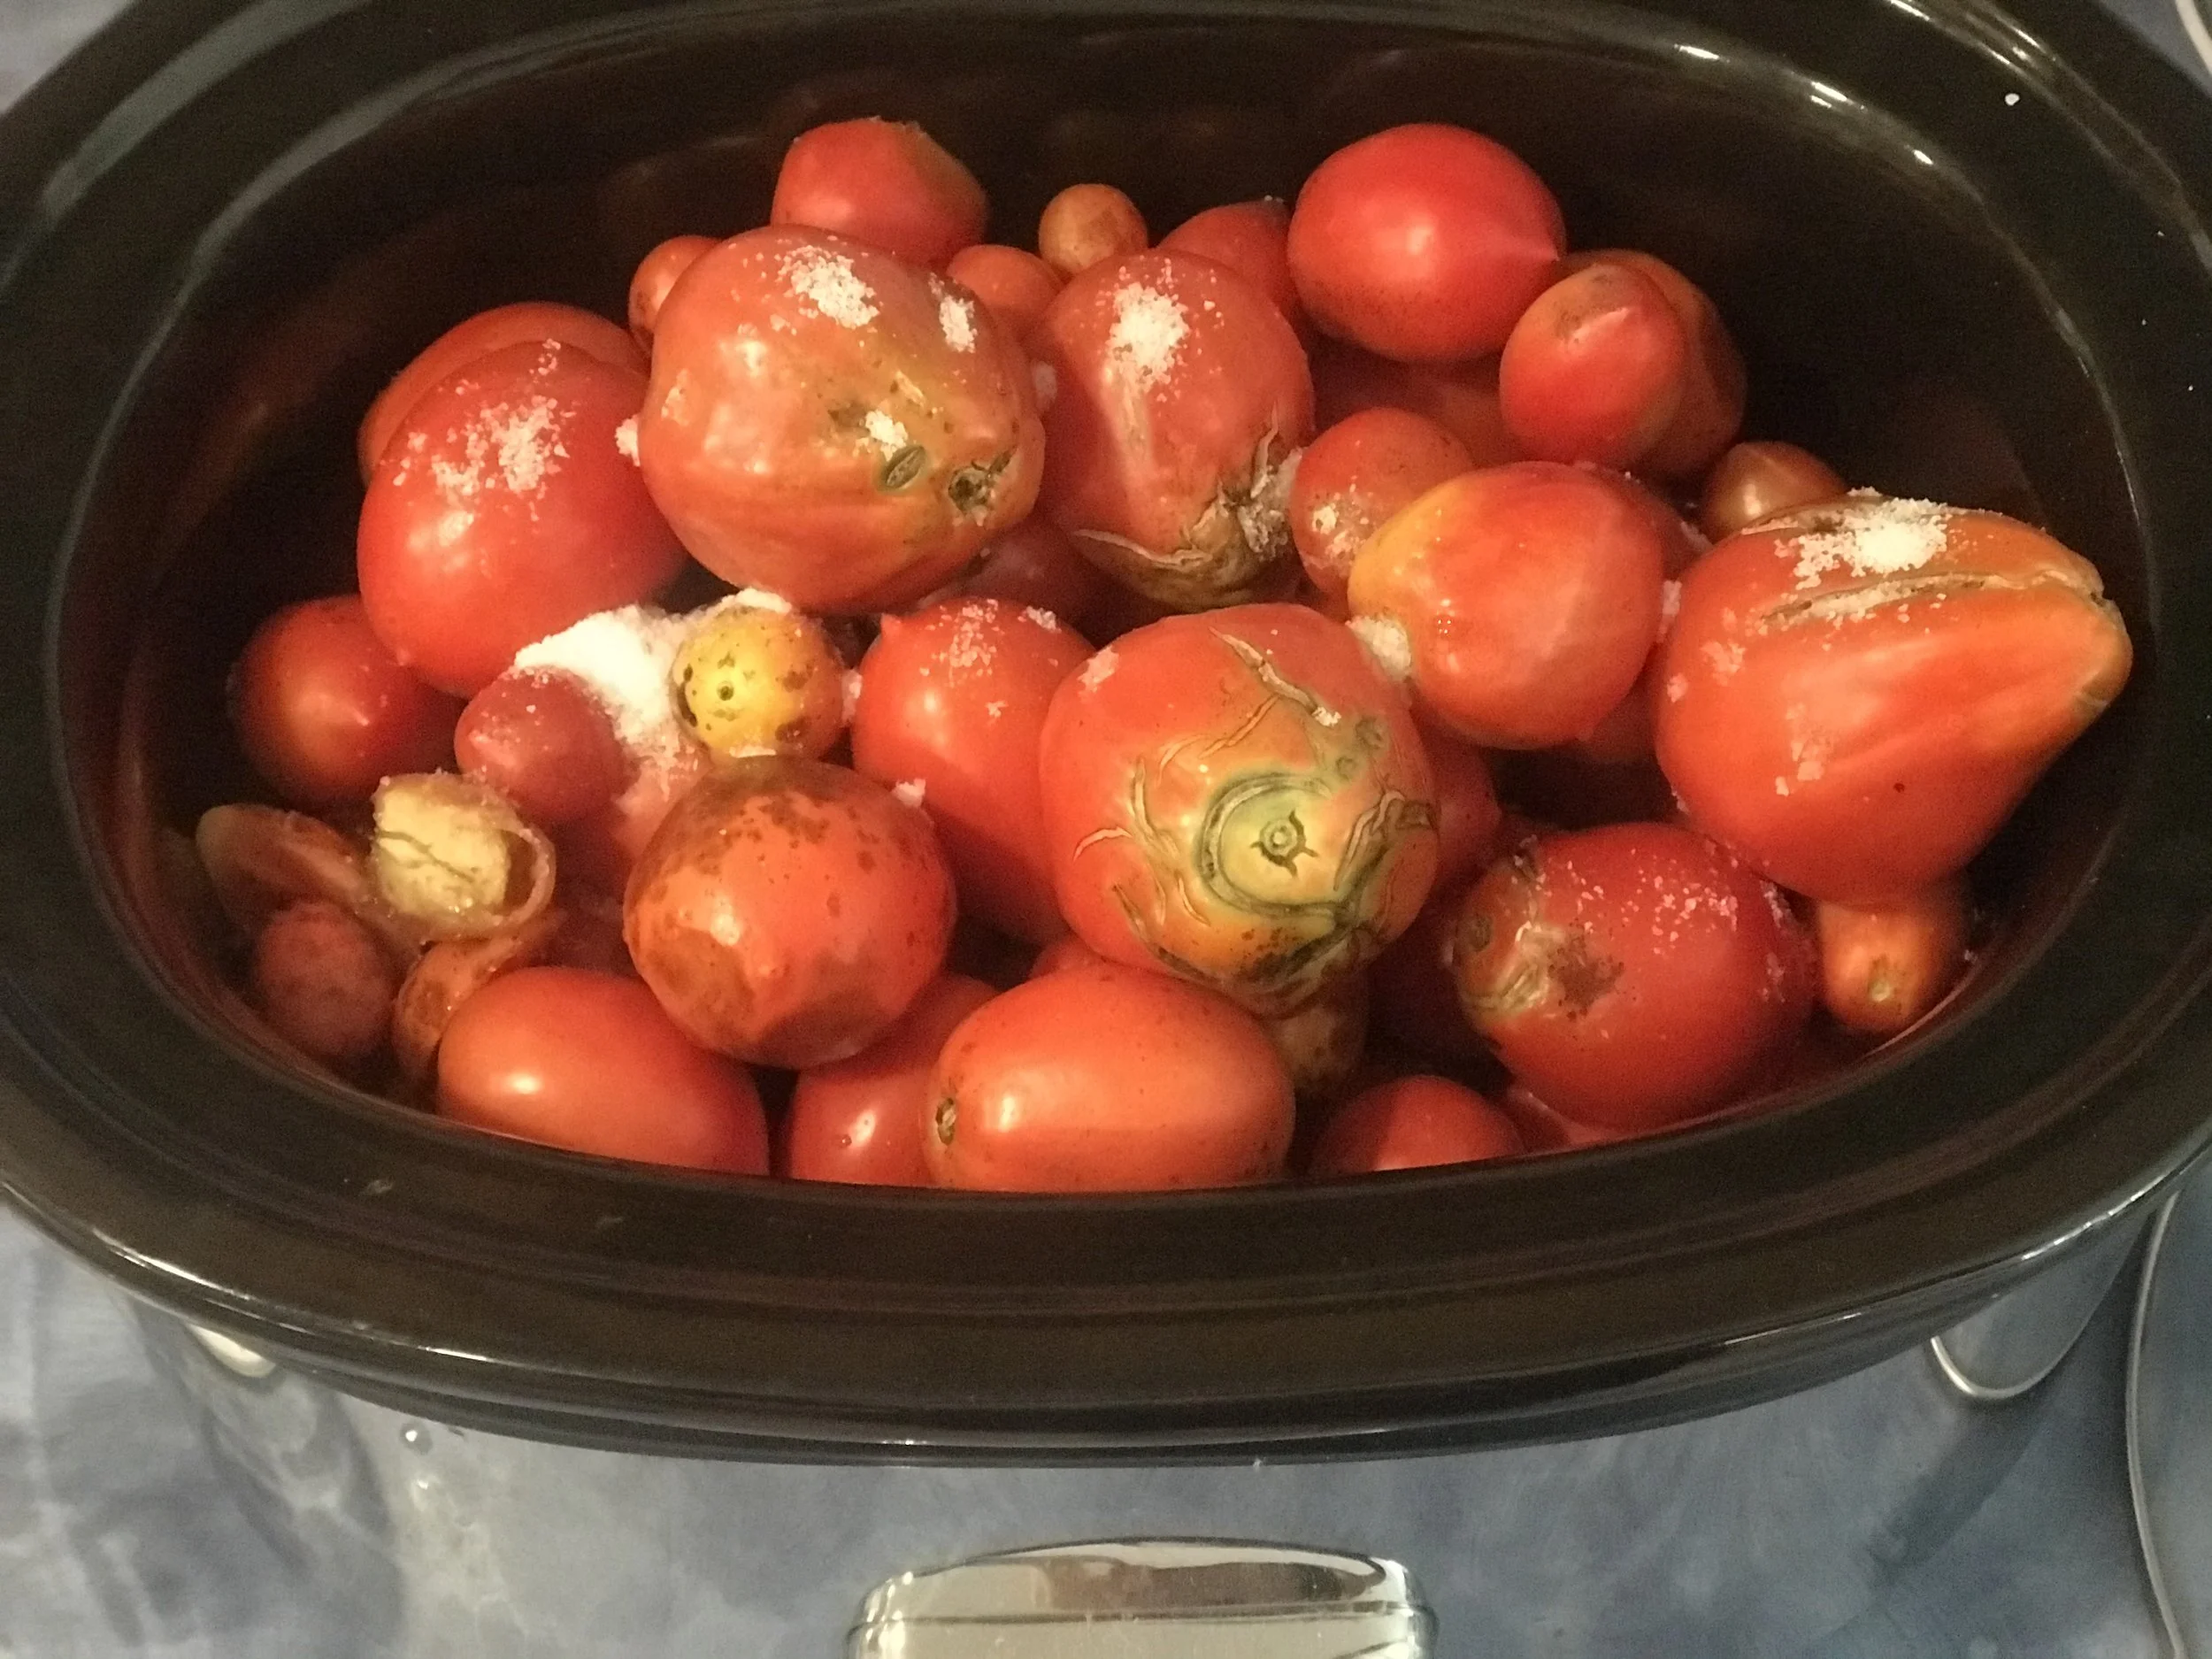
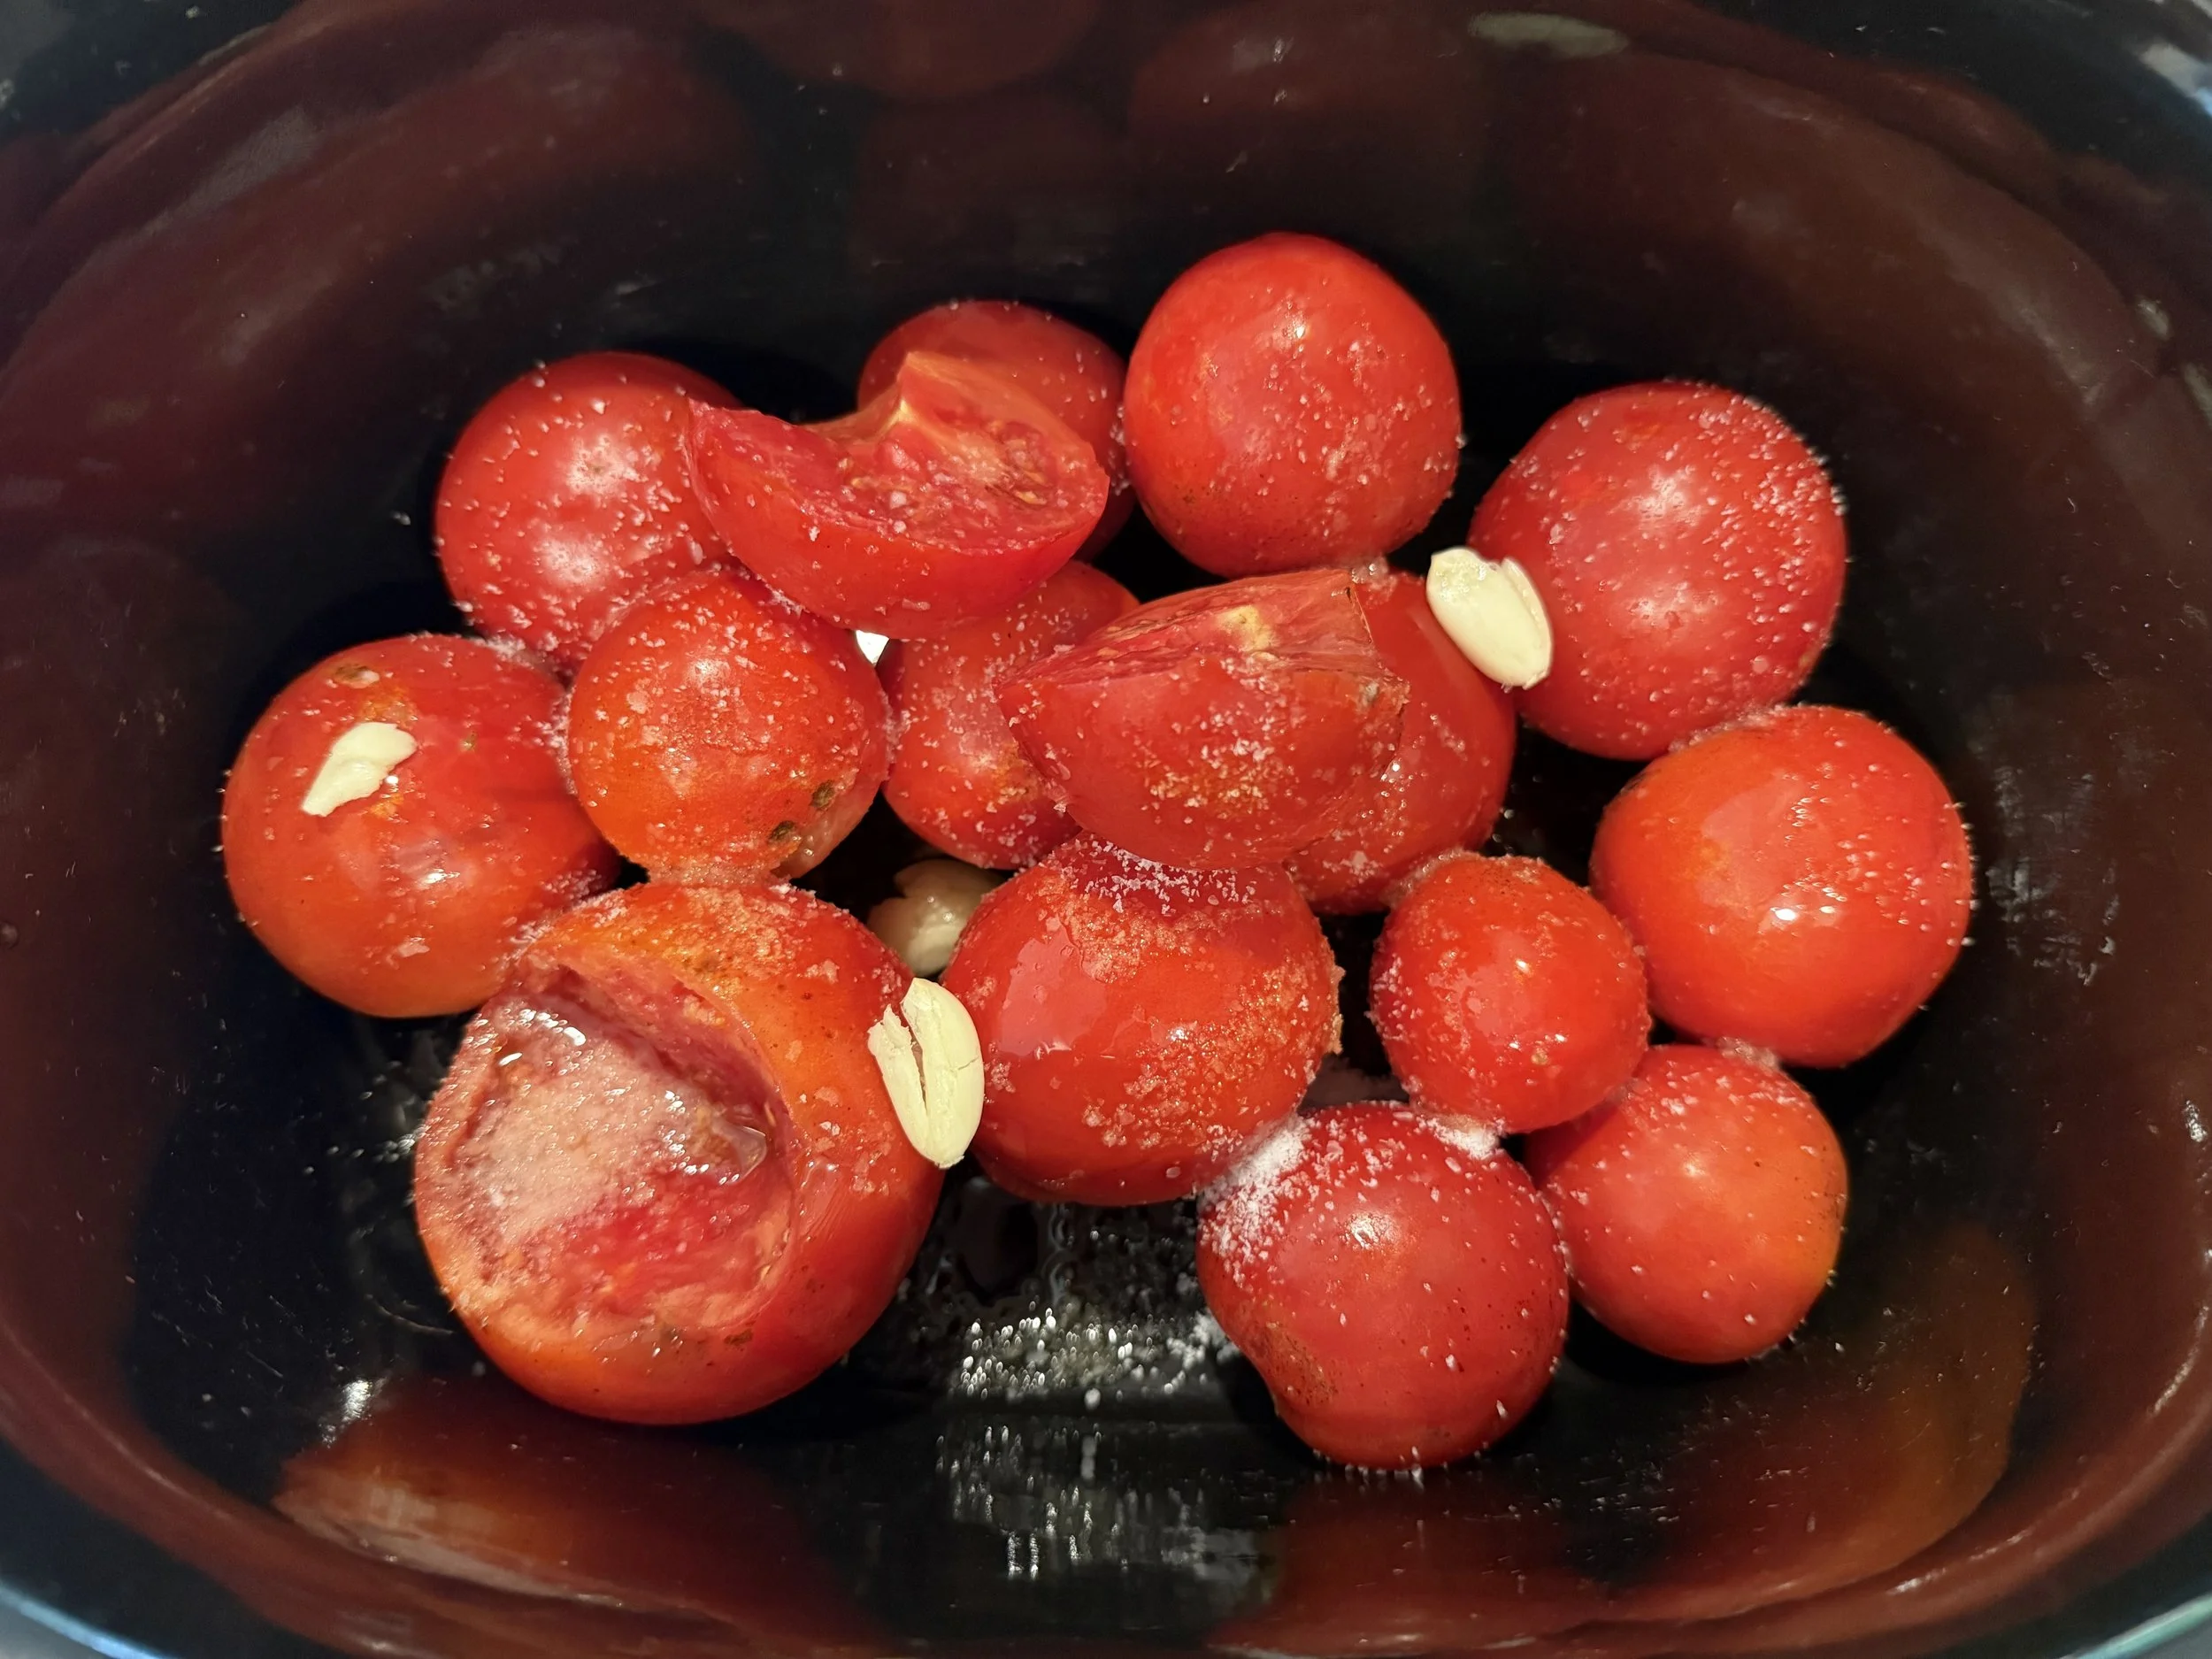
—Wash your tomatoes, then throw them in the slow-cooker or pot. If using a pot on the stove, turn it on medium low.
—Drizzle some olive oil over the tomatoes, about 1 T for each 2 lbs of tomatoes (every 6 tomatoes), or more or less to your taste.
—Sprinkle salt over the tomatoes, about 1 tsp per 2-3 lbs of tomatoes (every 6-8 tomatoes), or more or less to your taste.
—Add peeled, smashed cloves of garlic (optional), about 1 clove per each 3 lbs (6-8 large) tomatoes.
—If using a slow-cooker, let the mixture cook on high in the machine for 6-8 hours, then up to 12 more hours on low, periodically checking to make sure the tomatoes aren’t turning black. If there is too much liquid, feel free to remove the slow cooker lid at any point to cook off some of the liquid, or you can spoon it out if you want a thicker. Leave the liquid in if you want a thinner sauce, or even a soup. Once the tomatoes look totally and sufficiently roasted, slumped and browned, blend with a stick blender (or in batches in a food processor/blender) until desired smoothness. Taste and adjust for seasonings. Use immediately, refrigerate for up to a week, or freeze for up to one year.
—If using a pot on the stove, let the mixture cook down on medium low for 4-6 hours, covered. You can check it periodically and stir. If it’s time for bed, just turn off the pot and leave the lid on overnight without touching it, then turn back on in the morning on medium low for another few hours or until it looks roasted and the tomatoes are slumped and brown, removing the lid if you’d like to cook off some of the liquid. Blend with a stick blender or in batches in a food processor/blender until desired smoothness. Use immediately, refrigerate for up to a week, or freeze for up to one year.
Enjoy!

My Right Now Chocolate Chip Cookie Recipe

This is my Right Now recipe for two reasons. First, it’s the one I have been making the most lately. Chocolate chip cookie recipes are sort of like a favorite sweater—I have one on heavy rotation for a while until another one comes along, but I will always cycle back around to my former faves. I could never settle on just one.
Secondly, this is the one that I can make, start to finish, in 30 minutes and have warm cookies on the table from fridge-cold butter, thanks to the muscle from the stand mixer. They are delicious baked straightaway and even better after the dough rests in the fridge, so making them is both a gift for right now and for the future. And while I can in good conscience recommend the dough stays well in the fridge for a week or two, in reality I have left it in there much longer and the cookies have still turned out great when baked. :)
This recipe is adapted from the internet-famous NYT Jacques Torres recipe; I’ve simplified it for my pantry, my tastes, a more demure cookie size, and my preferred CCC timeline, which is almost always ASAP.



RIGHT NOW CHOCOLATE CHIP COOKIES
Makes about 36 cookies
INGREDIENTS
—2 1/2 sticks unsalted butter
—1 cup brown sugar, packed
—1 cup white sugar, packed
—2 eggs
—2 tsp real vanilla extract
—3 1/2 cups all-purpose flour
—2 tsp Diamond Crystal Kosher salt, or 1.5 tsp salt
—1 1/4 tsp baking soda
—1 1/2 tsp baking powder
—10-12 oz, or one package, dark chocolate chips (or semi-sweet if that’s what you have)
DIRECTIONS
Preheat oven to 375.
In the bowl of a stand mixer, place butter and both sugars. Mix on very low at first, guarding for flying butter and sugar, until it starts to get incorporated and then mix on medium speed until light and fluffy, about 5 minutes. Add eggs and vanilla and mix, stopping to scrape down the sides of the bowl, until the mixture is homogenous, about one minute.
While mixer is stopped, add flour, sprinkling over the wet mixture, then sprinkle the salt, baking powder and baking soda over the top. Mix again on low until dry ingredients are just about fully incorporated, and then dump in the chocolate chips, mixing another 20-30 seconds until they are somewhat evenly dispersed, using a spatula to finish the job if necessary.
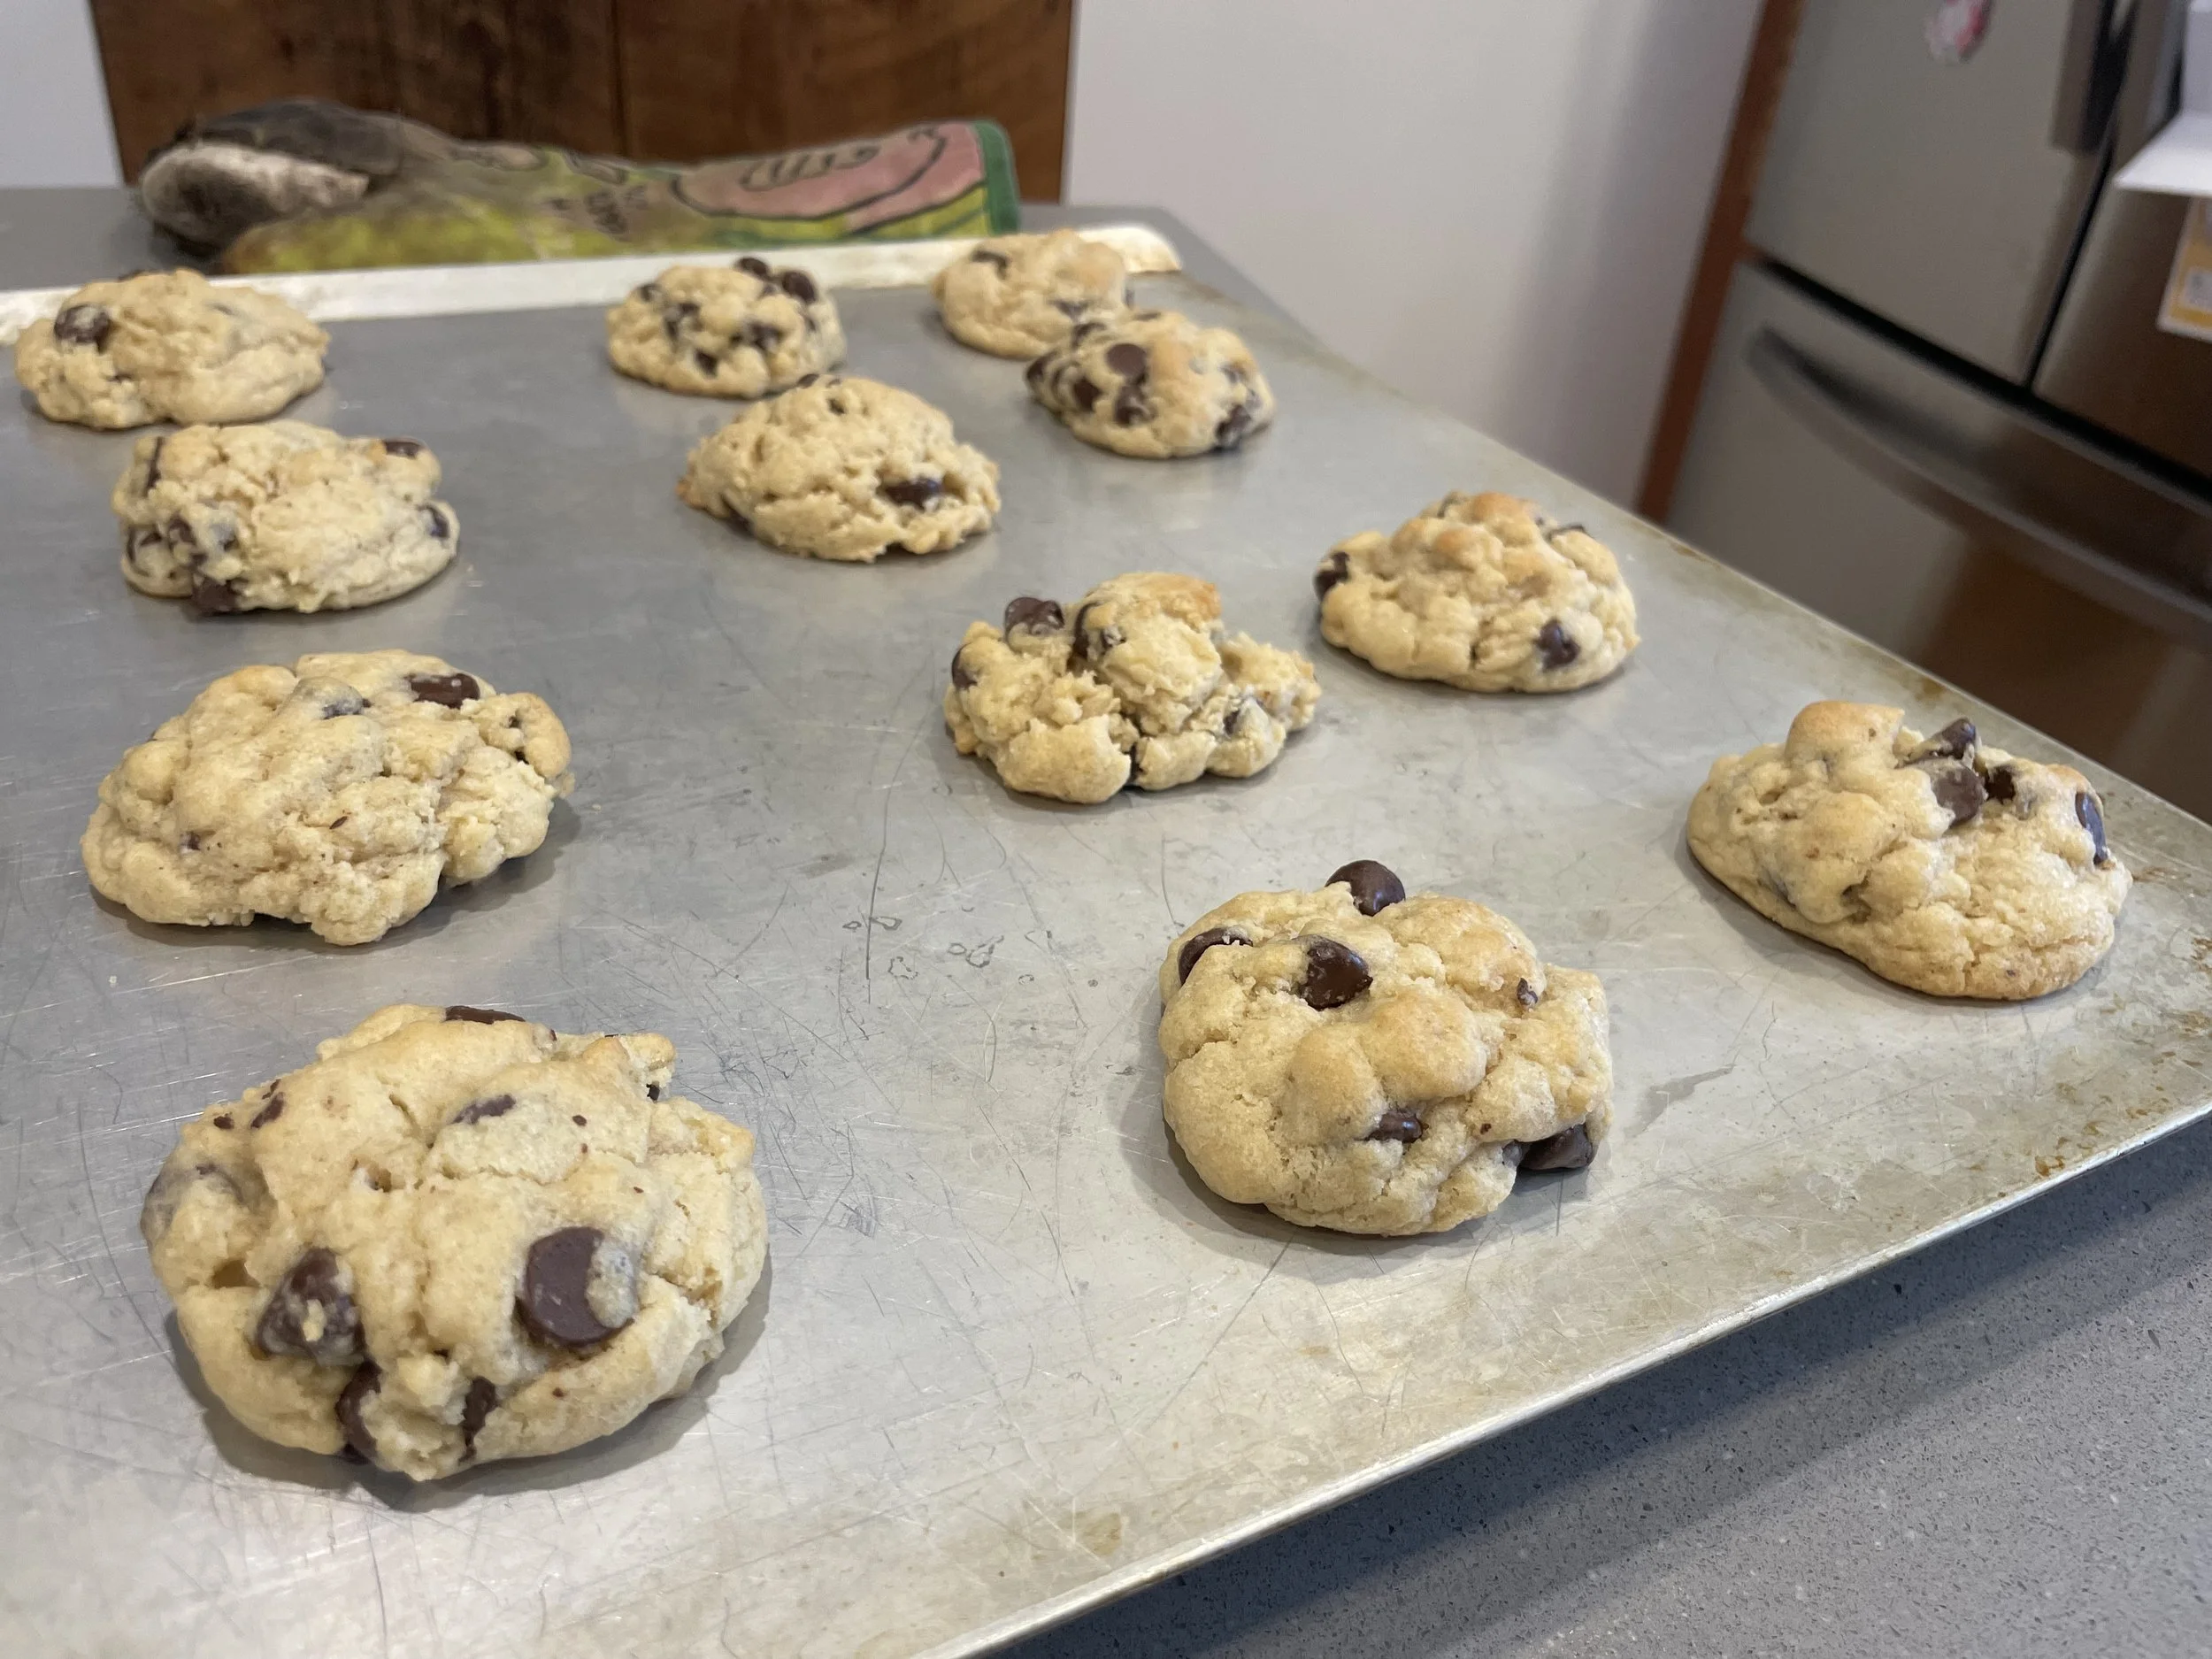
Form cookies into rounded tablespoonfuls a few inches apart on a baking sheet. I can usually fit 12 on a standard sheet.
Bake for 7-10 minutes, until cookies look dry on top or until tops are the slightest bit golden brown, rotating front to back if necessary at around 7 minutes to help them bake evenly. Underdone is preferable to overdone IMHO!
Cool on sheets for 5 minutes before removing to a wire rack to cool fully.
Remaining dough can be stored in the fridge for up to two weeks (or more!) and baked at your leisure. I find it’s easier to make the balls right after the dough is made if you can spare the time, and store it pre-balled, but it’s not necessary by any means.
Enjoy!!

Whole Grain Pear Muffins (With Browned Butter Variation)

There’s just something about muffins that makes them one of my favorite foods. They are portable, customizable, and delicious. When I can set out some muffins in the morning and call it breakfast, maybe a hard boiled egg and fruit if I’m feeling extra, I feel like I’ve set us all up for success. It’s even better when they are whole grain and easy to prepare! These ones can be whipped up quickly with oil (I prefer olive oil), or made a bit more fancy with browned butter and a few extra minutes. As you can maybe tell, I’m a bit of a nut about browned butter in everything recently; my best hint is below.
The browned butter version makes a more tender, crumbly muffin with a delicate texture and delicious sweet flavor, while the oil version are sturdy workhorses that also taste delicious and balanced, the bitterness of the olive oil a nice counterpoint to the brown sugar and pears.
These have less sugar than most muffin recipes and are still plenty sweet. I was curious how they stack up in terms of sugar with other breakfast options, so I did some math. Each of these muffins clocks in at about 2 tsp of sugar, just under 8g of added sugar. To give some reference, a half cup of Bob’s Red Mill Lemon Blueberry Granola has 10 g added sugar, and one serving of Field Day Organic Raisin Bran has 7g of sugar. That makes these a totally acceptable breakfast treat or after school snack in my book. I think if you are truly concerned about sugar you could certainly cut back a bit further although not by much; you need a certain amount of sugar for proper baking chemistry and the structure of the muffins.
We had a surplus of pears on hand that were given to us by a friend (another bonus of living in fruit-growing country) which led to these muffins. They can be made with pears that are on their last legs and need to be used, too—they won’t affect flavor at all. I hope you also find yourself with extra fruit on hand sometime soon!
A note on browning butter: This is a skill that gets easier with practice. My best tip is this: the first time you do it, set a stopwatch when the butter hits the pan and keep a close eye and nose on the butter, not stirring until you start to smell the nutty aroma. Note the time. Stir and watch like a hawk until some of the butter solids turn golden and all the butter takes on a bit of a darker hue. Remove from heat and stop the watch. Now you have a baseline idea of timing for next time, provided you use the same pan, same heat setting and similar amount of butter. You can use a timer to help you with the hands off part and it makes the whole process much easier and more hands-off in the future!


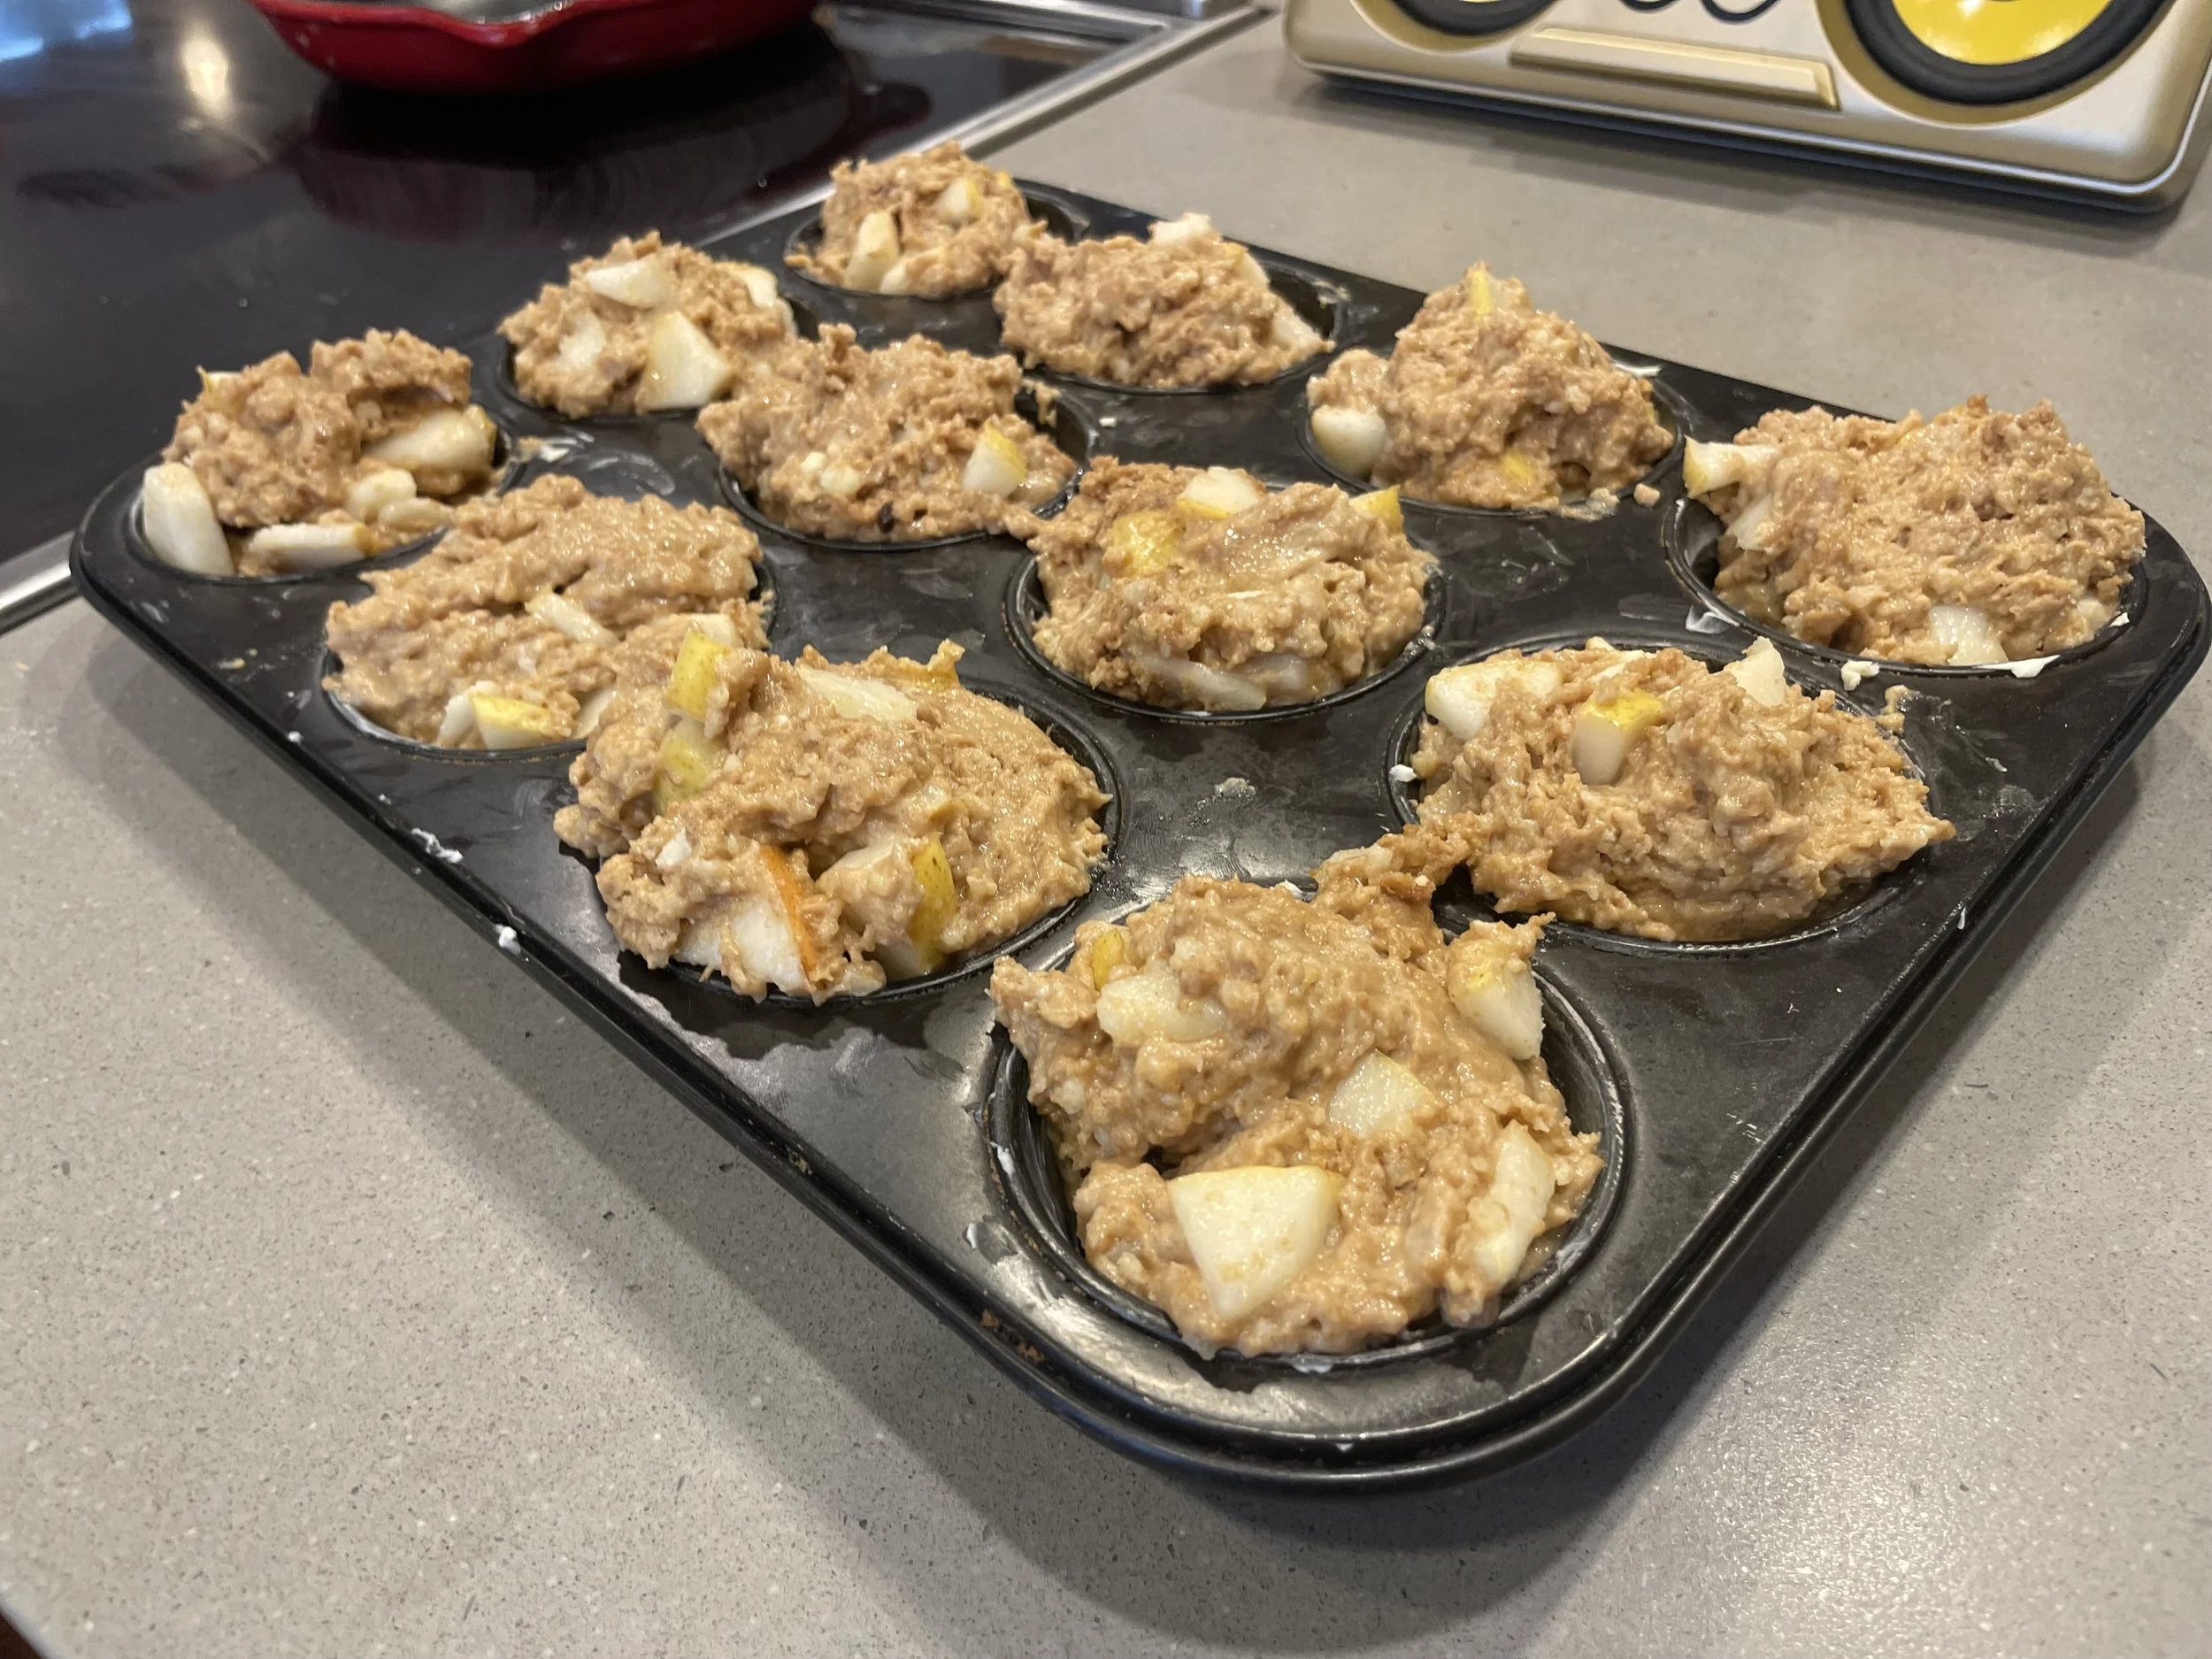
WHOLE GRAIN PEAR MUFFINS (WITH BROWNED BUTTER VARIATION)
SERVES 12
ABOUT 45 minutes
INGREDIENTS:
—2/3 c olive or vegetable oil, or 11 T unsalted butter for browned butter variation
—2 eggs
—1 tsp vanilla
—3/4 c minus 1 T milk
—1 T apple cider vinegar or lemon juice
(—or, substitute 3/4 c buttermilk or whole plain yogurt for the above milk+lemon mixture)
—2 c whole wheat flour
—1/2 c wheat germ (or substitute more WW flour or AP flour)
—2/3 c brown sugar, packed
—1 tsp baking powder
—1/2 tsp baking soda
—3/4 tsp kosher salt
—1 tsp cinnamon
—3 medium pears, diced, about 2.5 cups (I leave the skin on)
DIRECTIONS:
—Preheat oven to 375, butter or oil a 12-cup muffin tin, or line with paper liners.
—Make soured/clabbered milk by adding vinegar or lemon to milk and letting sit for about 3 minutes.
—If using browned butter variation, place butter in a sauté pan or skillet over medium heat. Watch closely as it melts and begin stirring constantly as it starts to give off a nutty aroma, turns a slightly darker color, and a few of the butter solids turn golden. Stir well and remove from heat. Transfer every last drop to a large mixing bowl.
—If using oil, add oil to mixing bowl and whisk eggs, vanilla, brown sugar, and clabbered milk together until homogenous. .
—If using butter, whisk eggs, vanilla, brown sugar, and clabbered milk into the browned butter in the bowl until homogenous.
—Sprinkle flour, wheat germ, and the rest of the dry ingredients on top of the wet mixture. Carefully fold and mix together until some dry ingredients remain. Add pears and mix just until no white streaks or dry pockets remain.
—Scoop batter by half-cup scoops into muffin tin, evening them out so each muffin domes up over the tin about 1-2cm.
—Bake for 20-25 minutes or until lightly browned and tops of muffins spring back when gently pushed, or when a wooden tester inserted in the middle of the largest muffin in the middle of the tin comes out clean, rotating pan front to back at about 18-20 minutes.
-Leave in tins for 5 minutes before gently removing to a wire rack to let cool further. I use a butter knife to work carefully around each muffin for an easier release.
—Enjoy! These keep, covered at room temperature for 24-48 hours and in the fridge up to a week after that. The older muffins are great split and toasted, with butter, just in case you needed that extra information. :)


Sweet and Salty Browned Butter Popcorn

This probably doesn’t qualify as a recipe so much as simply a good thing to make. The kids can even make the popcorn themselves with our old-school air popper. (This appliance deserves its own aside—it punches well above its $15 price and more than deserves its share of precious kitchen drawer space. Let’s just say I haven’t gotten an instant pot yet because I don’t “have” the space for it, but I’m happy to let this popcorn maker hog all the space it needs.) But back to the popcorn. It takes a total of about five minutes, it’s cost-effective, and IMHO tastes much better than the stuff out of the bag!
SWEET AND SALTY BROWN BUTTER POPCORN
Serves: 4-6 as a snack
INGREDIENTS
—1/2 cup unpopped popcorn kernels, or about 8 cups popped, plus oil if needed
—5 T butter
—1/2-1 tsp kosher salt
—1 T brown sugar. or honey
DIRECTIONS
Pop corn according to directions on the popcorn maker. Or, use a large heavy pot with a lid on medium high heat to pop the corn with 2T oil for about five minutes, covered, shaking the pot gently until all of the kernels are popped.
Meanwhile, place butter in a skillet over medium heat, stirring occasionally until lightly brown with a nutty aroma. Watch it closely so as not to burn it. Remove from heat immediately, stir in the brown sugar or honey and salt, and drizzle the mixture over the popcorn, stirring as you go. Taste and adjust seasoning, sprinkling more sugar and/or salt to your taste, or even adding up to 1 tsp of curry powder for a delicious variation. The possibilities are endless!


Our air popper, nestled in its well-deserved kitchen drawer space.
Easiest Best Chicken and Dumplings

Chicken and dumplings isn’t one of the most beautiful looking or fanciest meals, but it might be one of the tastiest, coziest, most comforting thing to make on a cold evening. I’ve adapted this one over time from a recipe from Real Simple and have made it even more simple and right to our tastes. You can of course make it more complicated by making your own stock, but the one below is quick and easy enough for a weeknight, which makes it our go-to.
EASIEST BEST CHICKEN AND DUMPLINGS
Serves: 6 or so
Time: 45 minutes
INGREDIENTS:
—2-3 lbs boneless skinless chicken thighs
—1 onion, diced
—3-4 celery ribs, sliced, including leaves if you want (I do)
—3 large or 4 medium carrots, sliced
—one clove garlic, minced (optional)
—1 T olive oil
—1 T butter (or use more olive oil)
—sprig of thyme or 1/2 tsp dried thyme (optional)
—4 tsp chicken bullion paste (I use Organic Chicken Better than Bullion), or 8 cups chicken stock**
—2 c AP flour
—6 T butter, melted
—3/4 c minus 2 tsp milk***
—2 tsp lemon juice or vinegar***
—1 T baking powder
—1/2 tsp baking soda
—1 tsp diamond crystal kosher salt, or 1/2 tsp of regular salt
—additional salt and pepper to taste
DIRECTIONS:
—In a large soup pot with a lid, heat the 2 T oil and butter (or all oil) over medium heat. Add the onion, carrot, celery, and optional garlic and cook until translucent and soft but not beginning to brown, about 5 minutes. Add the chicken and thyme and stir, then add the 4 tsp bullion paste plus 8 cups of water or the broth, stir again to combine and cover. Bring to a low boil and simmer, covered, until chicken is cooked through, about 15 minutes.
—Meanwhile, mix the lemon juice and milk and let sit (at least 2-3 minutes) to make “butter”milk. Stir together the flour, baking powder, baking soda, and 1 tsp kosher salt, and pepper if you’d like. Melt the 6 T butter if you haven’t already.
—Once the chicken is cooked through, remove each piece of chicken and shred with a fork until all the chicken is shredded, keeping the rest of the soup warm over medium low heat while you do this. Return the shredded chicken along with any accumulated juices back to the pot and turn the heat to medium high while you make the dumplings. Once it’s bubbling again, taste the soup and adjust seasonings; add pepper and salt if needed.
—Add the melted butter to the flour mixture, stirring to combine, and then add the milk and lemon mixture. Stir gently just until just combined.
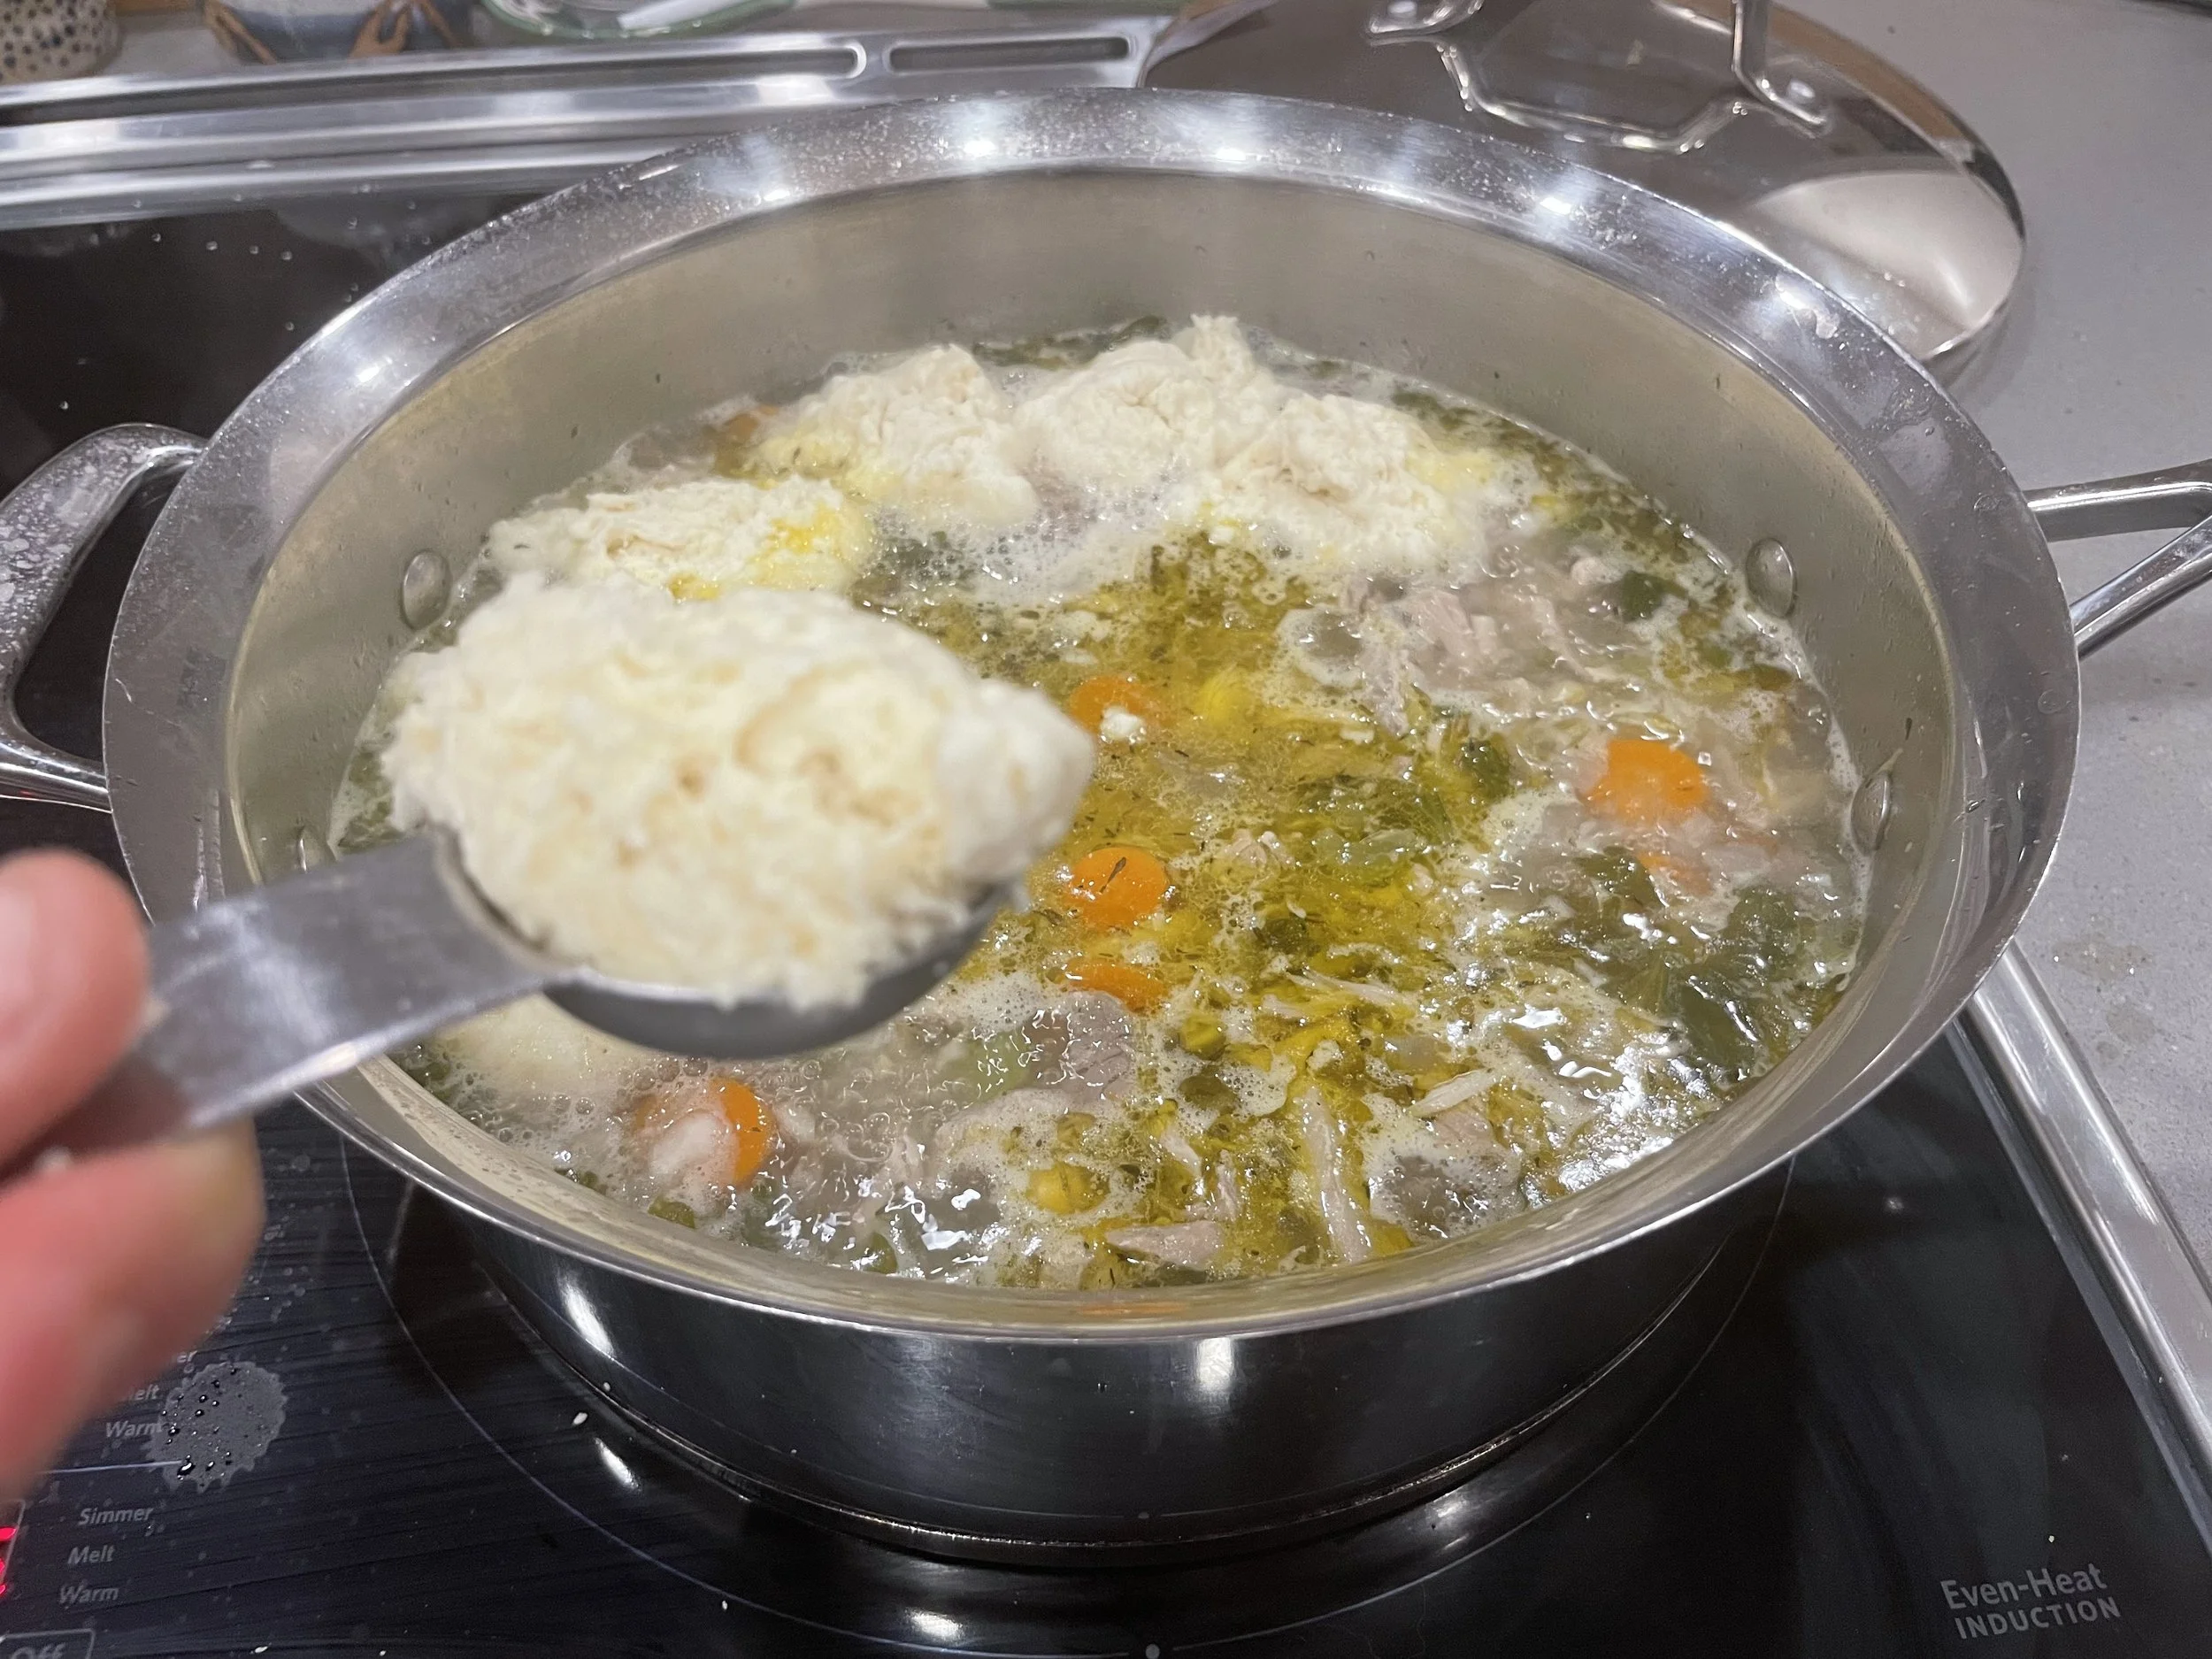
—Drop batter by rounded tablespoons-full into the hot soup, covering the surface of the soup with dumplings. Place the lid back on the pot and let simmer, covered, for 12 minutes. Turn heat off and let the lid stay on for another minute or two, then ladle the dumplings and stew into bowls. Enjoy!
**You can certainly make this with water instead of stock or bullion—if I’m doing this I try to get bone-in, skin-on chicken thighs for a bit more flavor, but not strictly necessary. You will need to season the final soup more without the saltiness of the stock.
***If you have buttermilk you can certainly use it here or substitute plain, unsweetened kefir or a runny plain yogurt), but I find that this easy soured milk works great here.


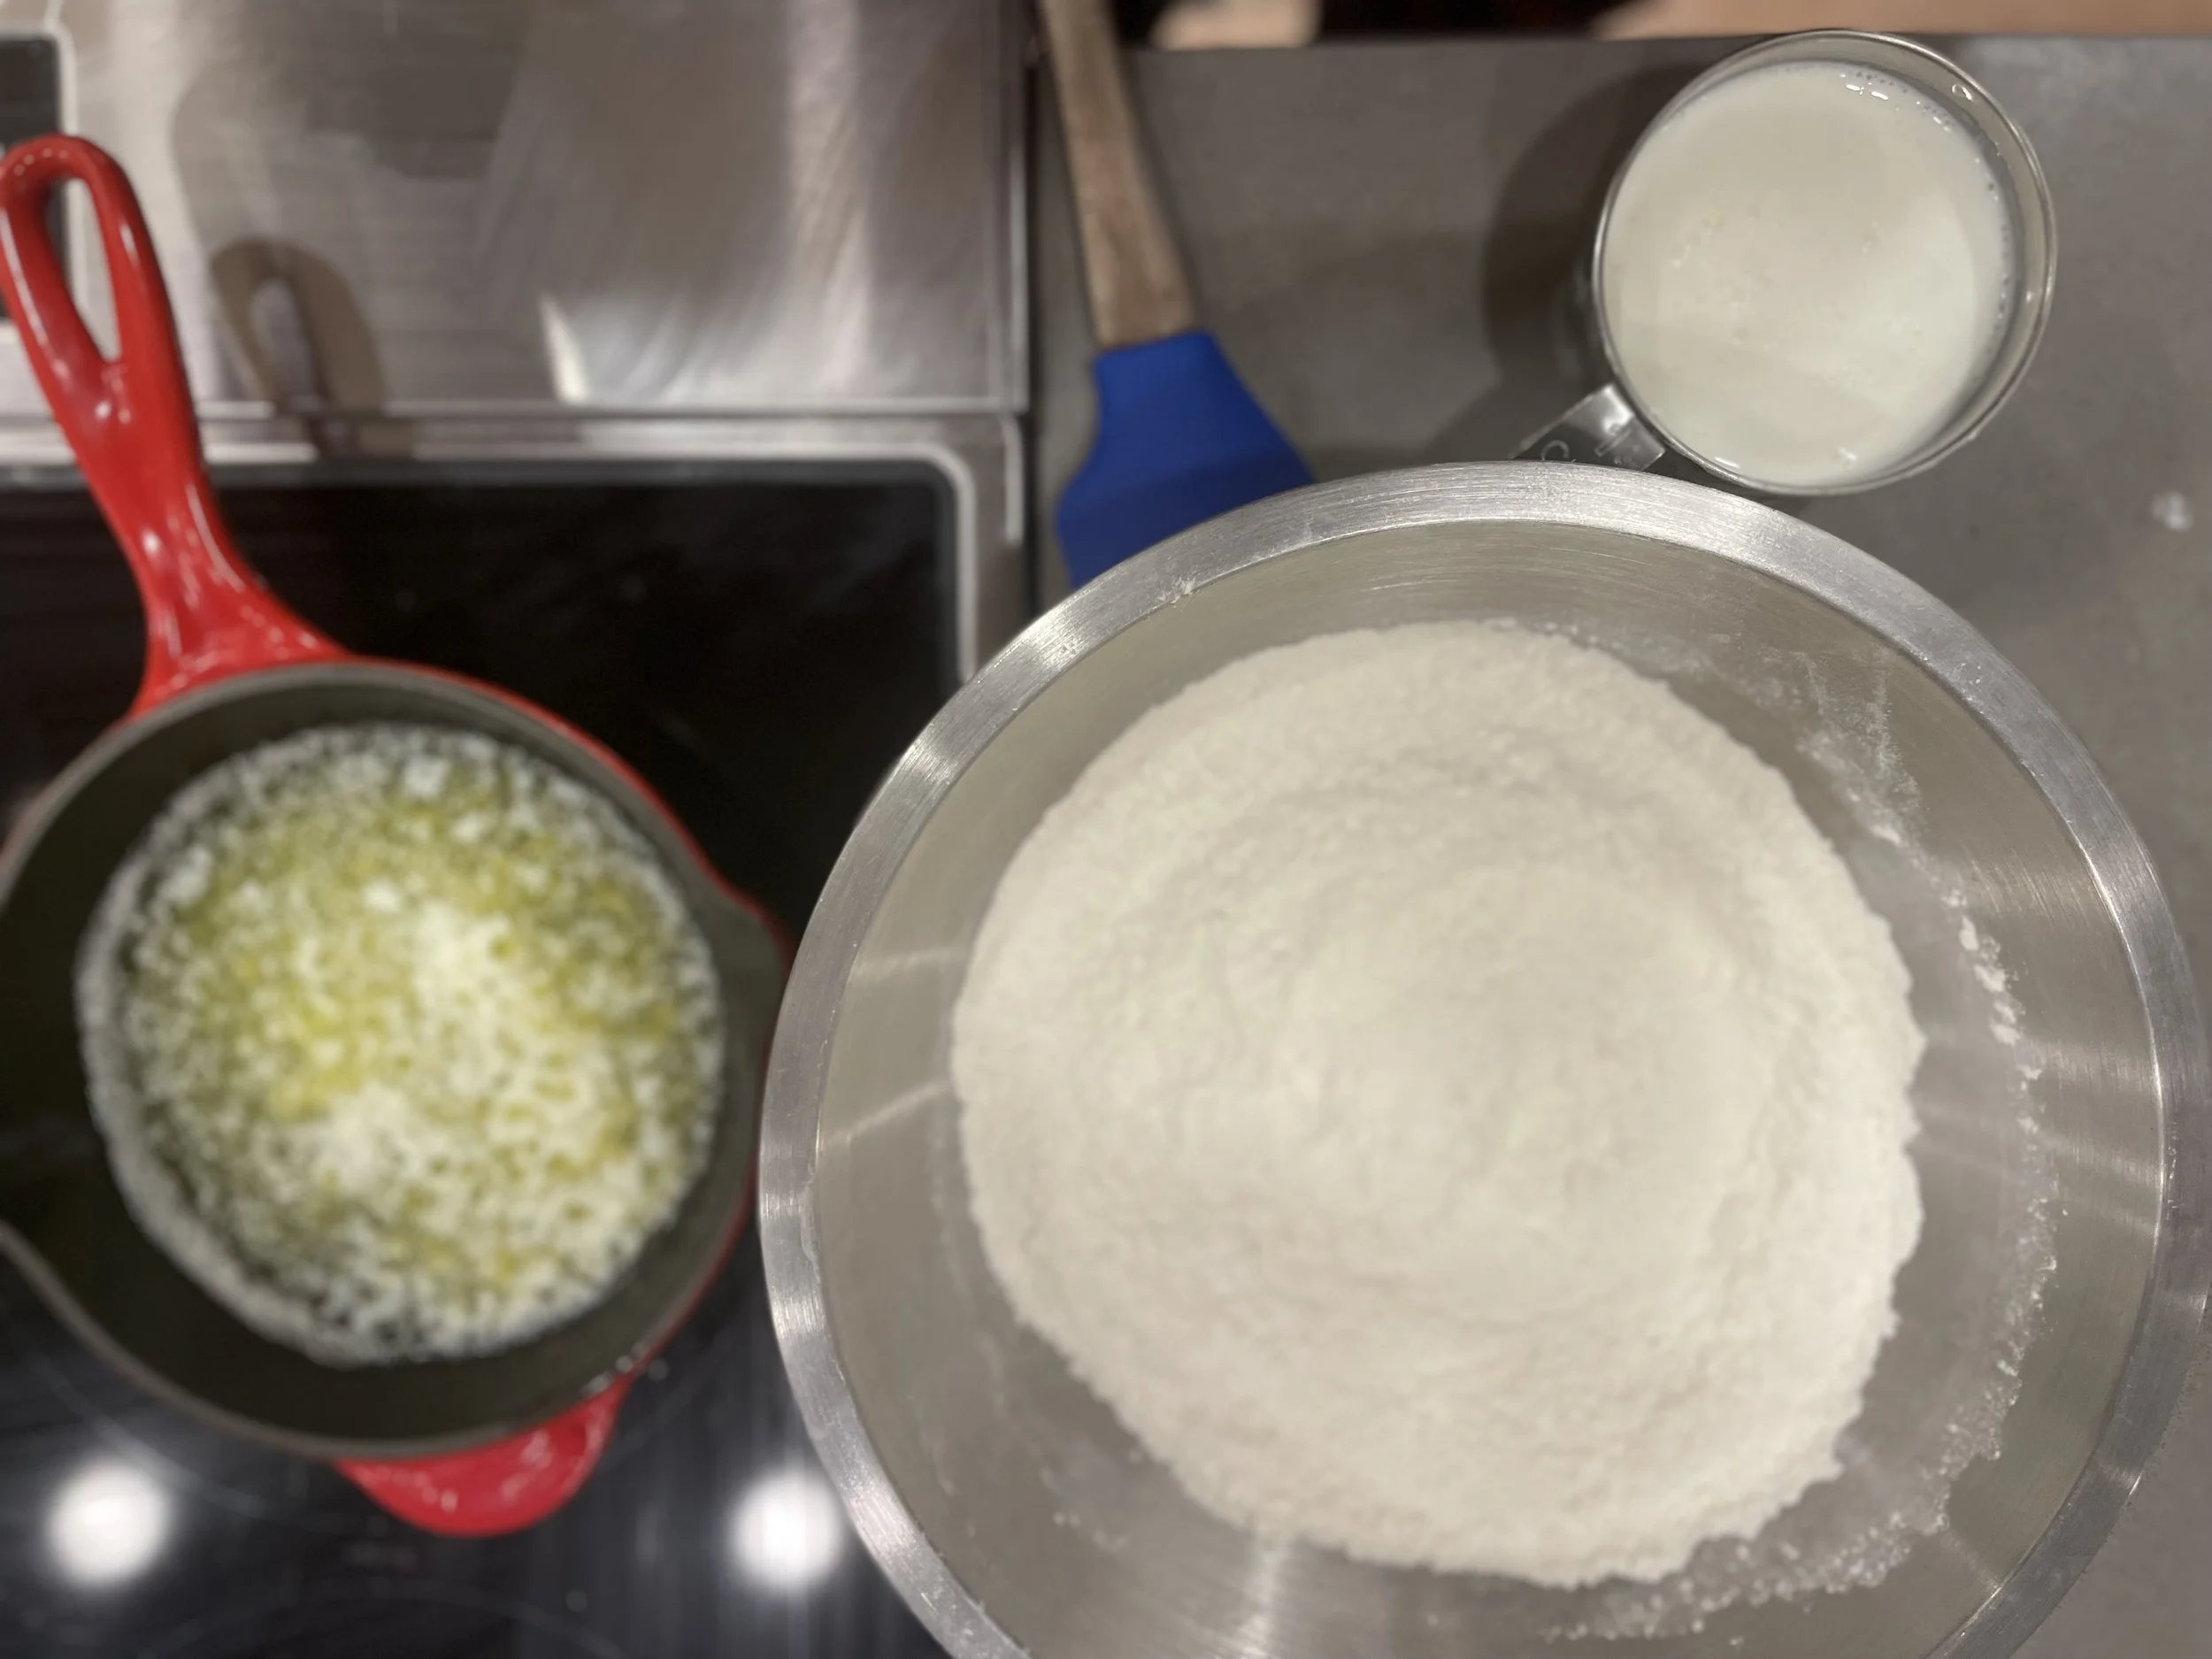

Cauliflower Tacos with Easy Charred Salsa and Cilantro Crema
This recipe is a home run in our house—everyone gets to build their own creation from a multitude of options, and it’s always delicious. The salsa is a very loose recipe that comes from our friend Chile in Mexico; his mom used to make it for him and he made it for us, charring the veggies on a grill. So far I haven’t replicated it to taste as good as his, but even the worst batch is still fantastic. As for the rest of the taco toppings, feel free to change or adjust to your liking!

Purple cauliflower adds color and interest. I like to chop up the healthy looking leaves and keep them in the mix, too!
Serves: 4
INGREDIENTS:
TACOS:
—1 head of cauliflower, torn or cut into bite sized pieces, I use the leaves too
—1 T taco seasoning, use prepared or I like to make this one, from Alton Brown, using regular paprika and plain old ground cumin. :)
—salt and pepper
—olive oil
—8 tortillas, taco-sized, corn or flour
SALSA:
—three large tomatoes, cut in half
—half a white onion, cut into three wedges
—2-3 cloves garlic, peeled
—1-2 jalapeños or serranos, to taste
—salt
—lime juice (optional)
CILANTRO CREMA:
—3/4 c sour cream
—2 T cilantro, chopped
—1 T lime juice (substitute lemon juice is okay too)
—1 clove garlic, minced, or sub a few shakes of garlic powder
—1/2 salt, to taste, plus fresh ground pepper
—drizzle of olive oil
—a few shakes of Tajin seasoning, optional
ADDITIONAL ACCOMPANIMENTS:
—avocado, sliced
-cheese, crumbled or finely grated—I prefer a salty cheese like cotija, pecorino, or parmesan
—refried or whole black beans
—pickled onions (toss 1/4 thinly sliced red onion with 1 T lime juice, salt and pepper, let sit for 5-10 min)
—cabbage salad or salsa, my recipe is here

Simple is best!

Almost easier than opening a jar. Certainly easier than going to the store.
INSTRUCTIONS:
—Preheat broiler.
—Using gloves or being very careful of your fingers with the spicy peppers, pull or cut the stems out of the jalapeños, and seed them if you are worried about heat (I usually take a tiny bite of one to see what I’m dealing with before adding them!). Place tomatoes (cut side up), onion, jalapeño, and garlic on a sheet pan under the broiler. SET THE TIMER and check after 4-5 minutes—I usually remove the smaller garlic and peppers at this point and let the tomatoes and onion keep going for another 4-5. You want everything to be wilted and slightly charred. Remove from oven and turn the oven to 400 degrees.
—Meanwhile, toss cauliflower pieces, olive oil, taco seasoning, and a sprinkle of salt and pepper with your hands on a sheet pan. Once the salsa veggies are charred, put the cauliflower in the oven to roast, ideally 30 minutes or until roasted and slightly charred, but check and flip after about 20 min.
—Meanwhile, place toasted jalapeño and garlic in a food processor and pulse until fine. Add tomato and onion and pulse several times for one second each until you get a chunky salsa consistency. You can also add all of the veggies and blend in a blender, taking care to not over-blend. Add 1/2 tsp salt and then taste and adjust for seasoning, adding a squeeze of lime juice and/or more salt and pepper if necessary.
—Make crema by whisking all ingredients together (except Tajin)—taste and adjust seasonings. Usually more salt and lime are welcome. :). Garnish with optional Tajin.
—Start onions pickling, warm up beans on medium low heat, grate cheese, and slice avocado, if using. Warm tortillas, either in a pan, microwave, or quickly under the broiler on a sheet pan, watching them like.a hawk.
Serve up all of the ingredients and let each eater make the tacos of their dreams!

Colorful and delicious!

Huckleberry Pie

There’s some discussion out there as to what a huckleberry is. There are the red ones, which I guess would be red huckleberries, then the blue ones—but there are a few different types of blue ones. There are low bush blue ones and high bush blue ones, ones with dusty skins and ones with deep purple translucent skins. I’ve been told that they are all officially called “blueberries,” but when I referred to them as that recently online, someone told me that they are actually huckleberries. Regardless of what you want to call them, I think they are absolutely one of the best things that grows on this earth! :)

Whatever you want to call them, please call me if you have some.
So, for the record, this pie is for the wild huckleberries that one picks in the Northwest (and also Montana, British Columbia, California, and elsewhere I’m sure), either low bush or high bush. We pick ours in the Cascades every year—it’s become a tradition now. Usually we make huckleberry milkshakes and then freeze some, but this year we got a request for a pie, and so I made it. Usually I feel like making a pie with fresh, hard-earned berries is somehow not their best use, like all those berries! In one pie!

Yeah the views are great and all, but LOOK AT ALL THESE BERRIES! Suzanne Brydges surveys her domain at Stevens Pass.
But I made it and honestly it felt like the most indulgent treat possible. We licked the plates!

One for me, one for me.
I researched several recipes online but there aren’t too many, and many had lemon or other flavors. I’m not a fan of tapioca in my pies, and I wanted pure huckleberry, all of their tartness and flavor to shine through, so I just sort of made it up and it was absolutely perfect, in my mind, to what I like a pie to be—good flavor, not too sweet, buttery, flaky crust.

Like blue gold…
Now, I don’t mind a runny pie—I like the middle to make a sauce for my ice cream. If you have the foresight or the patience to let this pie sit for 3 hours, it will set up a bit more, but I have never been able to wait long enough for that. I like it warm! If you like a thick pie, I recommend letting it cool for several hours, or finding a recipe that uses tapioca for more of that gel-type pie filling consistency. I prefer mine more runny, naturally textured, and au natural, like this one. It just might have to become a tradition!
INGREDIENTS:
—5-6 cups wild blue huckleberries (fresh or frozen) (sub frozen wild blueberries if you don’t have enough)
—1 cup sugar
—3 T butter, cut into 6 pieces
—3 T flour
—3 T cornstarch
—one egg white, beaten with 1 T water
—double crust pie dough, chilled; I only use all-butter pie doughs, and this is my go-to recipe here (leave it to Martha)

DIRECTIONS:
Preheat oven to 425 degrees; if you have a pizza or baking stone, put that in the oven to preheat as well. If you don’t have a stone, you can use an empty baking sheet or skip the heated bottom if you’d like (I find that it helps to crisp the bottom of the pie quickly to have a preheated surface underneath it for the first 15 minutes of baking but it’s not necessary).
Gently toss the berries with the sugar, flour, and cornstarch in a large bowl, coating each berry with the mixture. Set aside.
Roll out one half or one crust of the pie dough to 1/8 inch thick, and drape it gently into the pie pan. Brush the bottom circle of the pie dough lightly with part of the egg wash (this helps prevent soggy bottoms). Place the pan back into the fridge while you prepare the rest of the dough.

Roll the remaining dough out to 1/8” thick. Gently pour the berry mixture into the bottom pie dough in the pan, and try to evenly distribute any remaining flour/sugar/cornstarch evenly over the berries. Dot the butter pieces over the berries evenly, and drape the second dough over the top of the pie, cutting any excess dough (make pie crust cookies with the excess dough by brushing with egg wash, sprinkling with cinnamon and sugar and baking for 15 minutes!) and crimping the edges of the pie.
Brush the top and crimped edges of the pie lightly with egg wash, and use a knife to cut small slits in the top of the pie in several places for the steam to escape.
Bake the pie on the prepared stone or sheet (optional) for 15 minutes at 425, then remove the stone or sheet and turn the oven heat down to 375; continue baking the pie for 30-40 more minutes until the top is golden brown and the berry juices are bubbling. Let cool as long as you can stand it. Slice and enjoy! Leftovers keep fine covered on the counter for a day, and then in the fridge for another day or two (if they are still around!).

In hot pursuit of the goods…..

Orange Vanilla Cream Soft Serve

Try this immediately! Well, I mean, once the oranges are frozen.
This one is inspired by the resurgence of the orange creamsicle flavor that I’ve been seeing everywhere—our local ice cream shop, Tillamook limited edition at the store, and apparently even in a Wendy’s Frosty.
Well, I daresay this recipe is better, easier, and way more delicious than all of those. Yes, I’m tooting my own horn, but this is four ingredients, all natural, and so easy. The hardest part is honestly remembering to put the oranges in the freezer ahead of time and then patiently waiting for them to get frozen!
INGREDIENTS:
—3 oranges, peeled and frozen (bonus tip, if you have time to chop the oranges into chunks before freezing, it helps them blend easier!)
—3/4 cup heavy whipping cream (or unsweetened coconut / nut cream for non-dairy)
—3-4 T sugar, to taste
—1 tsp vanilla
DIRECTIONS:
Mix all ingredients in a food processor or high-powered blender on high speed until well blended and creamy. Taste and adjust sweetening to your liking; add more cream for a thinner consistency. Enjoy immediately!

Creamy dreamy

Frosty cool treats! Better than those chain spots down the streets.

One step closer to summertime bliss!

Oranges in the summertime? Trust me, worth it!!!!

Strawberry Rhubarb Crisp

Breakfast! I mean, dessert.
I have no shame when it comes to begging, borrowing, and stealing rhubarb. Now, I’ve never actually stolen any, though I’ve been tempted by a thick patch once or twice. I have been known to (gasp!) buy some in a pinch, but rhubarb is one of those things (like zucchini) that in most places it seems like there’s always a kindly person with extra garden bounty who is happy to share. One time I was forlornly talking about how I was looking for some while checking out at the local health food store. The kindly clerk said, “There is a ton at the place I’m renting and I am not going to use it. Here’s my address, come on by!” Perhaps a normal person would have felt awkward and shy about this, but I will overcome a lot of things for free rhubarb, so I showed up at her house the next day and took her up on it, very gratefully.

Waiting for the rhubarb lovers to join…
I have been trying to grow our own for almost ten years now, including two very special plants sent from Wisconsin by my mother-in-law, and this year it’s finally at a size where I can meaningfully harvest it. While I will miss my random encounters with strangers over rhubarb (oh, and definitely don’t be shy if you have extra, I can always put more to use…hint, hint), it feels amazing to be able to go out and cut off several stalks and make one of our favorite desserts. This is also the time of the year when strawberries start going on sale but invariably some baskets are better than others; the tasteless ones or the ones on manager’s special, super sale, or the ones in the back of your fridge, a day away from being composted, are absolutely perfect for this dessert. Free strawberries are a bit harder to come by (whoever heard of someone having too many strawberries?), but of course, if you’re even more lucky and have friends with strawberries, or can go pick at a farm near you while the rhubarb is still in season, then this dessert will be even more out-of-this-world.

The elusive rhubarb patch, in the flesh.
I’m a strawberry rhubarb purist; I don’t like vanilla, cinnamon, orange, or lemon trying to interfere with the perfect marriage of strawberries and rhubarb in my crisps, but you can find plenty of recipes out there that add other stuff in if you are into that kind of thing. My favorite recipe is this one: simply fruit plus sugar with a flour, oat and butter topping, baked to perfection. It’s amazing with a scoop of ice cream, or—my personal favorite—for breakfast the next day with some plain yogurt. I hope you have lots of friends and neighbors with extra rhubarb!
Note: This recipe can easily be made gluten-free—see substitutions below.


INGREDIENTS
FRUIT FILLING
—4 cups strawberries, hulled and sliced (from about 2.5-3lbs strawberries)
—5 cups rhubarb, sliced into 1/2 inch pieces, from about 8-10 medium stalks
—1.5 cups sugar
—3.5 T flour (substitute cornstarch for gluten-free)
CRISP TOPPING
—1 cup all-purpose flour (substitute 1:1 gluten-free flour blend for GF)
—1 cup rolled oats (use GF rolled oats for gluten free)
—1 cup brown sugar, packed
—1 cup (2 sticks) butter, cut into chunks
—pinch salt
DIRECTIONS:
Preheat oven to 375 degrees.
Mix sliced strawberries and rhubarb in a 9x13 baking dish. Add 1c sugar and 3.5 T flour or cornstarch and mix thoroughly until fruit is coated with flour/sugar mixture.
Combine all of the crisp topping ingredients in a food processor, or a large bowl if you’re making the crisp by hand. By hand: using a pastry cutter, two knives, or your fingers, mix all ingredients together in the bowl, cutting or pinching butter into small chunks until the mixture is uniform with pea-sized butter clumps. By food processor: process all ingredients in 8-10, 2 second pulses or until the mixture is uniform with pea-sized butter clumps.
Pour crisp topping ingredients over fruit mixture, pressing down and spreading to the corners until mostly even.
Bake for 45-60 minutes until topping is light brown and the edges of the crisp are bubbling. Let sit for 15-30 minutes (or longer) to let the juices thicken. Serve with ice cream, whipped cream, or plain!

The end goal—perfection.

Grapefruit Brûlée (Broiled Grapefruit Dessert)

Easy, peasy, grapefruit squeezy.
Well hello! It’s been a while, and I apologize for that. I did not cook much this fall which was VERY WEIRD but we were on an extended family trip/adventure and we were maximizing fun and minimizing kitchen time. It was good for me to have a break from being focused on cooking nutritious delicious meals every day in addition to work and life, and now I know for a fact that we can survive and even thrive when I’m not making three home cooked elaborate meals a day (I know, shocking, right?!), AND ALSO I’m so happy to be back in our kitchen and mixing it up. Sometimes it’s great to put more effort in, too—it’s been great to have that permission/reminder that it’s perfectly acceptable to have pasta or sandwiches or nachos on any given night and we will be just fine. Upon our return to a busy winter in full swing, I’m attempting to have somewhat of a balance with most things, including balance itself, and keeping some grace with it all has been so refreshing.
Which brings me to this “recipe.” It’s one of those brilliant recipes that’s not really a recipe, it’s just a genius idea that someone had once and now it’s a thing. Or at least it was when I was a kid, and I’m going to do my best to bring it back, because it’s so easy and yummy and fun and exciting. My mom used to do this every once in a while and it stood out to me as something special and fun and unique whenever we had it for dessert.
Grapefruit? With sugar? Under the broiler? For dessert? Yep, that’s it! When I remembered this dish and made it the other night, our kids were so excited to have something familiar turned upside down, and they loved watching the sugar melt through the oven door. When it had cooled off a bit, they were silent for a full five minutes while eating, delighted with the hands-on nature of eating grapefruit and the unexpected mix of sweetness and warmth that makes it special. My pics here are not the best, but I assure you it’s gorgeous and fun to deliver, and next time I might experiment with an ala mode ice cream situation just to really get wild. :). So, next time you find yourself with a few leftover citrus beauties hanging out and getting a little peaked since your last big shop, give it a try. I hope you enjoy!
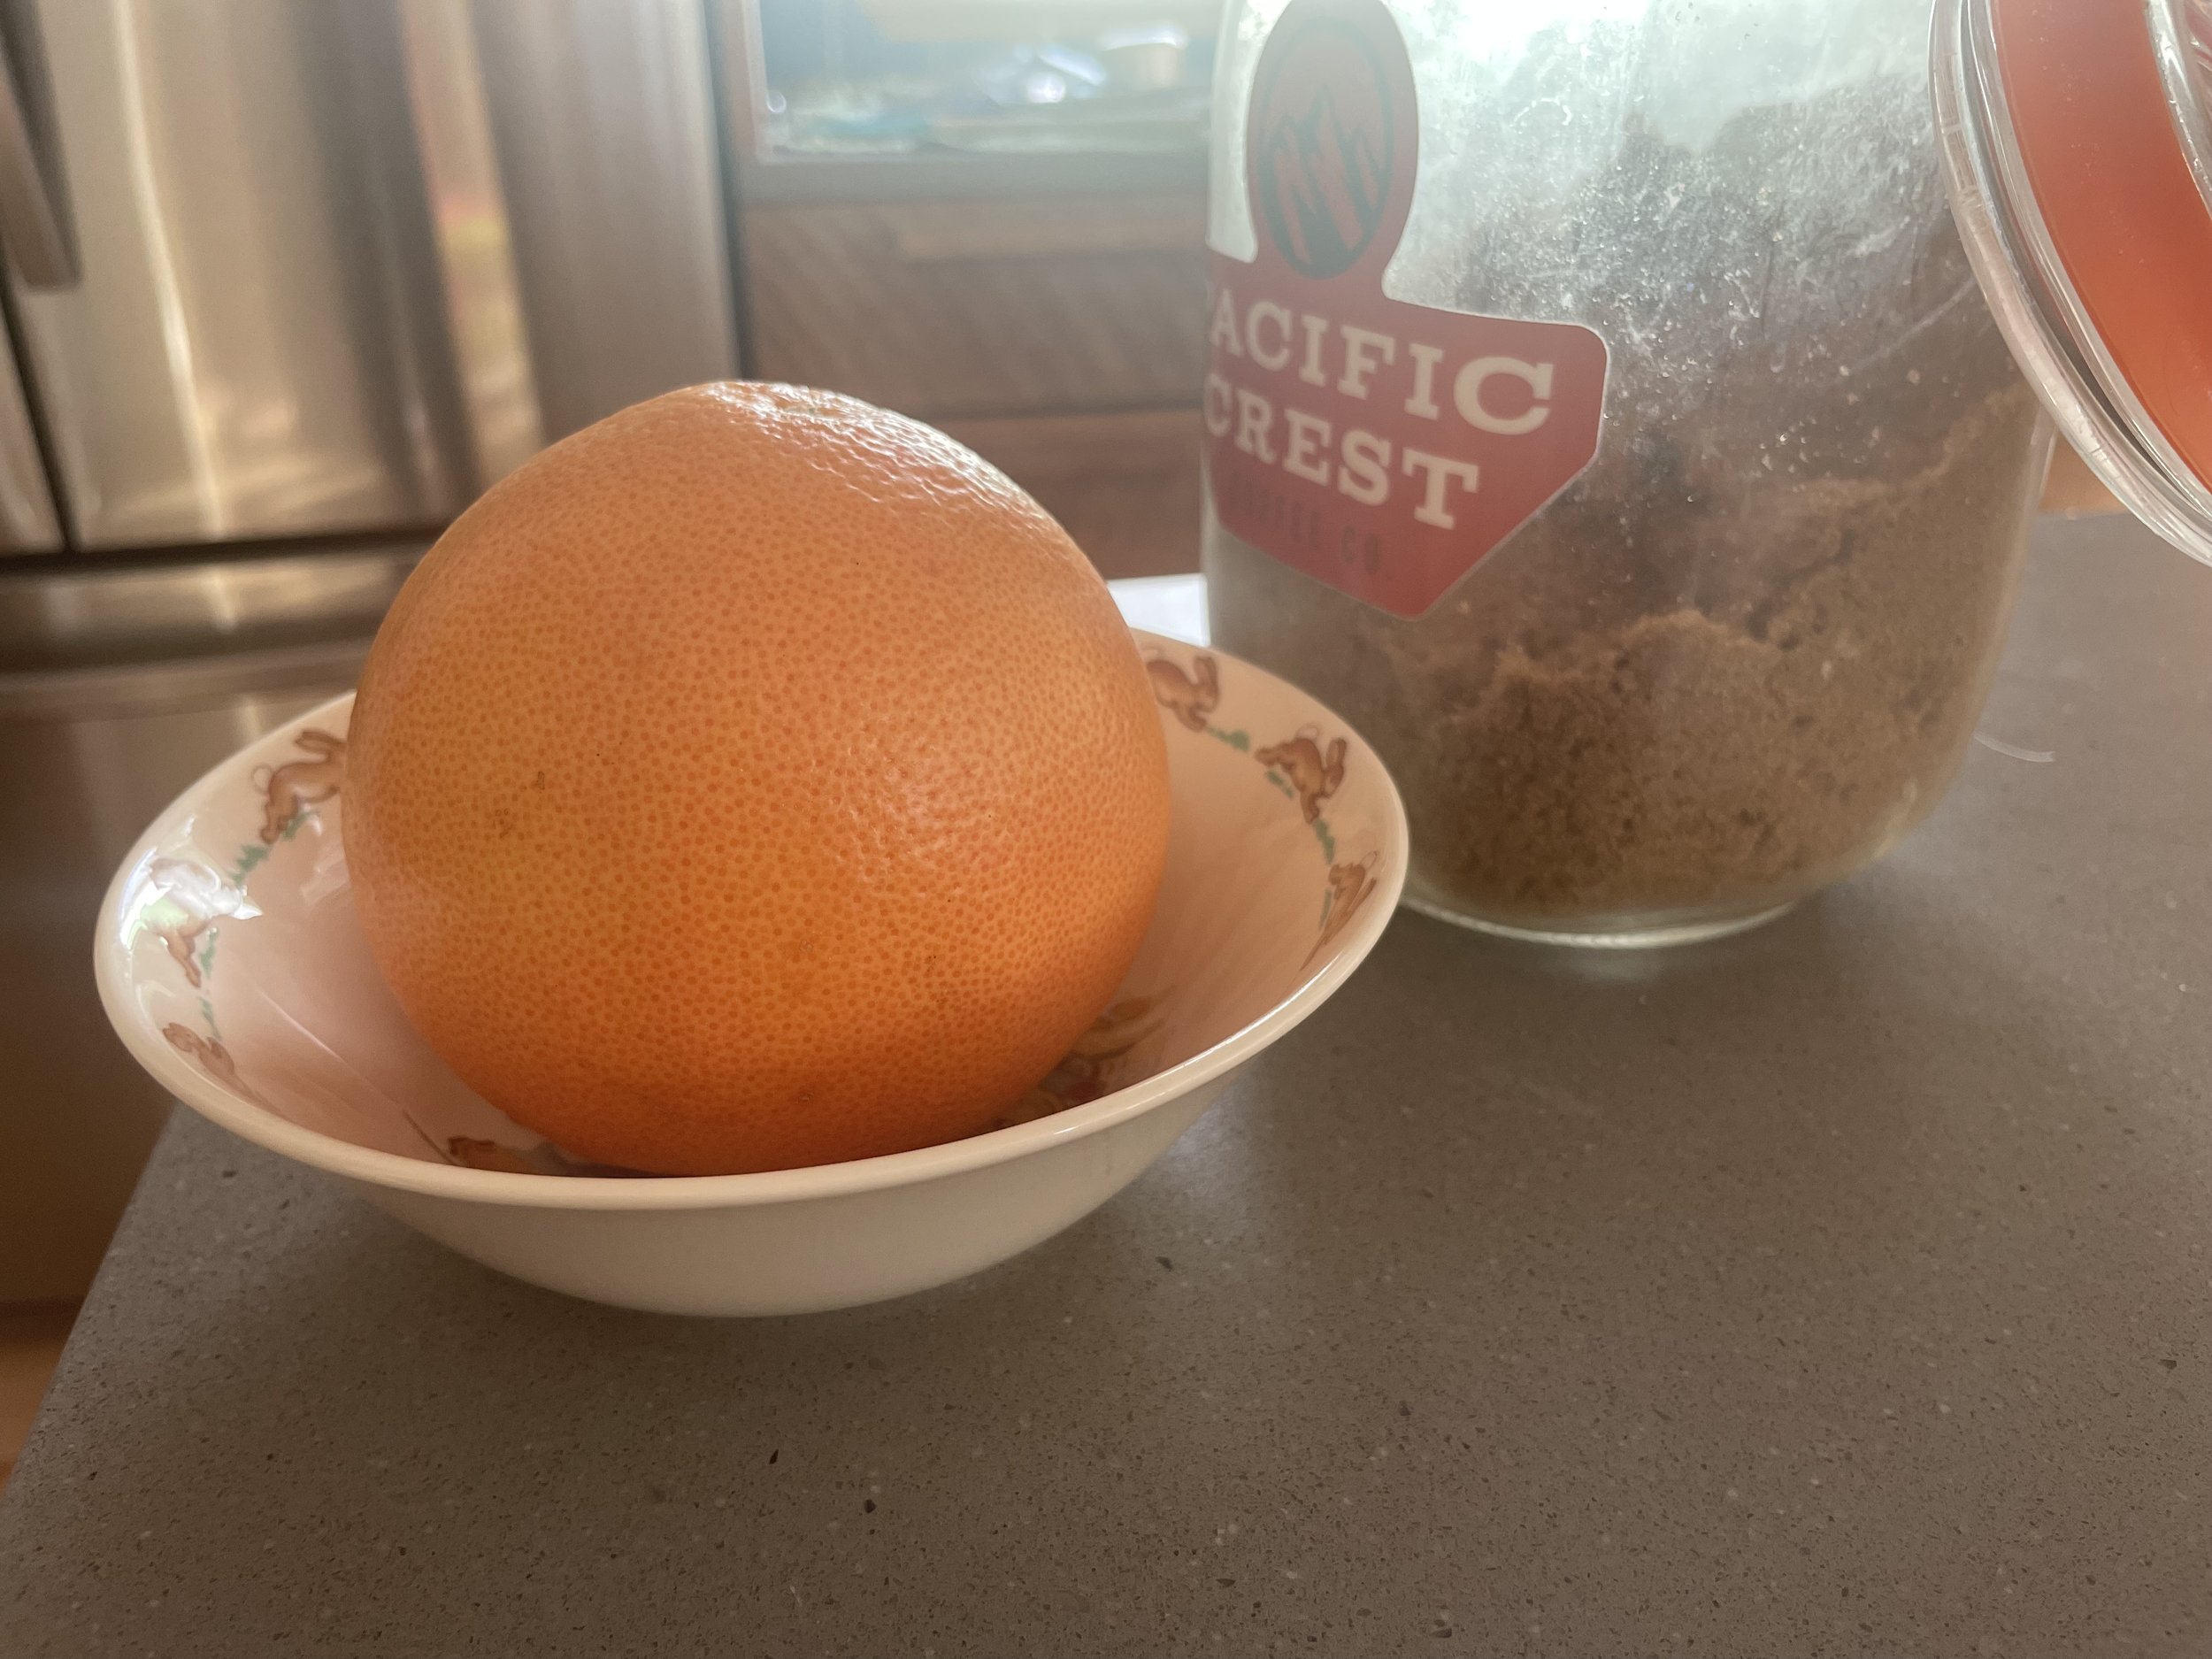
Two ingredients. You call this a recipe?!

Putting sugar on fruit blows kids’ minds. And some adults too!
GRAPEFRUIT BRULEE (Broiled Grapefruit, For Dessert)
One grapefruit serves 2 people
INGREDIENTS
—one grapefruit for every two people
—2 T brown sugar per each grapefruit
DIRECTIONS
Preheat the broiler in an oven or toaster oven.
Slice each grapefruit in half across the equator to make two equal pieces. Use a small sharp knife to go around each half-section to loosen the pulp from the membrane so that they can be eaten with a spoon.
Sprinkle 1 T brown sugar across the top of each grapefruit half, spreading it across the surface evenly. Add more if you’d like.
Place grapefruit halves under broiler, a few inches from the heat source, and watch like a hawk until the sugar begins bubbling and turns golden brown and begins to caramelize.
Remove halves from the oven, place each in a bowl, and serve soon, after letting them cool just slightly as the sugar will be molten hot when they first come out.
Don’t forget to squeeze the empty half and drink the juice!
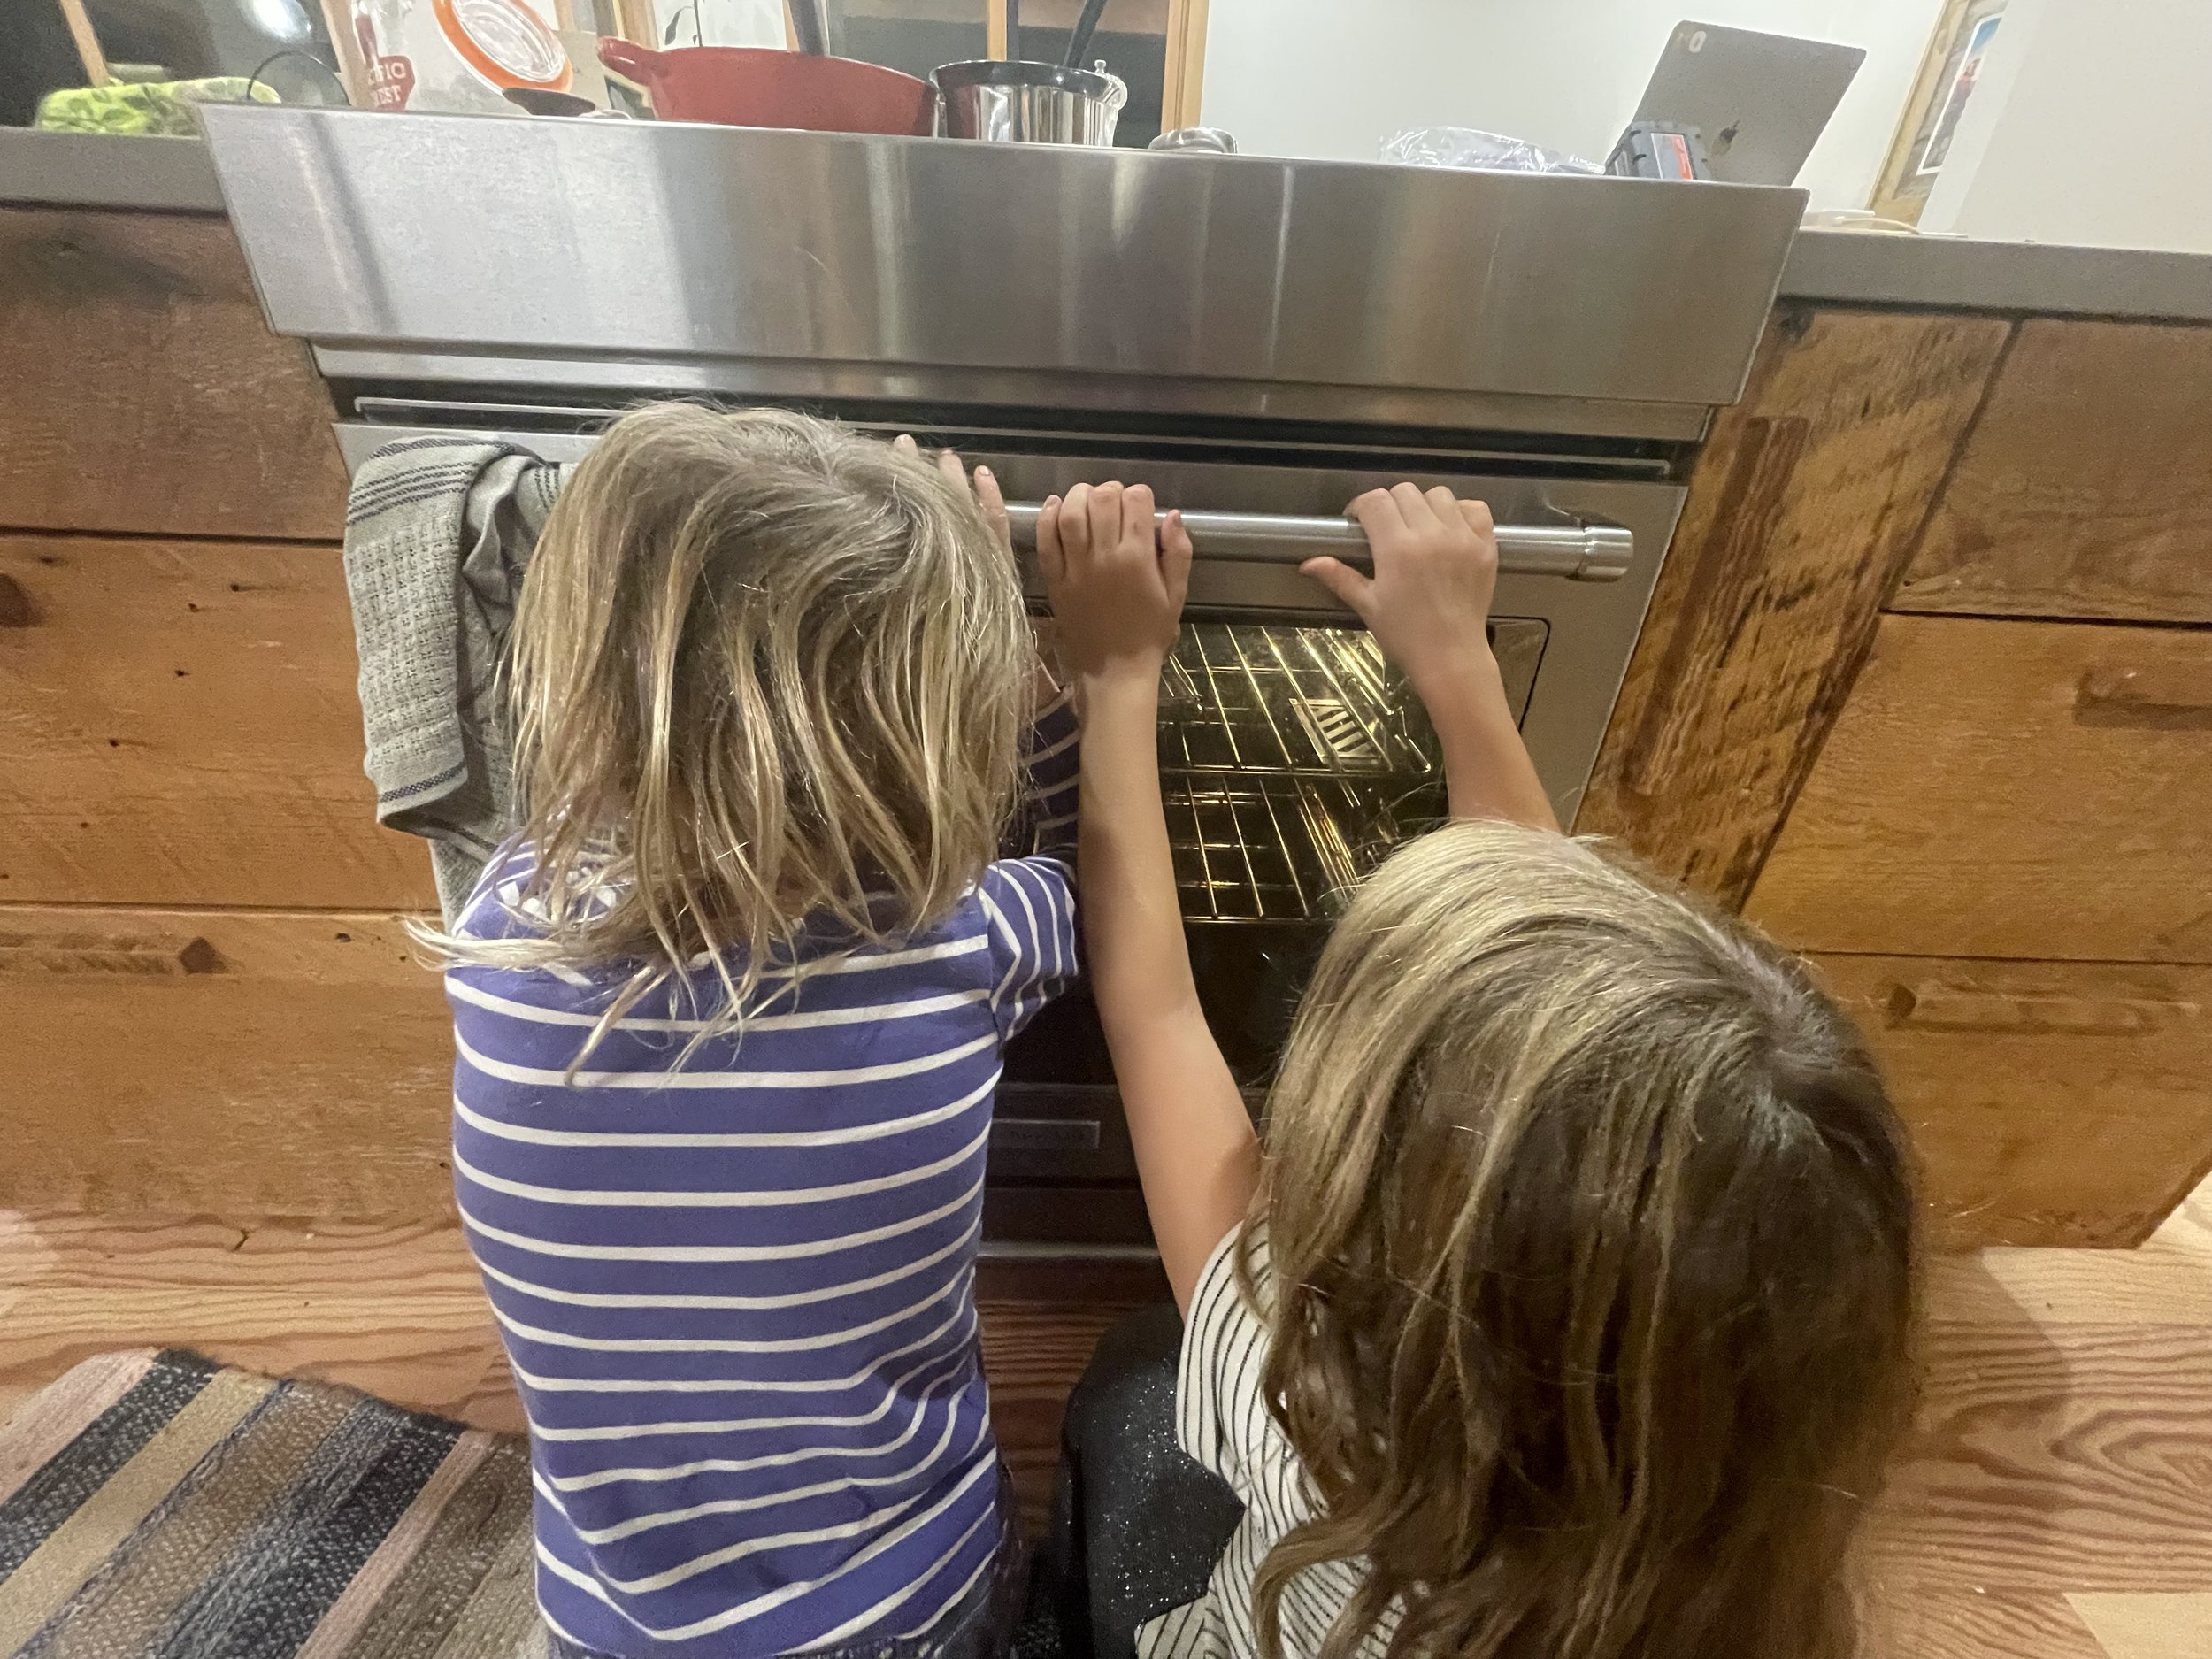
The excitement builds!!!
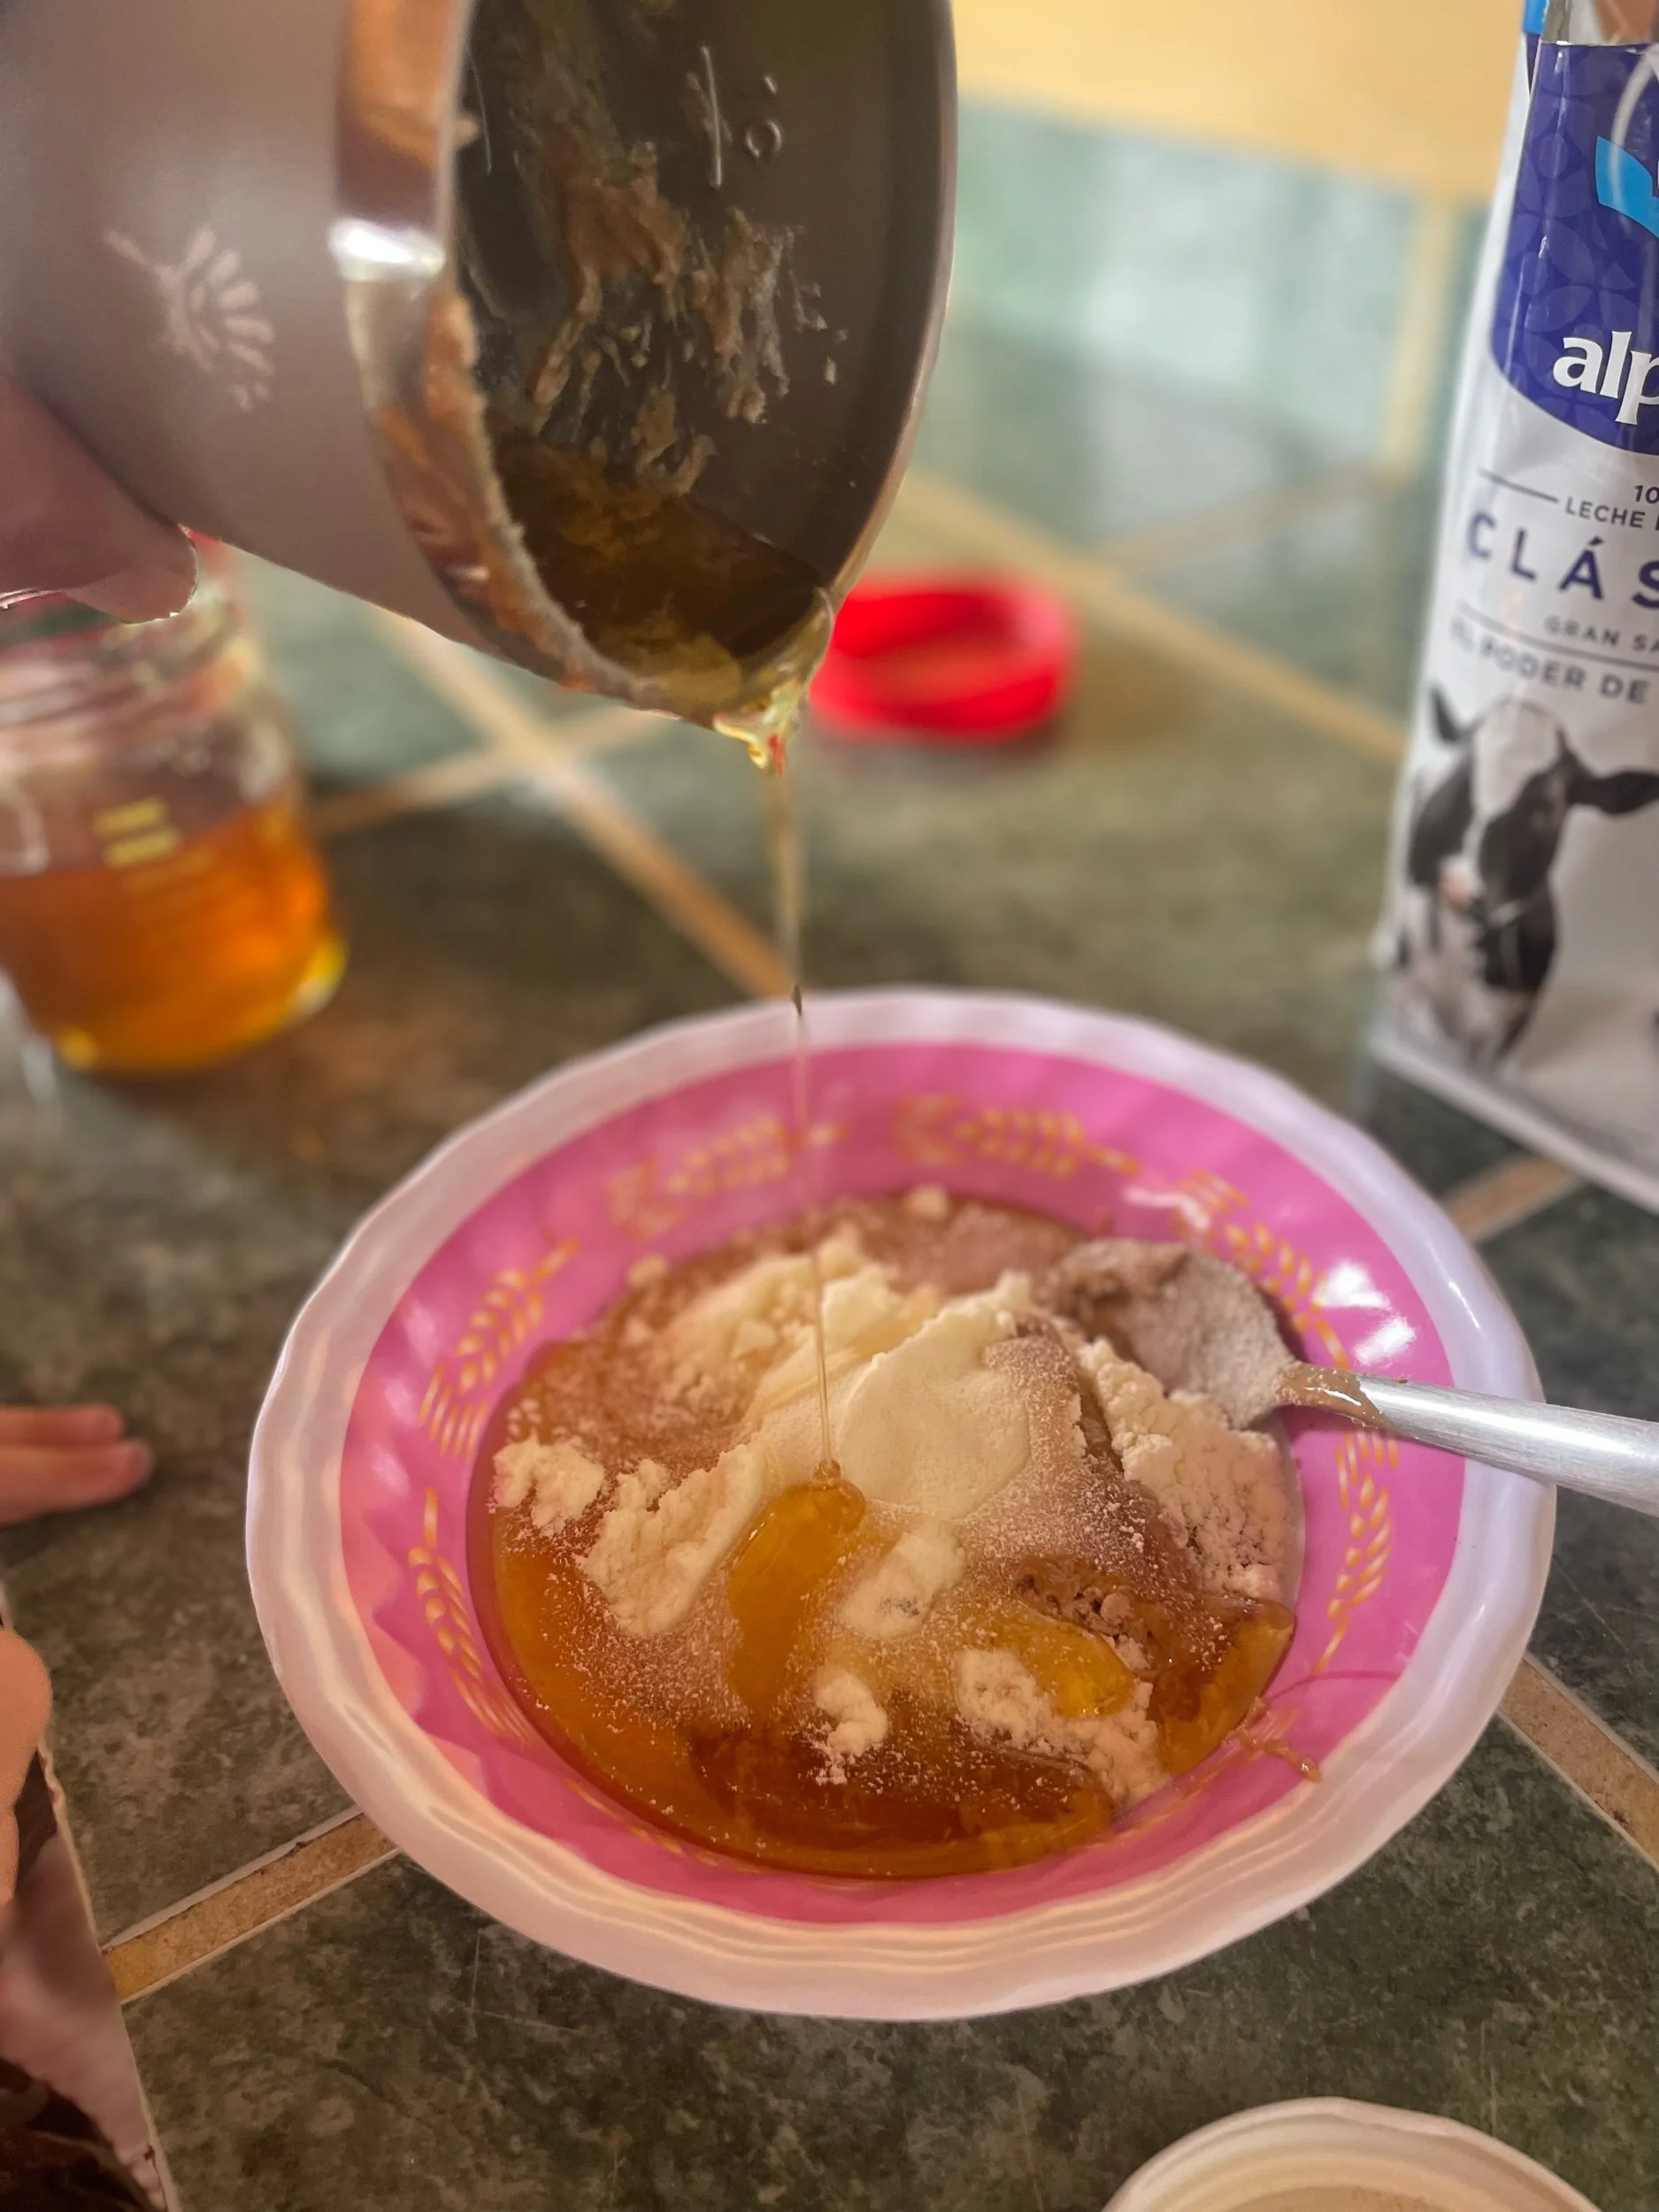
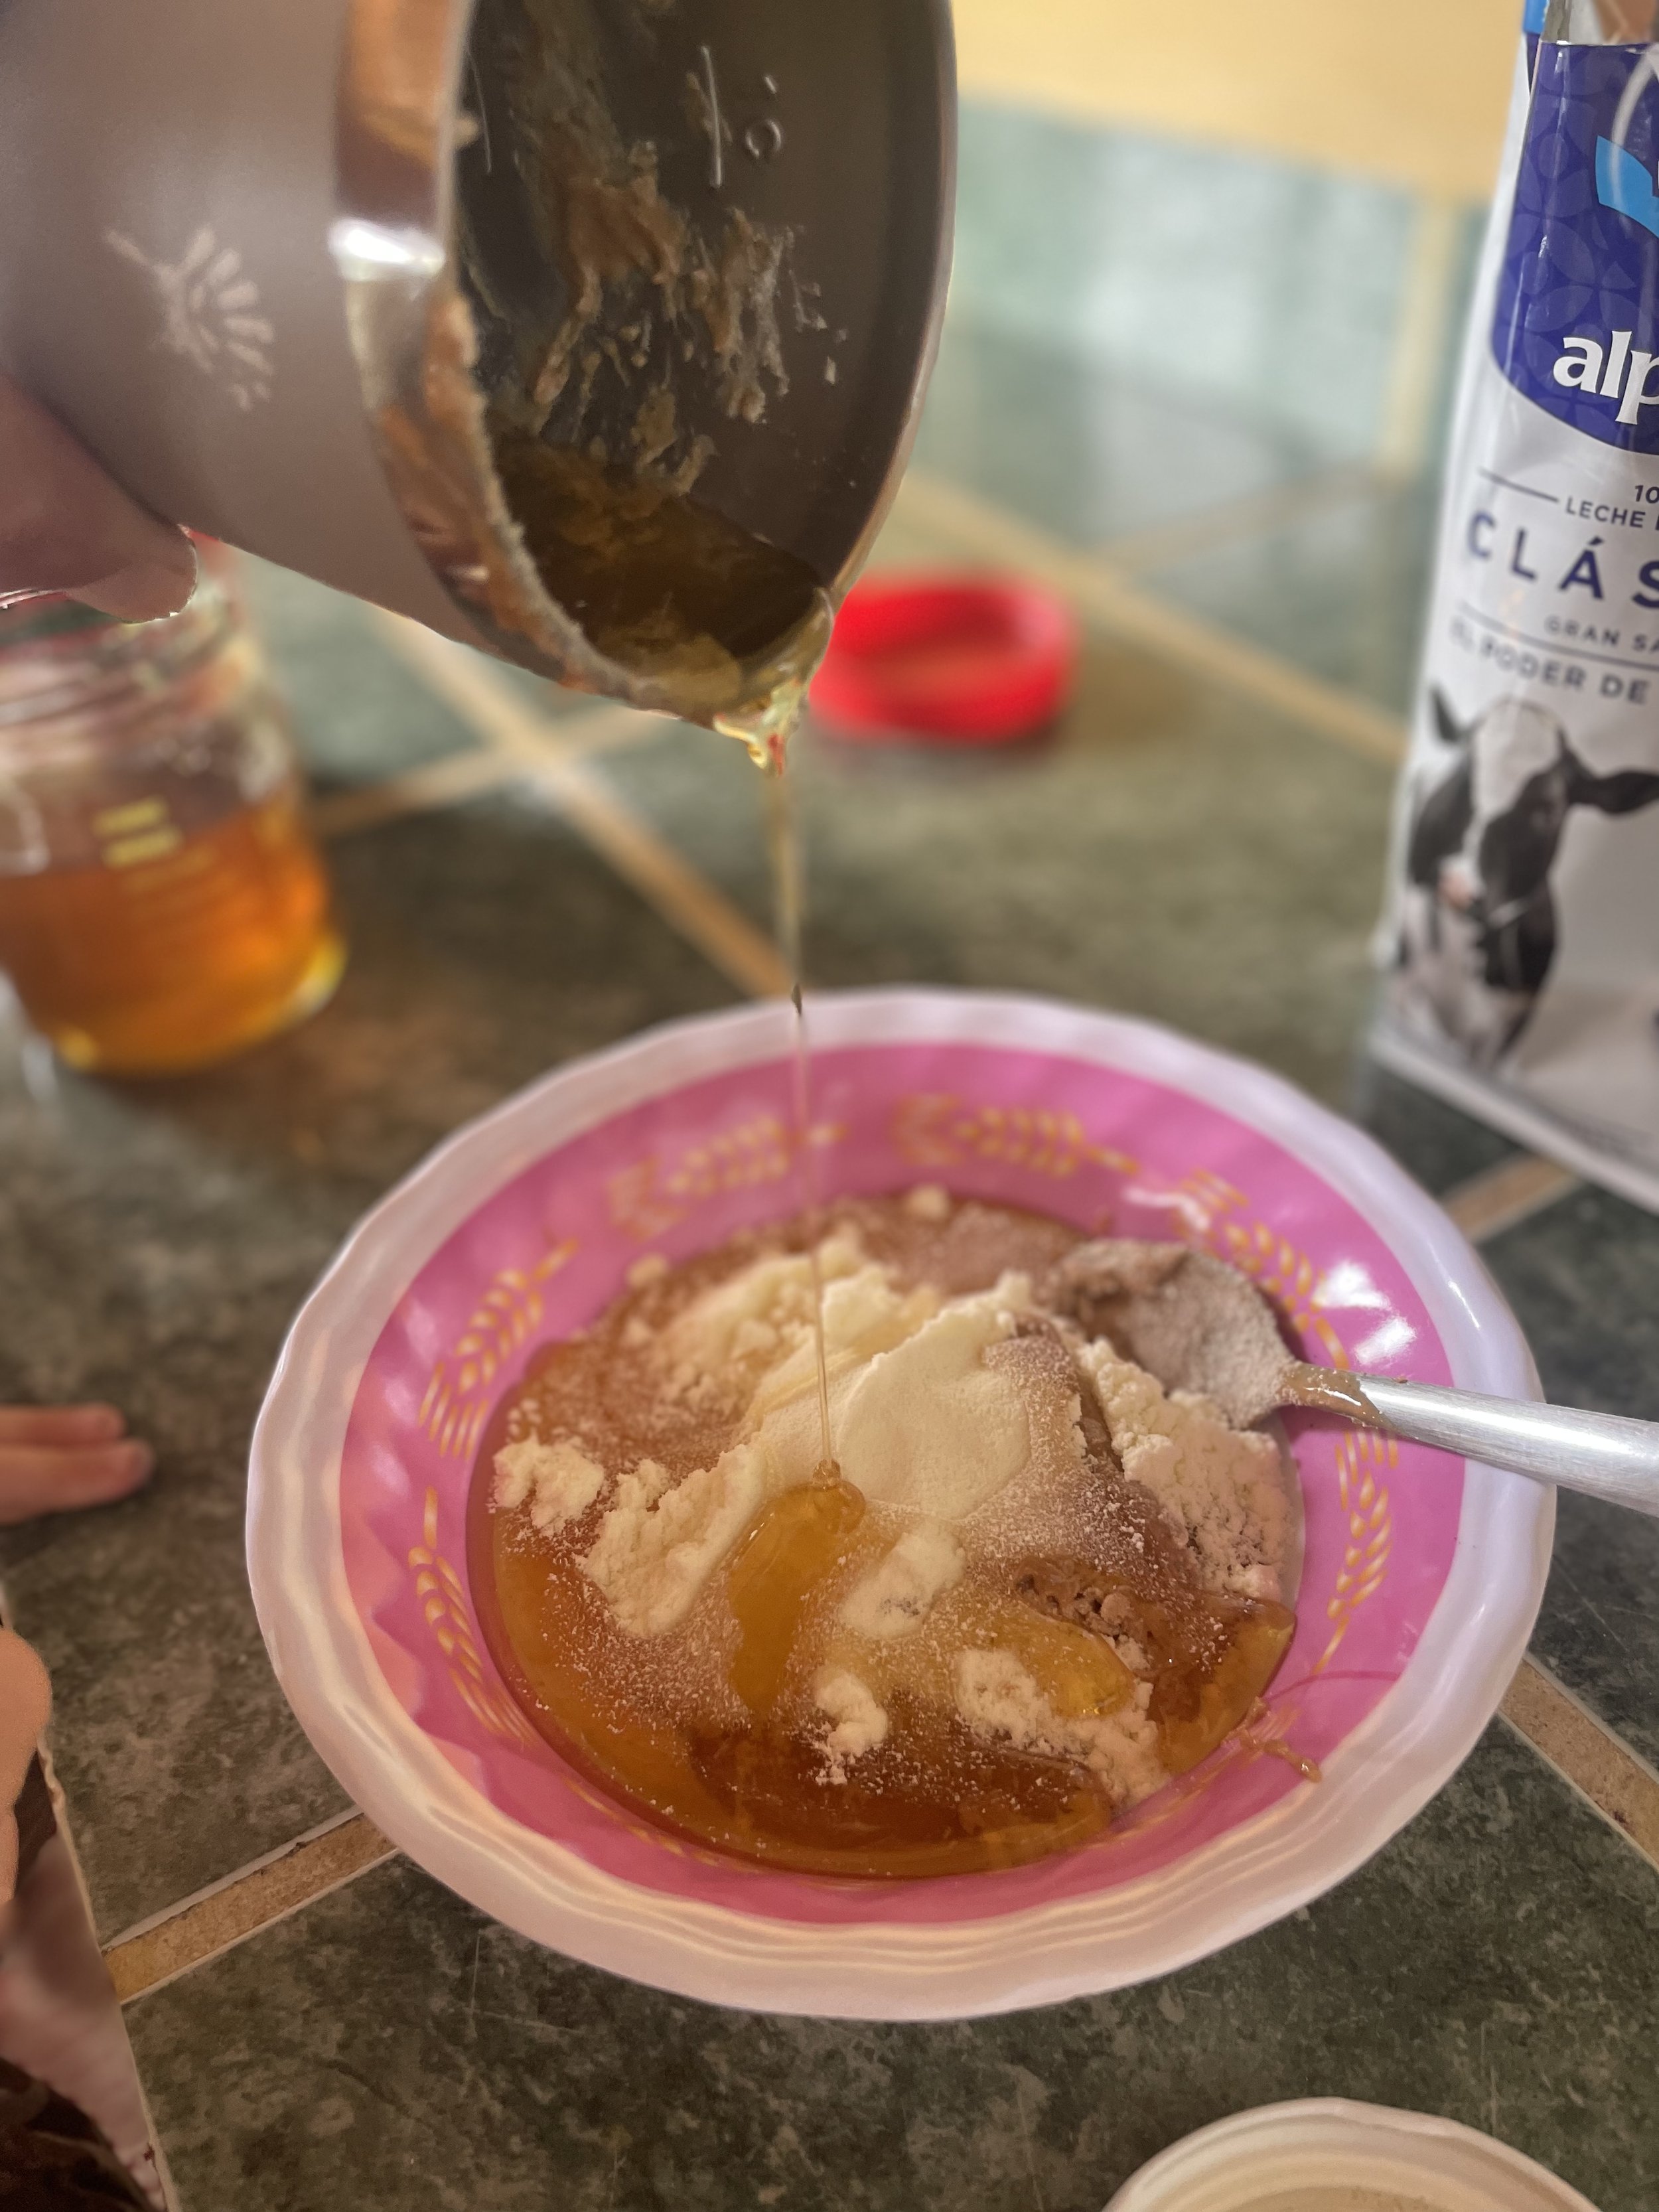
Peanut Butter Play Dough

My mom used to make this for and with me when I was little, and even though it seems like a snack made for kids, this wondrous treat has kept me going through some of the toughest physical challenges of my life. When I was 19, studying abroad in New Zealand, my friend Jen and I did a 2 week backpacking trip. We ate this literally by the bucket, mixing it directly in massive peanut butter containers once we’d already inhaled/drank/slurped from spoons half of the peanut butter. In Pakistan, on a ski mountaineering expedition in 2008, we had a pre-trip planning mixup whereby we showed up without any of the on-mountain food we were meant to bring. The news sent me into a panic—I’m supposed to climb and ski this 8000m peak way out of my league and only eat POWDERED FOOD IN A BAG?!?? Luckily my snack-hoarding tendencies meant that I had just happened to bring two big jars of peanut butter, and a massive bag of powdered goats’ milk. (The milk was for coffee if there wasn’t any, and the peanut butter was my mental security blanket. If the shit hits the fan, I will be fine as long as I have some peanut butter.) I remembered this energy packed comfort food from my childhood, borrowed some honey from the camp cook and we made a bunch of these squishy little power balls. They powered us up to 24,500 fleet where we were stuck in a storm for three days but thankfully had energy to get down safely. I credit the edible playdough for our successful failed attempt. :)
At the moment, I’m on an adventure of another kind with my family. We saved up, rented our house out, and have taken an extended trip for the fall to absorb some culture, warm temperatures, Spanish language, and hopefully a wave or two if we can, in between working and schooling. With a minimal kitchen and lots of moving pieces, brainstorming easy and delicious snacks has been difficult until this old favorite jumped into my mind. There’s no cooking involved, it takes a minute to make, keeps fine for the day without refrigeration, and the ingredients are readily available. It’s infinitely adaptable: maple syrup, or other sweeteners, try almond butter, or different powdered milks, dip frozen balls in melted chocolate, mix in oats or chocolate chips or cinnamon or whatever else you fancy! You have full permission to play with your food.

PEANUT BUTTER PLAY DOUGH
Ingredients:
—3/4 c powdered milk (cow, goat, nut, coconut)
—3/4 cup natural peanut butter (preferably just peanuts and salt)
—1/4 honey
—optional mix-ins like chocolate chips, crushed freeze-dried strawberries or other fruit/vegetables, kale powder, collagen powder, nuts, dried fruit, or whatever you can dream up!
Mix the first three ingredients thoroughly and adjust for taste and consistency (more milk powder if it’s too runny, more honey for sweetness, etc.). Slowly add mix-ins (if using) a little at a time and then adjust for consistency and taste. Eat immediately! Unused portion can be stored, covered, in the fridge for up to one week, and these travel well for a few days without refrigeration, but I haven’t tested them much beyond that as they have always been eaten before that. (edit: If you want them to be more like a bar shape, you can use a rolling pin to roll them out and slice, then wrap in parchment for storage.)


Melonade (or, Watermelon Slushy, or What To Do With a Bad Melon , or How to Salvage an Overripe Melon)

When life gives you bad melons, make good melonade.
I used to brag about my abilities to choose fruit from the store. I thought I knew the trick for everything (thump the melon, sniff the pineapple, only pick avocados that have the stem still in the end, etc.). I was unstoppable. I brought home the perfectly ripe fruit every time, and it gave me a proud feeling that I was providing for my family like a real gatherer. Because, I have to be honest with myself, the real reason I love going grocery shopping is that it taps into my innate gathering nature. It’s exciting to see the possibilities and what I might bring home and make with it, even if it’s slightly easier than our ancestors had it when gathering from the land (despite the fact that our ancestors didn’t have the toy aisle, the candy aisle, and the popsicle section to contend with while bringing their small children along while gathering). My lizard brain can’t tell the difference between gathering from the land or from the store, it only knows when the pantry is stocked.

Oh the shame.
It turned out that I was just on a lucky melon streak, and as streaks always do, it ended last summer and I chose several bad melons in a row. I hate food waste to the same degree that I love grocery shopping (not the prices, but the having of the groceries part) and watermelon, so this was disappointing on many levels. Melon-choosing had become a source of anxiety rather than pride. My confidence was shot. I needed help.
I confessed to the produce person about my bad melon streak, and he stepped right in, choosing me the perfect melon. I went back the following week and asked him again; another perfect melon. I watched him and listened to him explain how he did it, which gave me the false confidence to try to pick my own at a different market—it was organic and expensive but I felt confident I had a good one. I cut into it the next day only to discover mushy, mealy, overripe flesh. It wasn’t rotten yet, but it was close. I couldn’t bear to throw it all away, so I lopped it into chunks and froze it on a tray. Freezing is always my temporary solution to hold off eventual food waste. Surprise! It worked. Frozen, the texture no longer matters, and the extra sweetness of the overripe melon is a boon.
We blitzed it in the blender with lime Spindrift and a bit of maple syrup, but you could use really any liquid (lemonade would be nice), additional sweetener, and optional alcohol for a blended watermelon margarita. You can of course make it with a good melon. It’s great for when you have too much fruit or extra fruit salad and know you won’t be able to eat it all. (Remind me to tell you about when we cut and froze 20 watermelons to make watermelon margaritas for our wedding and then forgot to take the melon chunks out of the freezer until the last minute, leaving our poor bartenders—friends that we had hired—to deal with the ensuing chaos). This is not really a recipe, but more a way to avoid food waste and make something yummy out of something that otherwise would get chucked, so I hope you discover your own bliss. :). Not that you would ever pick a bad melon!!!!

When I can’t bear to throw it away, I freeze it. Then, occasionally a solution occurs.
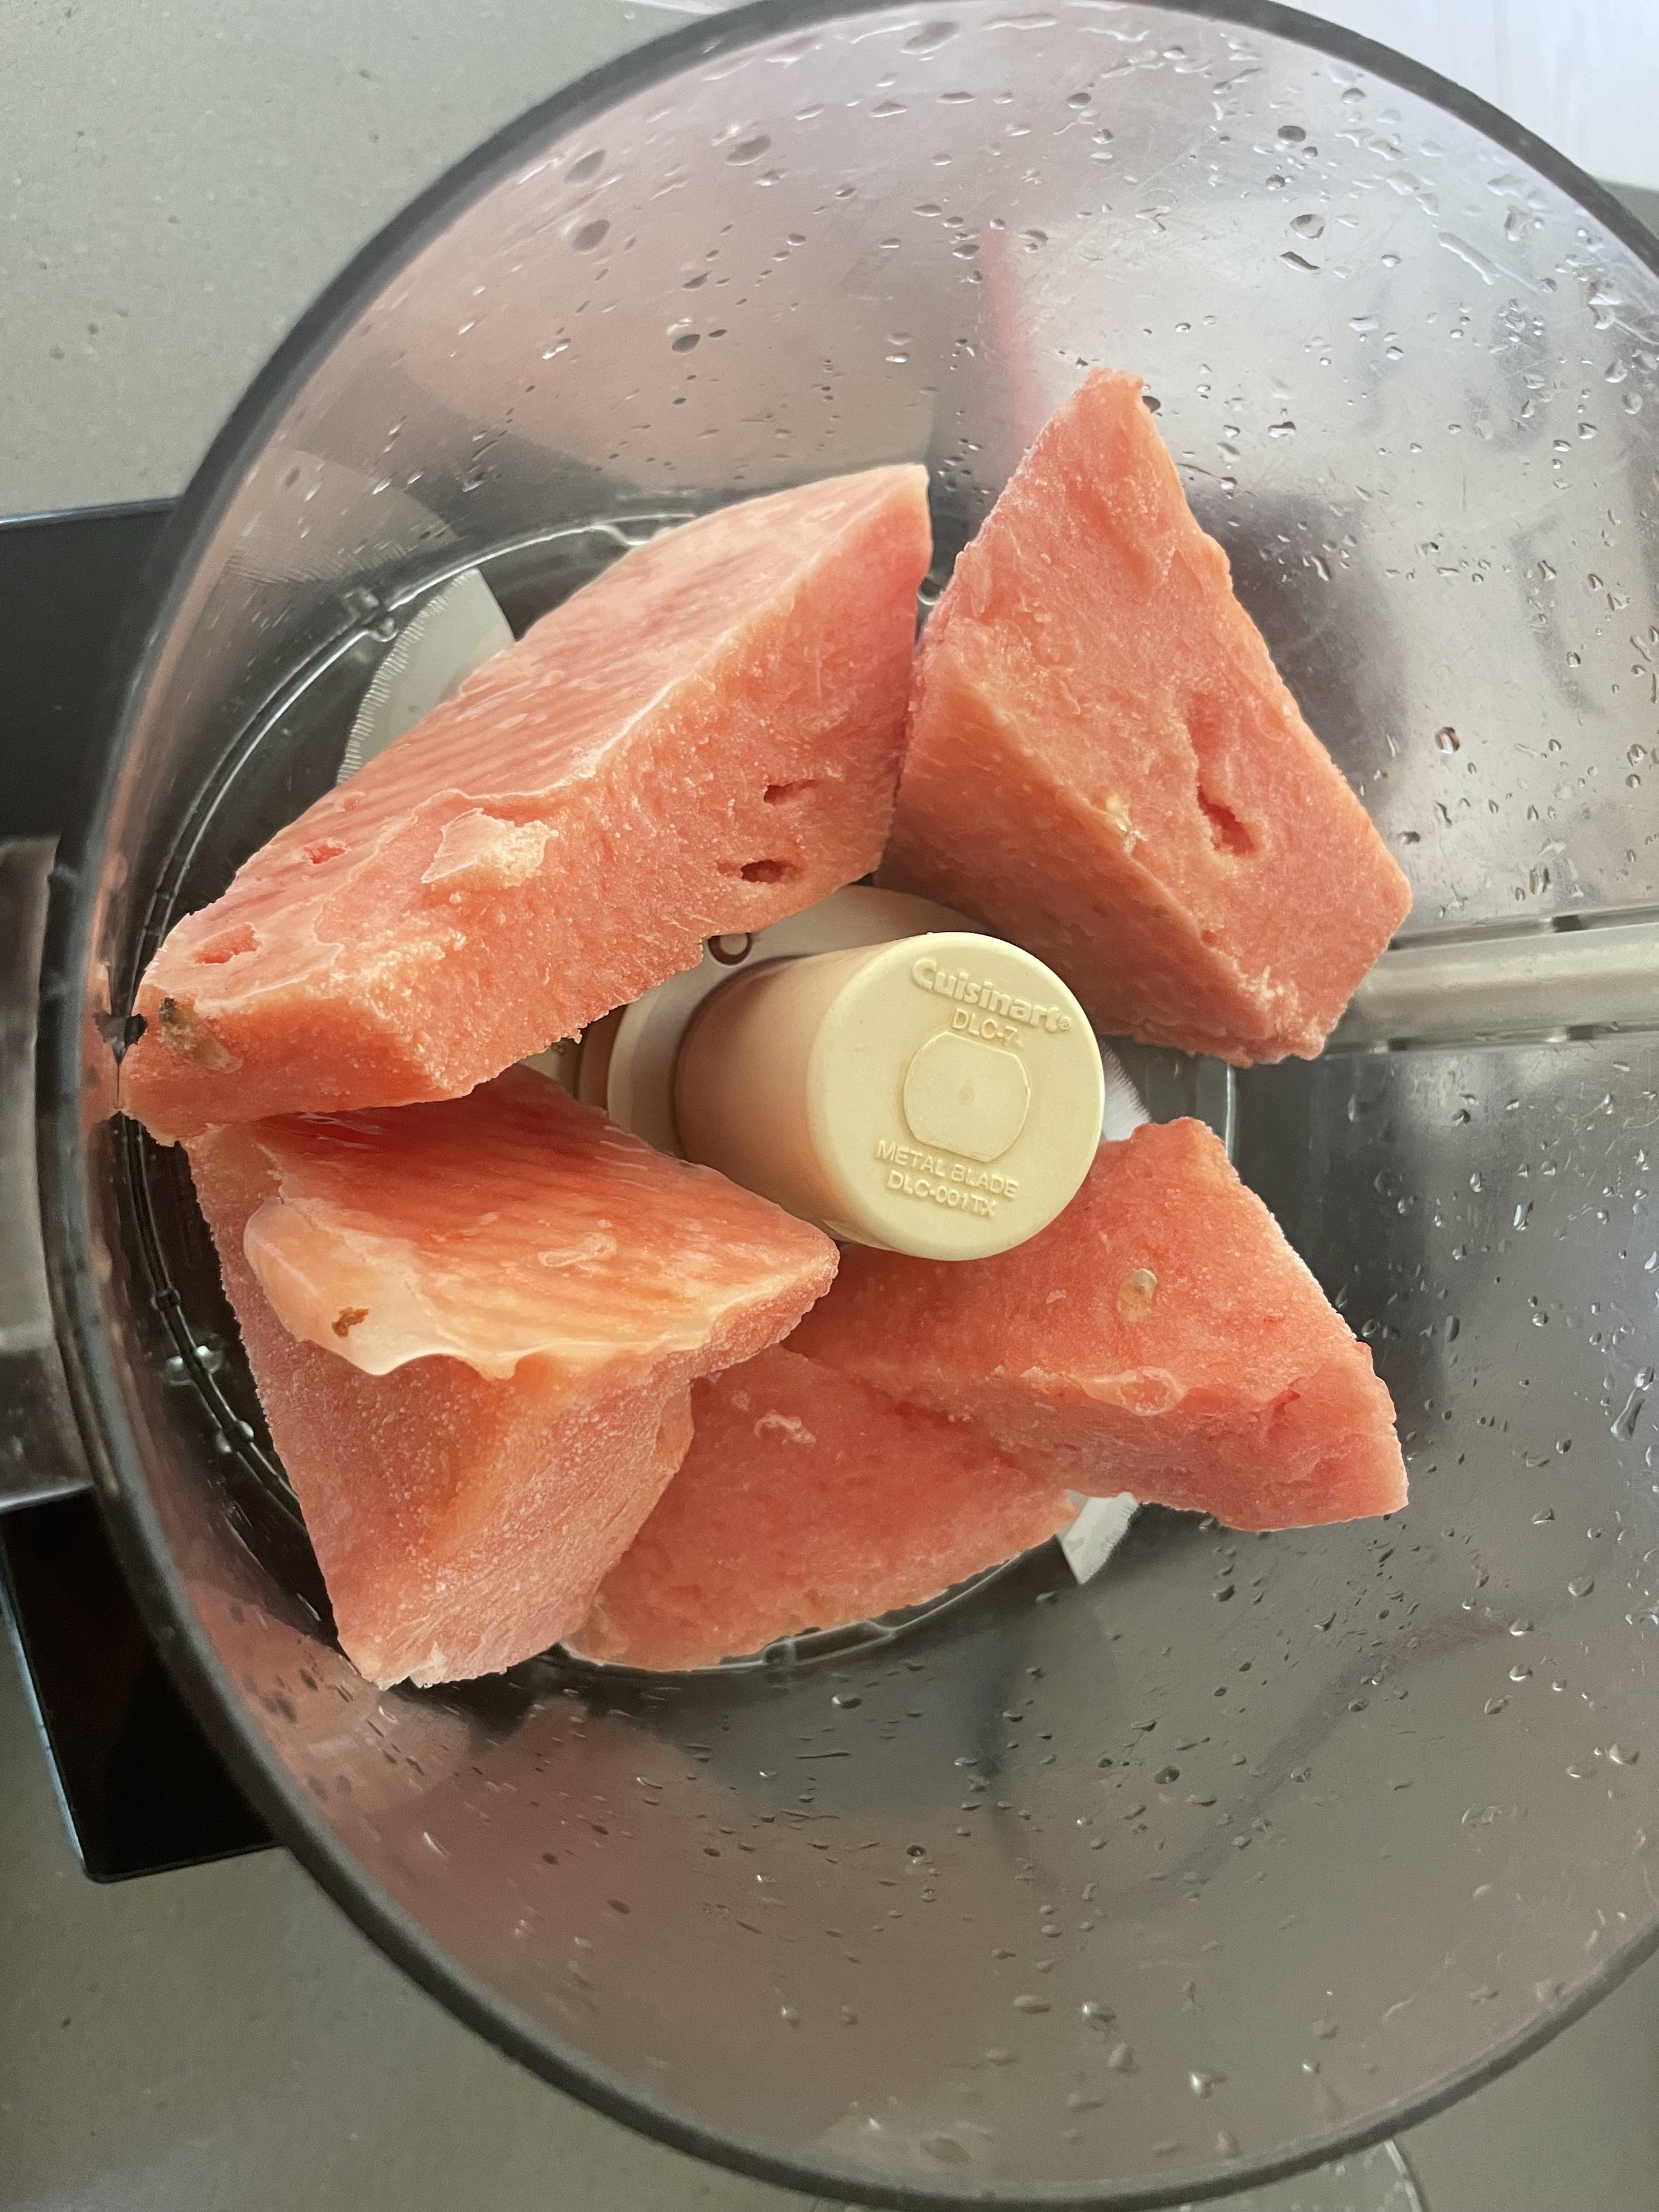
About to be something good…..

Not instant, but gratification nonetheless.
WATERMELON SLUSHY
Yield: 4 servings
INGREDIENTS:
—3-4 cups frozen melon chunks (from an overripe melon, or any frozen melon)
—8-12 oz citrus sparkling water (Spindrift is great here), lemonade, or water and a squeeze of lemon or lime
—1 T maple syrup or sugar, to taste
DIRECTIONS:
Blend in a blender, food processor, or with an immersion blender until thick and slushy, adding more liquid as necessary to achieve the right consistency. Taste and adjust seasonings (add more lemon or sugar as necessary), and serve immediately. Marshmallow garnishes are optional. :).
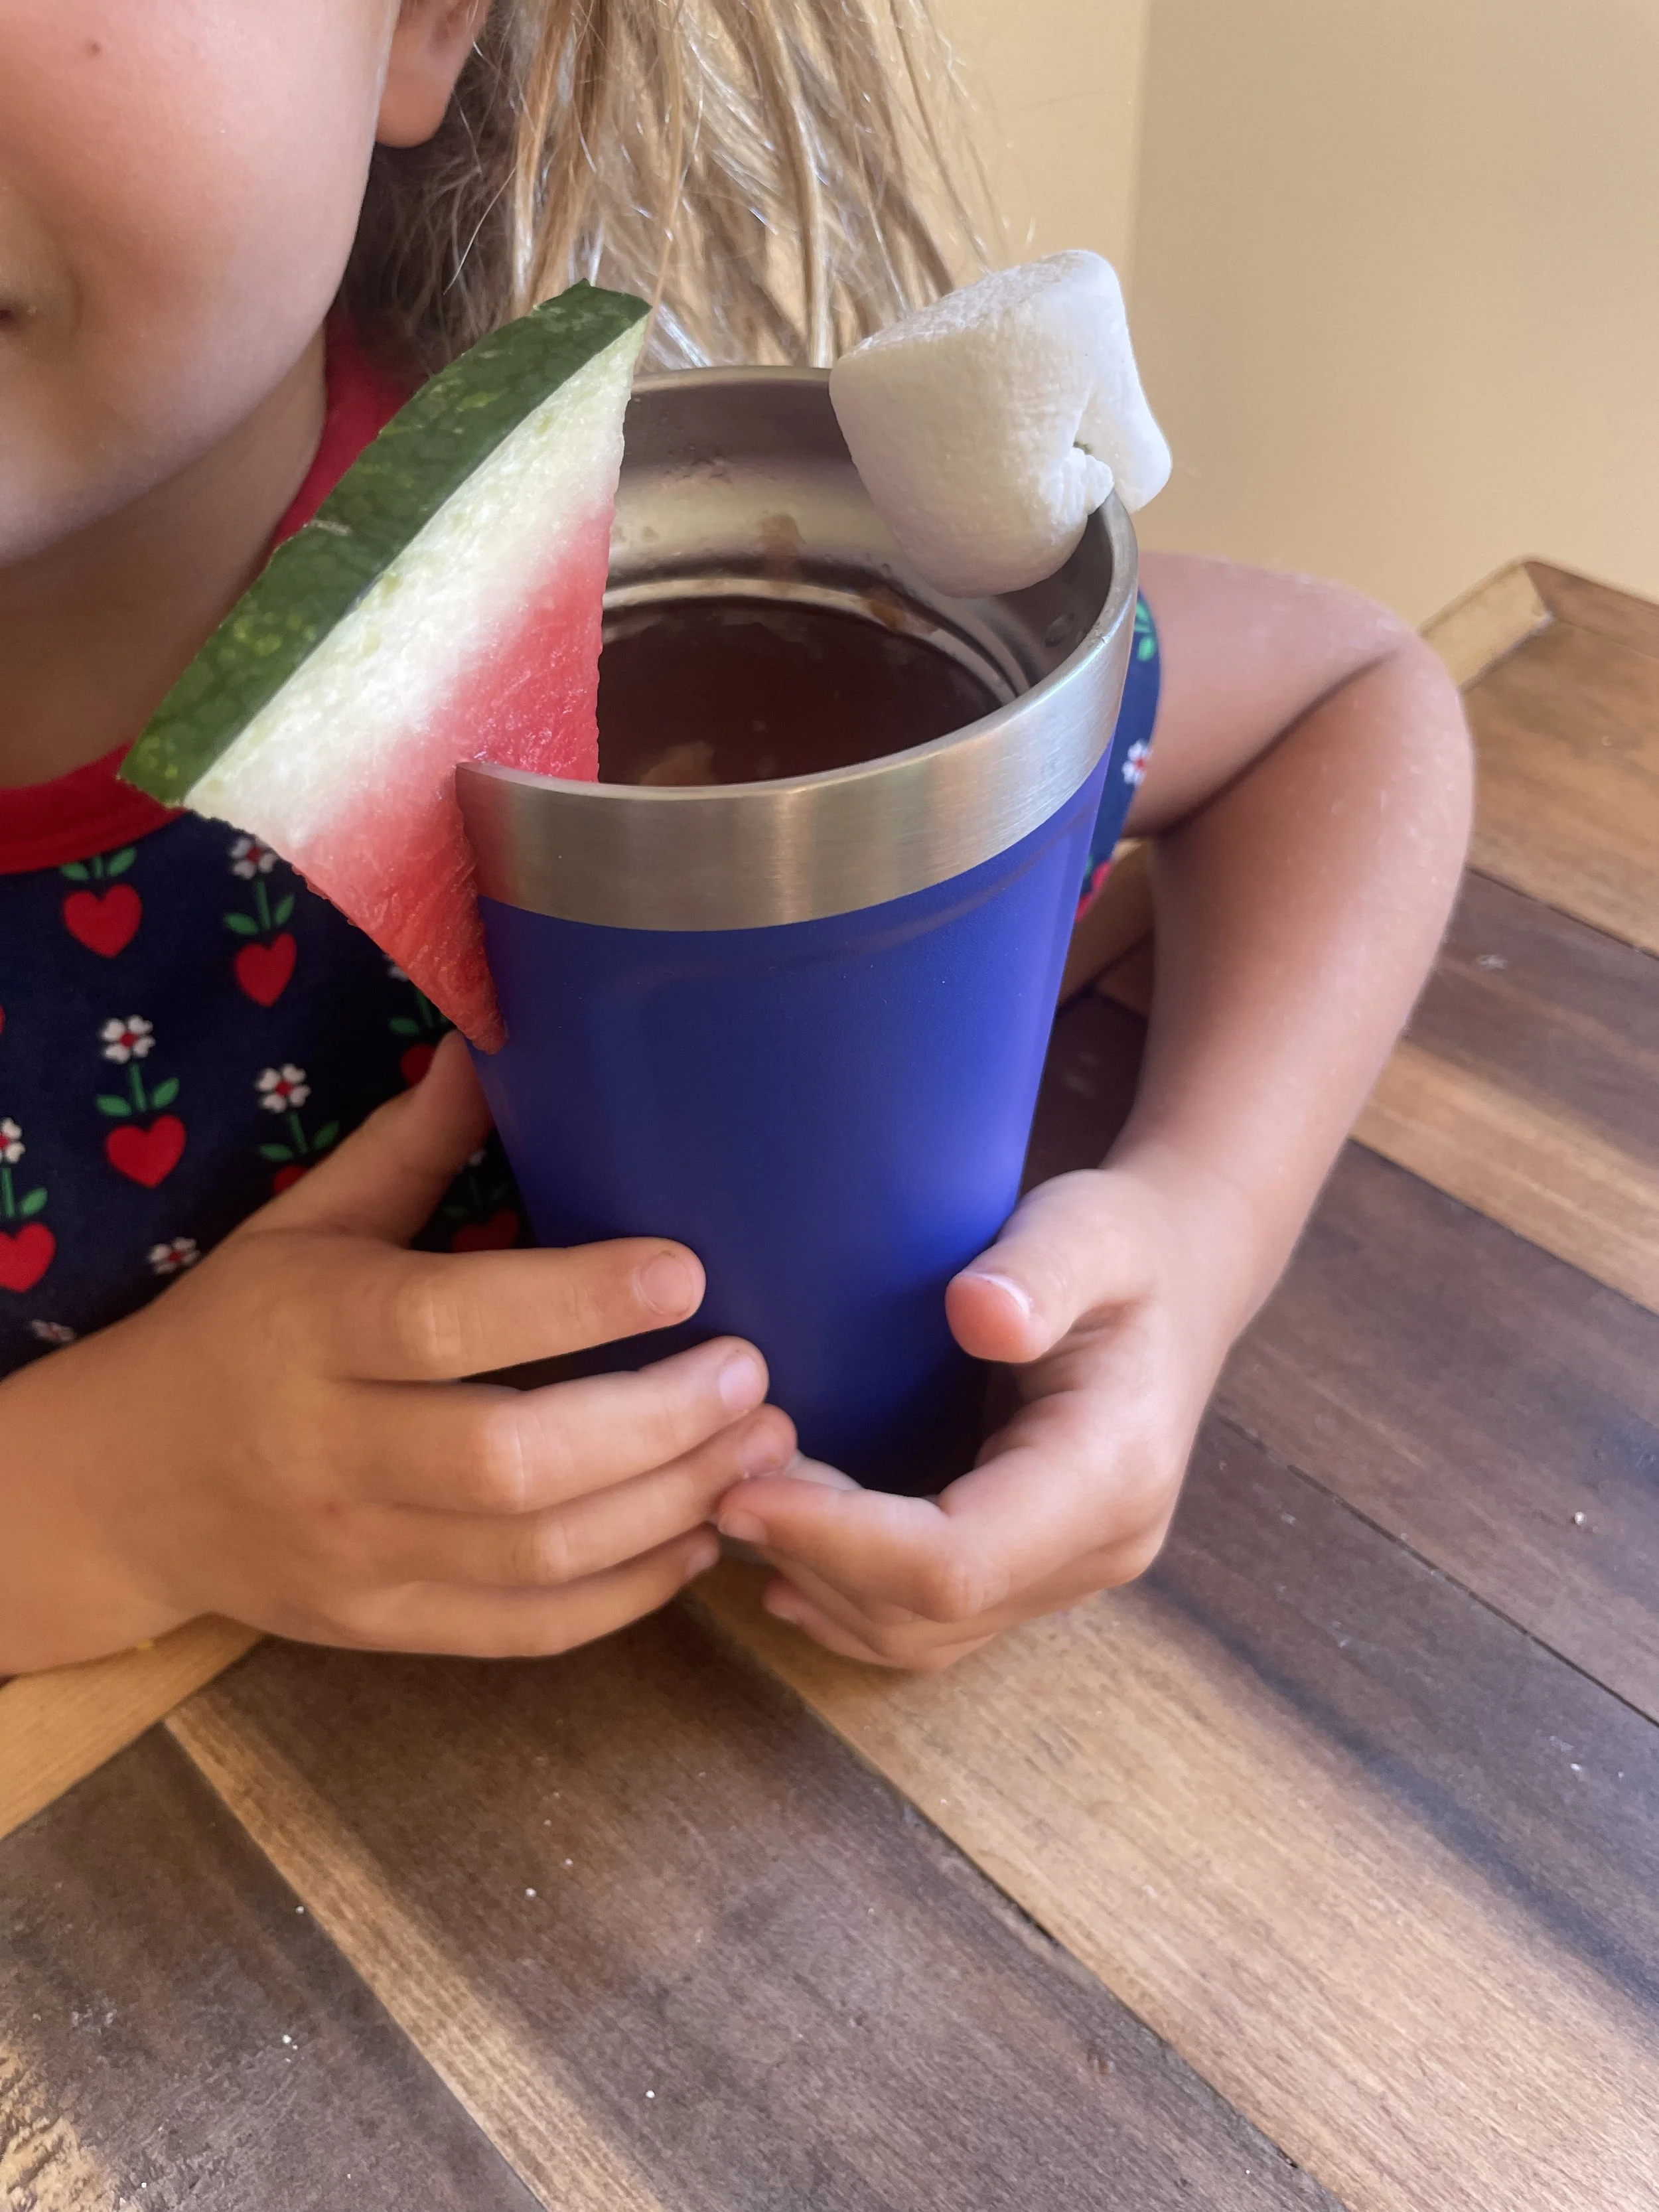
Marshmallows make everything better.

Easiest, Best M & M Cookies Ever

For the backstory, you can see my longwinded explanation here on why THESE cookies, but the short story is that they are delicious, fun and festive. The homemade version dare I say elevates the humble M & M, and if you can manage to hide a big stash of the candies somewhere in your house, it’s an economical way to make lots of cookies vs fancy chocolate chips. Of course, it would be awesome if the large candy companies started using natural coloring and dyes in their candies (Mars, are you listening?!) but if I’m going to have a yummy treat I want to go all in, and I much prefer this to a box of storebought M&M cookies from the grocery store. Although I will happily eat those too!
I’ve adapted this recipe from one in Cook’s Illustrated magazine. I’ve tried them several different ways (including a more savory, crumbly version with olive oil that was good but didn’t win most of my “taste-testers” over) but I found I liked them best with less sugar and a bit more salt than the original, less M&Ms, more egg, and a few more tweaks. I hope you love them too!


Easiest, Best M&M Cookies
YIELD: 18-22 cookies
INGREDIENTS:
—2 1/2 c all-purpose flour
—2 scant tsp kosher salt (diamond crystal, use 1.5 tsp if another brand or table salt)
—1 tsp baking soda
—1.5 sticks (12 T) butter
—3/4 c brown sugar
—1/2 c sugar
—2 eggs
—1 tsp vanilla extract
—1 cup M&Ms
DIRECTIONS:
Preheat oven to 425.
Melt butter in a large heat-proof bowl over a pan of simmering water (or in a microwave if you have such a fancy thing). Add both sugars and vanilla, and whisk until uniform. Once the butter and sugar mixture has cooled just slightly (it should be almost ready by the time the sugars and vanilla are mixed in), add eggs and whisk until uniform and a bit lighter in color, about 30 seconds. Sprinkle flour, salt, and soda over the top of the wet ingredients, and fold until mostly mixed and a few dry spots remain. Add M&Ms and mix until no dry flour remains and the M&Ms are evenly dispersed throughout.
Drop by rounded tablespoons onto cookie sheets. I usually get about 12 on one sheet and 9 on the next. Flatten each ball slightly until about 1/2 - 3/4 inch thick. Bake for 7-8 minutes total, rotating sheets top to bottom and front to back as necessary after about 6 minutes, or bake the sheets separately, 7 minutes each if you have the time, until tops of cookies look JUST dry, and edges of cookies are just barely starting to brown.
Let cool on their sheets for about 5 minutes and then transfer them to a wire rack to fully cool. They keep for up to a week at room temperature in a sealed container as long as they don’t get eaten first.


Miso Hummus

I have a soft spot for chunky guacamole, chunky peanut butter, chunky mashed potatoes, and small, chunky dogs. So it’s no surprise that I was never into smooth, storebought hummus until I had the miso hummus at Uncommon Kitchen, a small and fabulous takeout restaurant in Tahoe City, CA. It was so much more substantial and interesting; I loved the complex flavor and the thicker, almost chunky texture. It was not watered down, because there is no water in it unlike many hummus recipes, meaning you get all of the vegetal bean flavor and the funky sweetness from the miso.
At the time, back when I lived in Tahoe, a container of that hummus was my ski bum splurge, a treat that was luxurious but also made me feel great. And then as a very thoughtful gift, my friend Nikki bought me a cookbook from the Uncommon Kitchen—a small, self-laminated and bound senior project of a local (genius, obviously) high school student. I tried making the hummus recipe in it once, a long time ago, but as a former recipe improviser I didn’t follow the recipe well enough and was medium-impressed by the results. I continued to purchase the hummus from their store until I moved to Washington. The cookbook got stashed somewhere with a bunch of papers, and only last year during a recent move was it uncovered again. I dusted it off with interest, since like many people during the pandemic, I got a lot better at cooking dried beans, and discovered that garbanzo beans cooked from scratch are amazing. They do not require soaking, and they cook pretty quickly if you have a good bean source. (If you have old beans, they will almost never soften no matter how long you cook them, and you will understand where the phrase “tough beans” comes from). We started buying dried garbanzos from Palouse Brand during the pandemic and our falafel, hummus, and pasta e Fagioli game improved 100 percent or more, although any good chickpeas (even canned if you’re short on time) will be great in this recipe. And the best part is if you cook a big pot of dried garbanzo beans, you will have them for a whole week of recipes. Beans freeze well too! I’ve included the directions for making the beans from scratch as it’s my preferred method, but you can substitute canned beans if you’d like—it’s actually what the original recipe calls for. :)

MISO HUMMUS
YIELD: 16 oz (two cups) hummus
(recipe adapted from Eating Wisdom, a cookbook of recipes from the Uncommon Kitchen in Tahoe City, CA)
INGREDIENTS:
1 3/4 c cooked garbanzo beans (from scratch, see recipe below, or from one can, drained)
2 cloves garlic (simmered unpeeled with the garbanzo beans if cooked from scratch, raw if not), peeled
3/4 tsp kosher salt (Diamond Crystal)
3 T white miso
3 T tahini
pinch Piment D’Espilette, 1/4 tsp paprika, or a pinch of Aleppo pepper or chili flakes (optional but amazing)
2 T olive oil
1/4 c lemon juice (from one lemon, or from a quality jar of lemon juice with no preservatives, such as Santa Cruz Naturals)
INSTRUCTIONS:
Process beans in a food processor until they start to break down; add the rest of the ingredients and continue to process for another full minute or two, stopping the machine to scrape down the sides as necessary, until the hummus is a light, fluffy, creamy consistency and pale in color. Adjust seasonings (I usually bump up the salt and drizzle with a bit of olive oil and/or lemon) and serve. Keep refrigerated—unused hummus will stay good for a week or so in a jar in the fridge.
GARBANZO BEANS FROM SCRATCH
Place 1 to 1.5 cups dried beans in a large, ovenproof pot with a lid (such as a dutch oven), and then add 1 T salt and fill the pot with water to within two inches of the top. I like to add a few cloves of unpeeled garlic as well, to take out of their peels after cooking and add to the hummus for a more mellow garlic flavor (see above), but this is optional. For reference, 3/4 cup of dried beans cooks up to roughly 1 3/4 cup of beans, which is the amount in one can of beans. You want them covered with plenty of water so the water doesn’t all evaporate and the beans burn. If you want to cook more than about 1.5 cups of beans, you may need to watch them closer (regardless of which method you use) to make sure the water hasn’t cooked off, adding more water as necessary.
Stovetop method: This is a bit faster and good to use if you will be around for 1.5 to 2 hours and able to occasionally tend to the cooking. Bring uncovered pot of beans to a boil and reduce to a simmer. Stir occasionally and simmer, uncovered. Begin checking for doneness after about 1 hour of cooking—beans may take up to two hours but should be done in around one hour. Beans are done when they are still firm and retaining their shape (they may lose a few skins), but are creamy and tender to the bite.
Oven method: This is more of a set it and forget it method. Preheat the oven to 325 degrees. You can just stick the covered pot in the oven while it’s preheating and begin checking beans for doneness after 1.5 to 2 hours.

Leftover Oatmeal Blueberry Muffins (or Leftover Oatmeal Raisin Muffins)
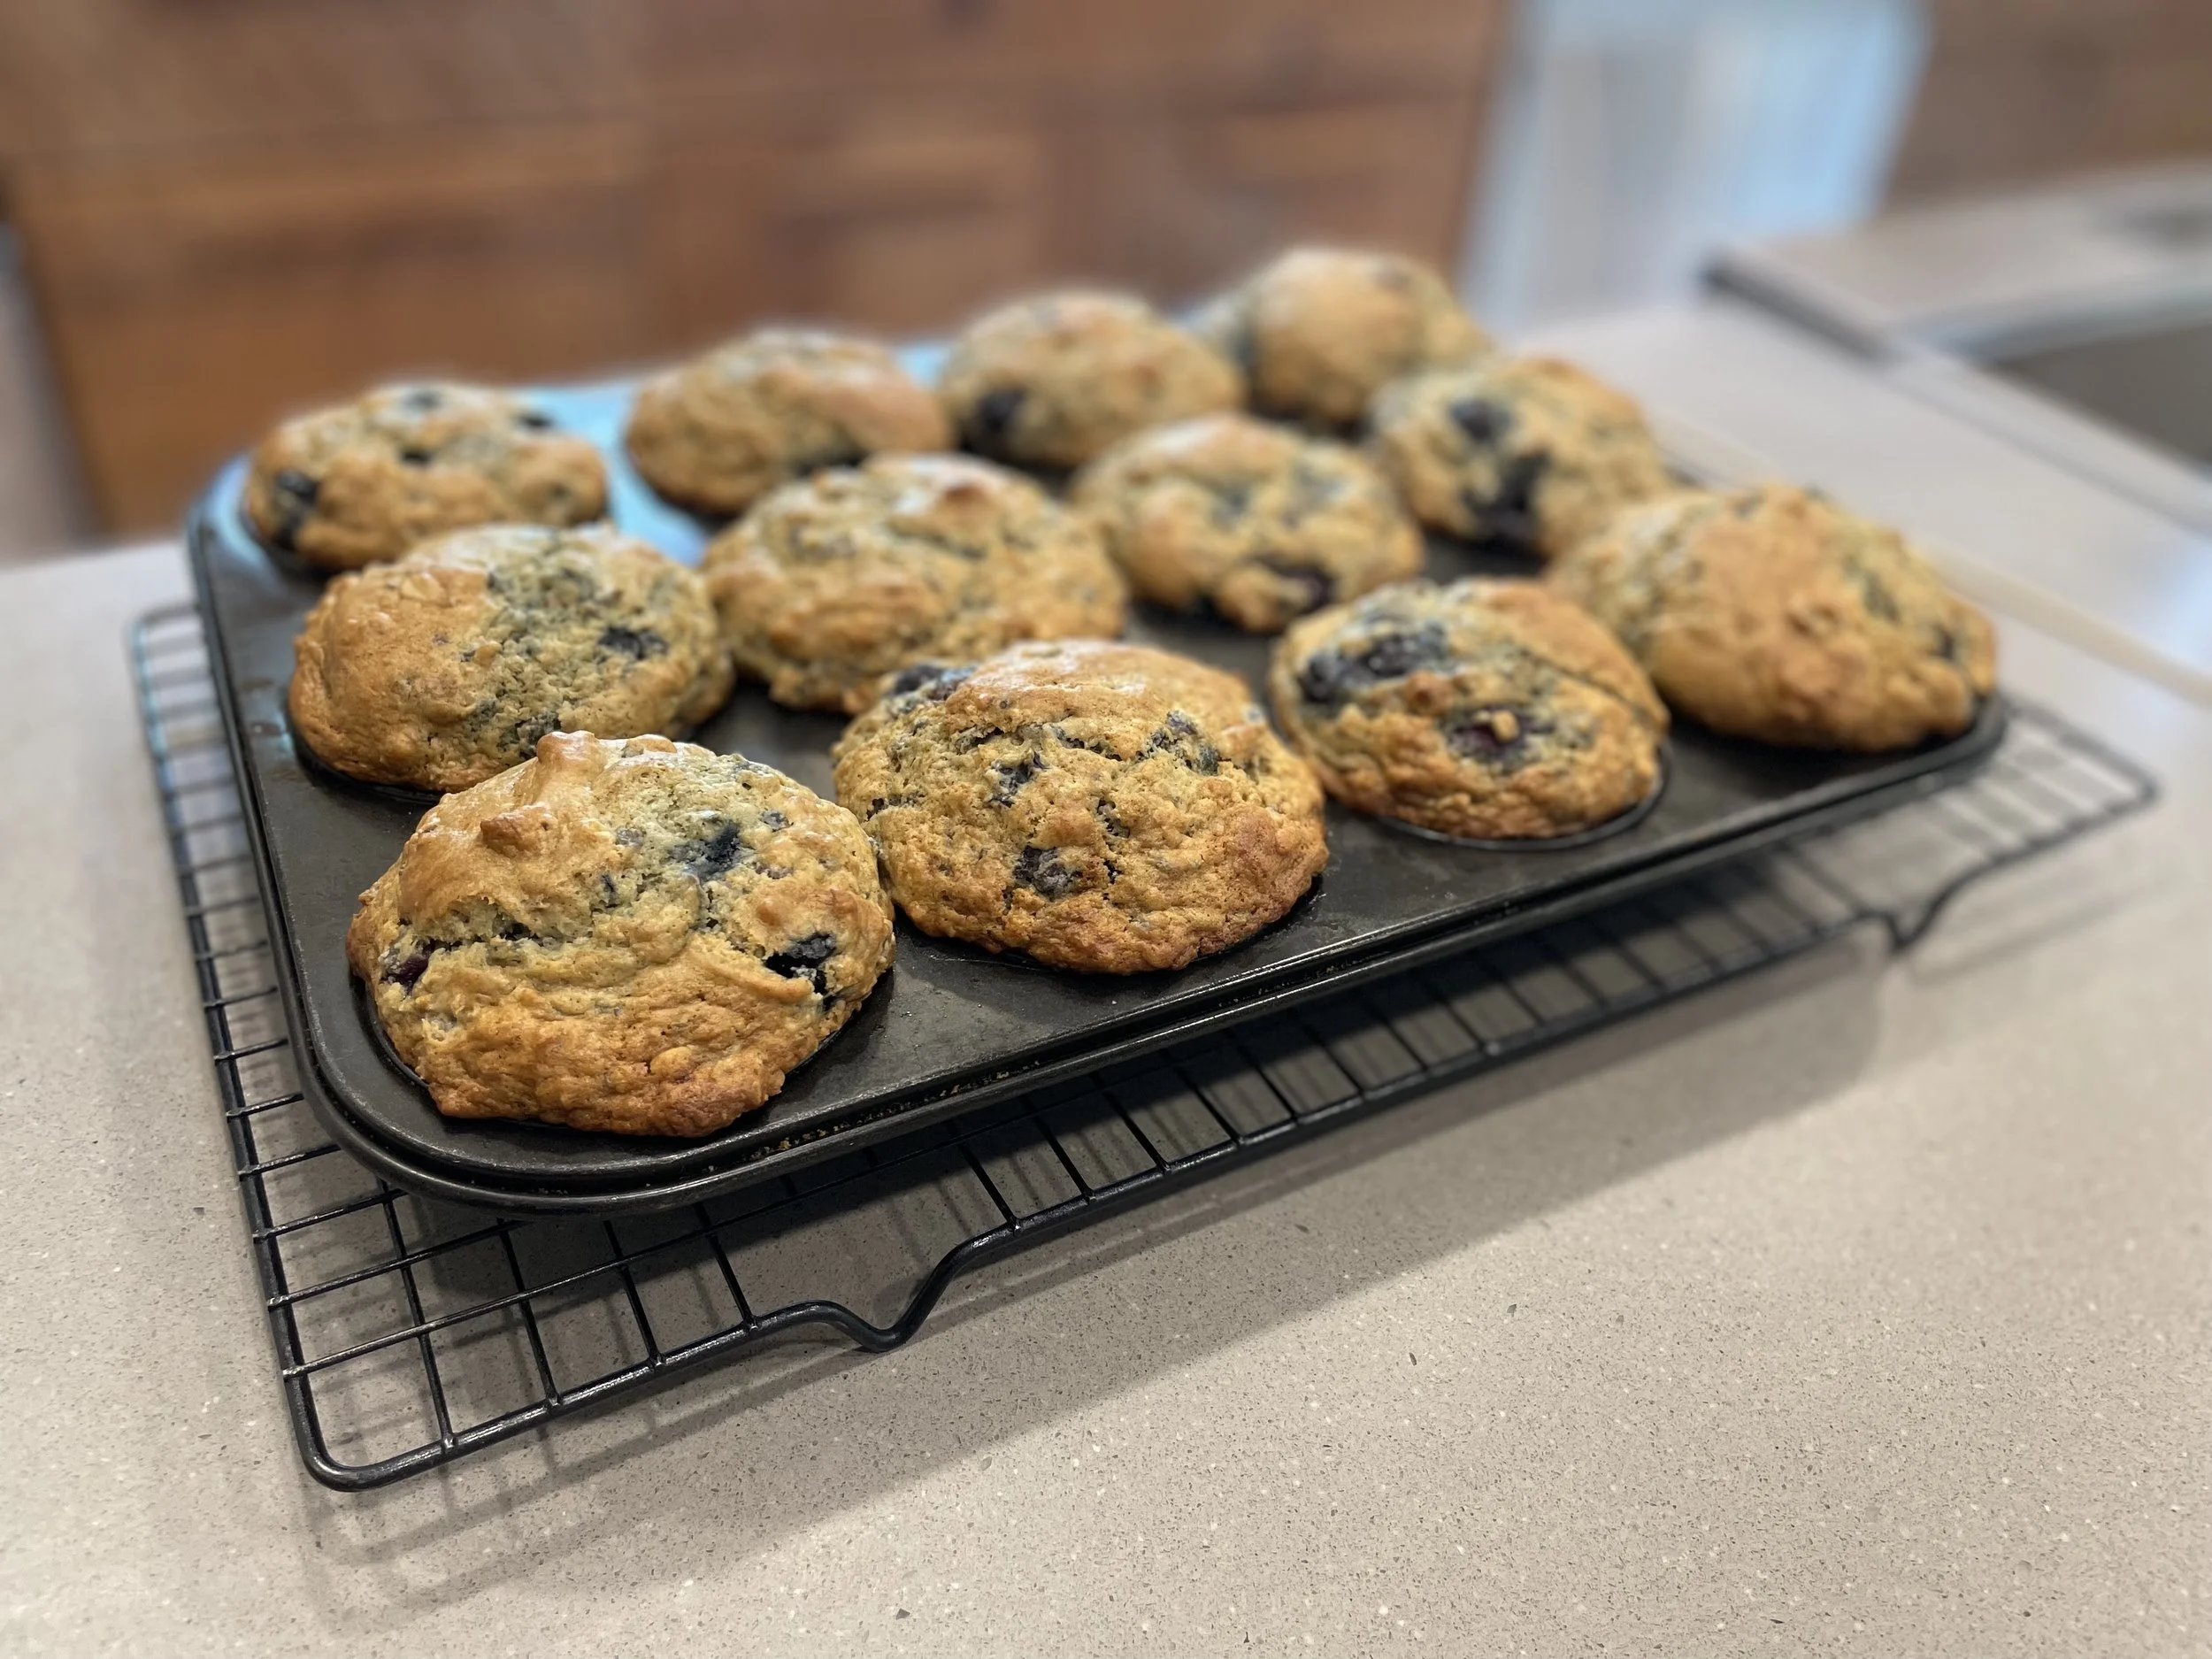
As much as food waste disappoints me, some things are just simply unappetizing in their leftover state. For example, one thing I find hard to swallow is leftover oatmeal. I make the same amount every time and sometimes we eat the whole thing and scrape the pan, and sometimes it seems like the oatmeal magically multiplied and no one was hungry. I would dutifully put the leftovers in a jar in the fridge, and then wait until a sufficient amount of time passed where I didn’t feel guilt about tossing it. The aha moment occurred when I was making one of my favorite oatmeal raisin muffin recipe. I opened the fridge to grab eggs and saw the cold oatmeal jar of shame sitting front and center and immediately did some research. I’m not the first person to put up a recipe, naturally, but I’ve since experimented with several recipes, some gloopy and chewy, and some delicious, and settled on this version as my go-to. If you like a cakey, sugary, tight-crumbed muffin, this is not your muffin. These are moist, craggy treats, not too sweet, with a loose, open structure. The slight bitter note of the olive oil keeps the sweetness in check, and keeps the muffs light and tender. In other words, muffin perfection. Love muffins? Hate wasting leftover oatmeal? Your delicious solution awaits.
————————————————————————————————————————————————————-
LEFTOVER OATMEAL BLUEBERRY MUFFINS
Recipe Notes: The secret with all muffins is to mix JUST UNTIL the last speck of dry ingredients has been folded into the wet ingredients and not one mix more. I find that if I mix the dry ingredients into the wet partially, then add the mix-ins (blueberries, raisins, etc) for the final mixing, I generally can avoid tough, dense over-mixed muffins.
*”Soured” milk is just milk with lemon juice or vinegar added. It acts like buttermilk in a recipe; if you have a source of good quality buttermilk you can use that instead. But if you have regular grocery store buttermilk it usually contains additives, so I prefer to clabber milk—it’s easy, cheap, and works great. Just use approximately 1 tablespoon vinegar or lemon juice (bottled or fresh) per 3/4 c to 1 c of milk. For this recipe I measure almost to 3/4 c milk then add lemon juice to get to 3/4 cup total liquid. I let it set for two minutes until it thickens, then proceed with the recipe as normal. (Please don’t use milk that has gone bad on its own!)
**I’ve used week-old leftover oatmeal in this recipe and it turned out great. Maybe I shouldn’t admit that.
***We usually cook our oatmeal with raisins and/or apples or blueberries, and I just leave these in and don’t worry about it for the recipe. We also cook our oatmeal in half milk and water but any unsweetened, cooked rolled oats will do. I haven’t tried the recipe with quick oats but I imagine it would work.
****If you don’t quite have enough cooked leftover oats, up to about a half cup shy, you can make up the difference with uncooked oats plus a little moisture (2T extra yogurt or milk for a half cup dry oats)
INGREDIENTS:
—1 1/2 cups leftover cooked rolled oats, any temperature
—2 eggs
—2/3 c olive oil or vegetable oil, or 11 T melted butter (cooled somewhat)
—3/4 c “soured” milk*, buttermilk, or plain whole milk yogurt
—2/3 c brown sugar, packed
—2 1/4 c all-purpose flour
—1 T baking powder
—1/2 tsp baking soda
—1/2 tsp kosher salt (1/4 tsp table salt)
—3/4 tsp cinnamon (optional)
—1 1/4 c frozen or fresh blueberries OR 3/4 cup raisins, or 1 c chopped apples (I leave the peels on!)
INSTRUCTIONS:
Preheat oven to 375 and butter, grease, or line a standard 12-muffin pan.
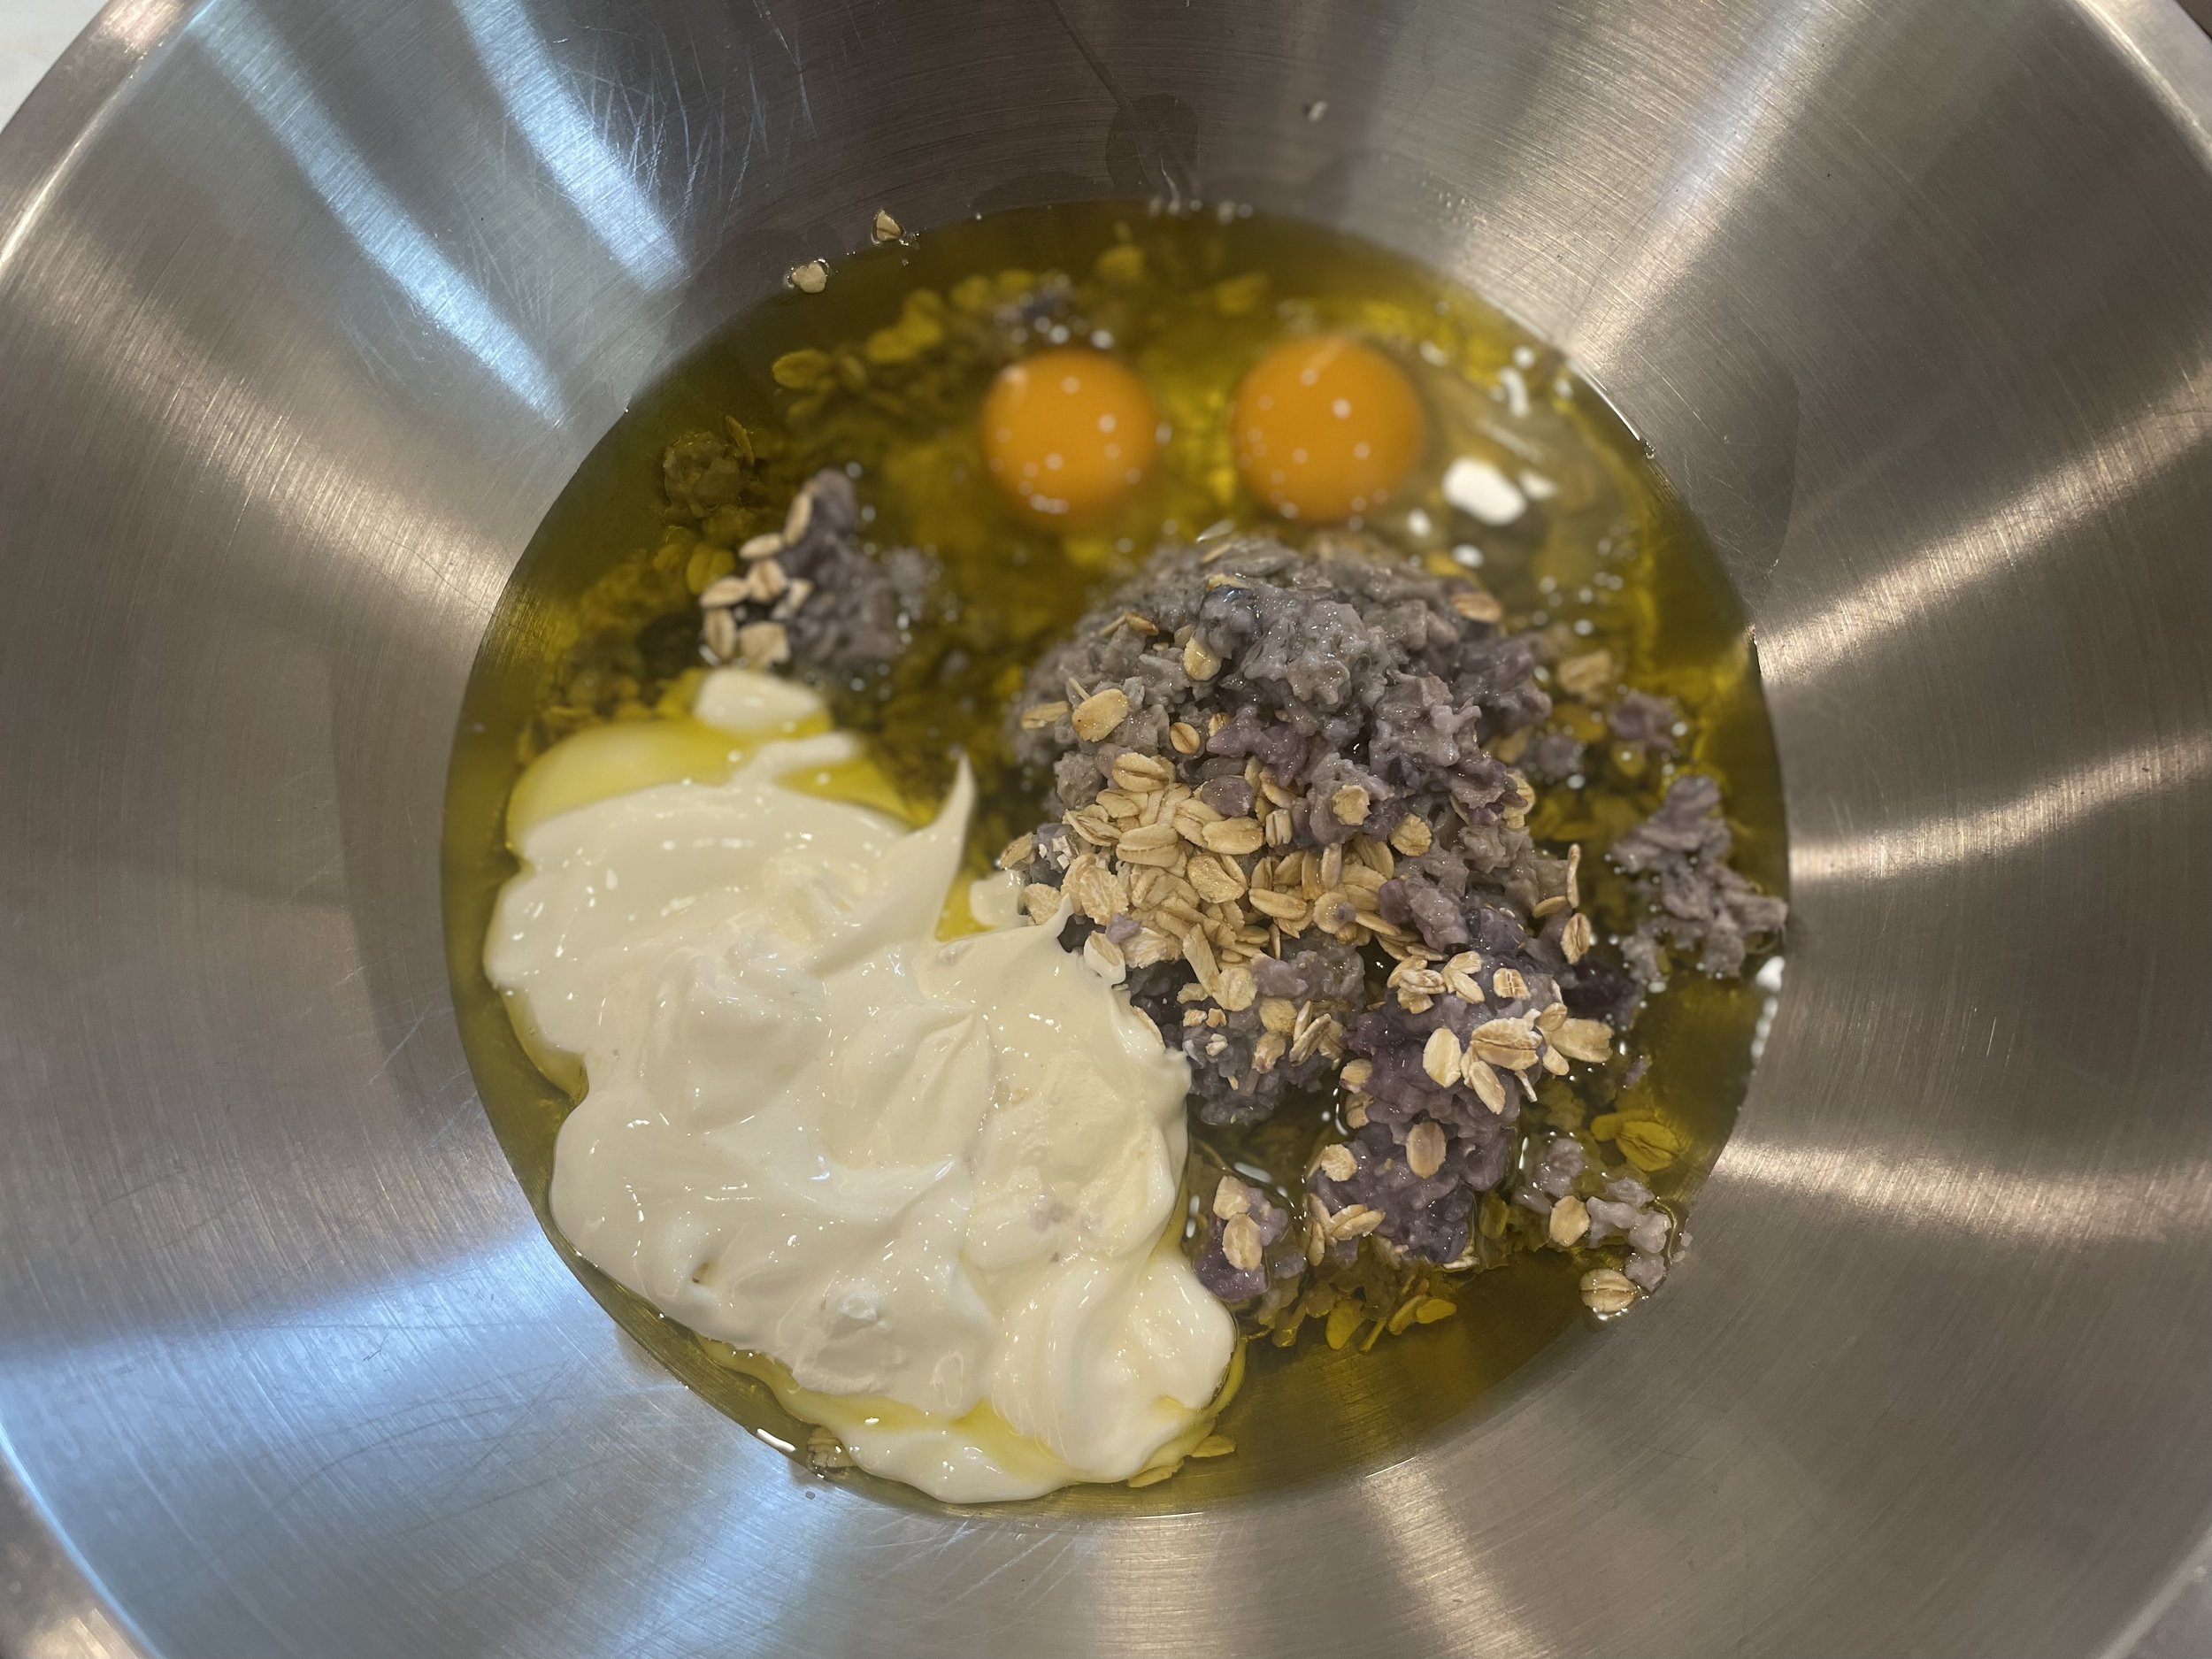
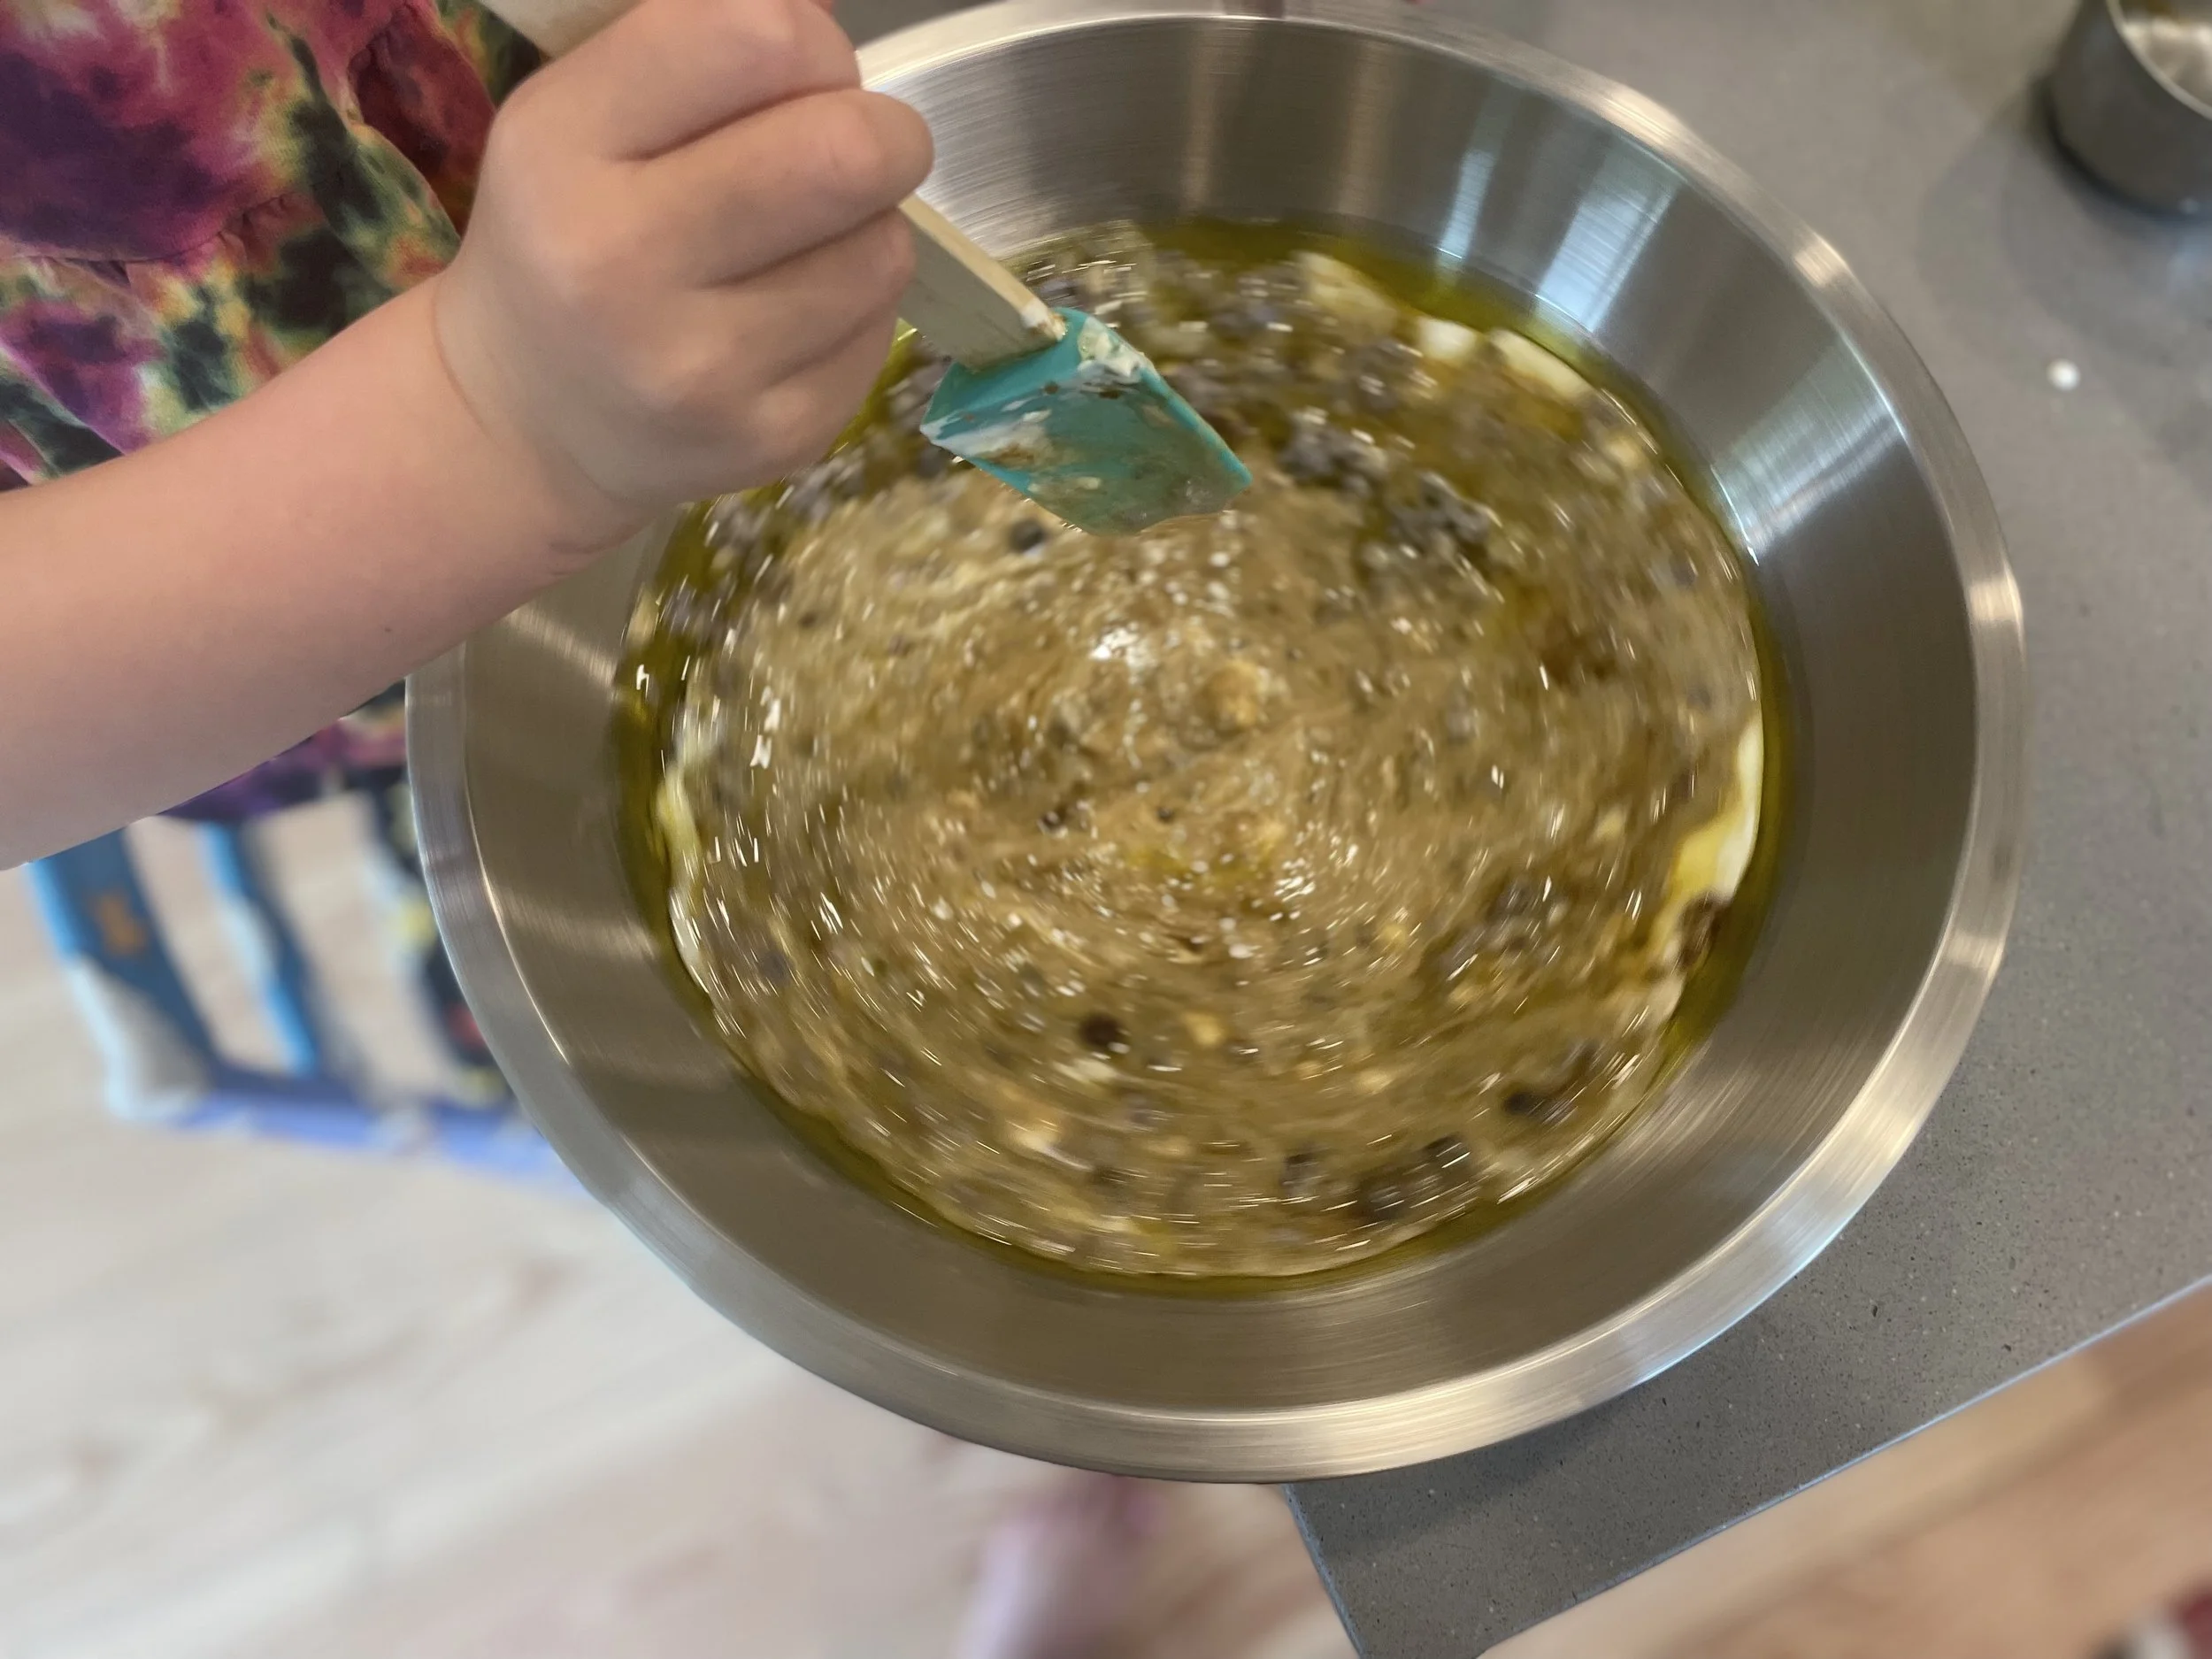
In a large bowl, mix leftover oatmeal, eggs, oil, yogurt, and brown sugar until well blended. Sprinkle flour over the surface of the wet ingredients, and sprinkle baking powder, soda, salt, and cinnamon (if using) on top of flour. Using a flexible spatula, fold the dry ingredients into the wet about halfway, then add blueberries or raisins and continue mixing and folding until just barely mixed and no pockets of dry ingredients remain.
Drop batter using a rounded half cup measure (or large spoon) into prepared muffin tin. The mixture should rise above each cup slightly but not tower above it; I get 12 large muffins. If you have a lot of extra batter, or want smaller muffins, use the cups you need of a second tin, making sure to fill any unused cups about 1/3 full with water.
Bake muffins for 22-30 minutes or until a wooden skewer stuck in the middle of the fattest muffin comes out just clean.
Let cool in pan for five minutes before gently releasing (using a butter knife) onto a cooling rack.
Enjoy!
Leftover muffins, fully cooled, can be stored at room temperature in an airtight container for 2 days.



Triple Chocolate Oat Cookies (Chocoloaties)
I love oatmeal raisin cookies, but sometimes I have to remind myself that it’s okay to tell raisins & cinnamon I’d like to be alone right now—alone with a big pile of oats adorned with three types of chocolate, plus browned butter, whole wheat, and an extra pinch of salt. These are the cookie of my dreams—sweet and chocolatey enough to satisfy the deepest of chocolate needs, and hearty enough to power a long stretch of activities without an abrupt bonk later. The recipe is a mashup of two of my all-time favorite cookie recipes, the $250 Neiman Marcus cookie that I learned how to make in high school, with blitzed oats and double chocolate, and a more recent favorite oatmeal cookie recipe with browned butter, from America’s Test Kitchen, plus some research and additions of my own. Most of the ingredients are straightforward, except the wild card addition of milk chocolate, but don’t let a lack of milk chocolate stop you from making these. I happen to often have milk chocolate chips on hand (Ghirardelli, hidden in the back of the highest cupboard, highly recommend), but I realize most normal people might not. Really any milk chocolate will do—like leftover halloween candy—of course using extra chocolate chips in place of the milk chocolate works great too. I will continue tweaking the recipe of course, and post updates, but for now I’ll leave it here in case, like me, you’ve been hankering for a big batch of cookies that hits the most urgent of brownie cravings while also being acceptable for breakfast. The cookies for breakfast part is a personal opinion, not a fact, which is an important distinction that unfortunately not everyone is willing to make these days.
So, to recap: delicious cookies! You can eat them for breakfast! And please don’t believe everything you read on the internet.


INGREDIENTS
—1 cup (2 sticks) butter
—1 cup brown sugar, packed
—1 cup granulated sugar, packed
—2 eggs
—2 tsp vanilla
—2 1/2 cups rolled oats (not quick cooking)
—1 1/2 cups whole wheat flour (or substitute all purpose)
—1/2 cup Dutch-processed cocoa powder
—1 tsp baking powder
—1 tsp baking soda
—1 1/2 tsp Diamond kosher salt (use 1/2 tsp table salt if you don’t have kosher, or 1 tsp if your kosher salt is saltier than Diamond)
—1/2 cup milk chocolate chips or 4 oz milk chocolate (bar or pieces), or substitute any semi-sweet chocolate chips or bar
—2 cups (12 oz) semi-sweet or dark chocolate chips
DIRECTIONS
Preheat oven to 375 degrees.
Melt butter in a shallow pan over medium heat, stirring occasionally at first and then nearly constantly after a few minutes as the foaming and crackling subsides. Once it starts smelling more nutty, stir constantly until you detect a slight change in color to golden, then scrape it all into a large mixing bowl. (A note on browning butter: It’s taken me a while to get this skill down. I don’t like to get it too browned, since I’m kind of a wimp, but if you like to live on the edge you can keep stirring until the milk solids start to turn light brown. Your flavor will be maximized but the risk of burning it all and having to start over (and wasting all the butter) definitely increases the more you brown the butter, so I like to stop just as it turns golden. You do you!)
In a food processor or high powered blender, process the oats into a coarse flour, with 8 1-second pulses. Add the 1/2 cup of milk chocolate (or 1/2 cup extra chocolate chips) and pulse for another 6-8 good pulses to break the chocolate up into bits.
In a large bowl, whisk the whole wheat flour, cocoa powder, oat and chocolate mixture, baking powder, baking soda, and salt together until evenly blended and no lumps remain.
Add the sugars to the melted butter, followed by the vanilla and then the eggs, mixing or whisking by hand until smooth and slightly lighter tan in color. Add the dry ingredients to the wet, mixing well and scraping the sides and bottom until only a bit of dry mixture remains. Add the chocolate chips and continue to mix until no flour pockets or dry ingredients remain. The dough will be thick and slightly crumbly; use your muscles and keep mixing.
Shape dough into balls by heaping, rounded tablespoons, and place each ball 2 inches apart on a baking sheet (I use thick, insulated baking sheets for evenly browned, not burnt, bottoms). Use your palm to press each ball gently into a thick disk, and bake for 8-10 minutes in the preheated 375 degree oven, rotating the sheet back to front near the end of baking time, until the dough looks dry. Rest the cookies on the sheet for 2-3 minutes and then transfer them to a baking rack to cool further.

You know you want one.

The Easiest, Best Soft Serve Ice Cream Recipe (plus Easy Chocolate Shell Topping)
I realize that an ice cream recipe is of no use whatsoever when trying to answer the daily question of what the heck to have for dinner that doesn’t require 1) an hour of prep right at 5:30pm when the kids and I are at our hangriest and clingiest, or 2) a trip to the store, or 3) meat, or 4) processed meat substitute, or 5) pasta, AGAIN. However, for some reason if I know we are having pasta again—and therefore blessedly we will have that 5 o’clock witching hour to run around outside and thus enter the evening with partial sanity intact) then I can throw together a quick ice cream base that can churn while we eat, and I know that people will get protein and fat to go with the noodle and veggie main and it all will sort of balance out maybe. Like my dad always used to say when I was growing up, “It all ends up in the same place.”
This is the recipe I sometimes ALMOST wish I didn’t know because it makes it too easy to make ice cream. However, the benefits of having ice cream at my fingertips—ice cream every night!!—always outweigh the potential pitfalls of having ice cream at my fingertips—ice cream every night????—simply because it is helping us build our self control muscles and also it tends to lose some of its glitter once you know you can have it again tomorrow if you want. It’s almost more delicious made with blitzed dates in place of sugar! I don’t make it too often these days but when I do I am reminded of the pure genius of simplicity.
The benefits of this “Philadelphia-style” ice cream made at home are many: short ingredient list, no eggs or cooking required, it can be easily made vegan, the flavor combos are infinite, and it tastes delicious with way less sugar and none of the additives in most store-bought ice creams. It is quicker than driving to the store to buy ice cream, almost always. You can make it with maple syrup or another sweetener. It’s cheaper per serving than high-quality store-bought ice creams. And, the chocolate version tastes like a Wendy’s frosty but way better.
The only conceivable drawback here is that it requires a decent ice cream maker. I love the cuisinart, but any good ice cream maker that has a freezer canister will work well. (Hint: you can often find ice cream machines at thrift stores—those poor people who got rid of their dusty, seldom-used ice cream makers because they thought you had to cook a custard every time you wanted ice cream!!). The secret to having homemade ice cream any time you want is to store the canister in the freezer. After each use, just rinse it well with lukewarm water (I don’t scrub, and I don’t use hot water or even usually soap, as it might damage the lining), and then put it immediately back in the freezer so it’s always frozen and ready. Yes, it takes up space in there but I can store other frozen stuff inside the hopper and overall having an easy homemade ice cream option makes it well worth the used freezer space. I hope you’ll find the same thing!
The Easiest No-Cook Soft Serve Ice Cream Recipe (with Egg-Free, Sugar Free (Date-Sweetened), and Non-Dairy Options) plus Easy Chocolate Shell Topping
Notes: The mixture needs to be fridge-cold in order to freezer properly in the ice cream machine. If I’m using dairy that has already been in the fridge, I can mix and freeze it immediately, but if I’m using coconut milk or cream, or any flavors or fruit that are warm or voluminous, the mixture requires chilling for at least an hour or longer before freezing (unless you thought ahead to stick your coconut milk or cream in the fridge in which case you are way more organized than I!).
Ingredients:
—2 c cream (for dairy ice cream I use one cup heavy whipping cream and one cup half and half), or one can coconut milk or coconut cream or a mix of the two.
—3-4 T sugar, to taste (I start with three and add more as necessary), 2-3 T maple syrup, or 1/4 to 1/2 cup pitted, packed Medjool dates (about 4-8 large dates)
—1 tsp vanilla or a pinch of vanilla powder, optional
—pinch of salt
—2 heaping tablespoons good cocoa powder, to taste, optional
—mix-ins (cooked and cooled fruit, lemon juice and zest, chopped cookies, nuts, chocolate chips, etc)
Directions:
In a bowl or large glass measuring cup, combine all ingredients and whisk until smooth. If you’re using dates for sweetener, and/or any other fruit for fruit ice cream, blend the dates and/or fruit with the rest of the liquid mixture with an immersion blender, or in a food processor, until only tiny specks of date remain. If you’re using coconut milk and/or dates and/or fruit (or if any of your ingredients besides the sugar, salt, and vanilla are not fridge-cold), chill the mixture in the fridge for at least an hour—the longer the better. This part can be done in advance and the mixture can chill covered in the fridge for several hours to overnight. Keep any whole mix-ins like nuts or cookies in the fridge to chill also so they don’t melt the ice cream when you drop them in.
Twenty minutes to a half an hour before you want ice cream (right before you sit down to dinner, if you’re me), plug in the machine, get the hopper churning and ready, and retrieve the chilled mixture. Give it a quick stir to re-combine and then whisk the mixture while pouring it into the ice cream maker. If you have cookies or mix-ins, wait until the mixture begins to freeze (you can hear the machine working harder, and it looks like soft serve) to add the chilled mix-ins, and let churn for an additional minute or so. It should take 15-20 minutes total to get soft serve ice cream. Serve immediately or scrape into a container to freeze further (for the “hard-serve version”). I only use silicone or wooden utensils inside the ice cream canister so as not to scratch the delicate lining!
Super Easy “Like Magic” Chocolate Shell Topping
—1/2 c semi-sweet chocolate chips
—2 tsp coconut oil
Melt chocolate chips and coconut oil on lowest possible heat, stirring until melted. Keep slightly warm until time to serve. Drizzle over ice cream!

I realize this isn’t the best photo; I will update it soon. This is from a long time ago when I attempted to make waffle cones—11/10 recommend if you have time for a big project—and it shows two flavors of ice cream that didn’t chill properly before freezing, so they are a bit blobby/melted. A little time in the freezer and they came right around.

Super Chill Chili Garlic Sauce
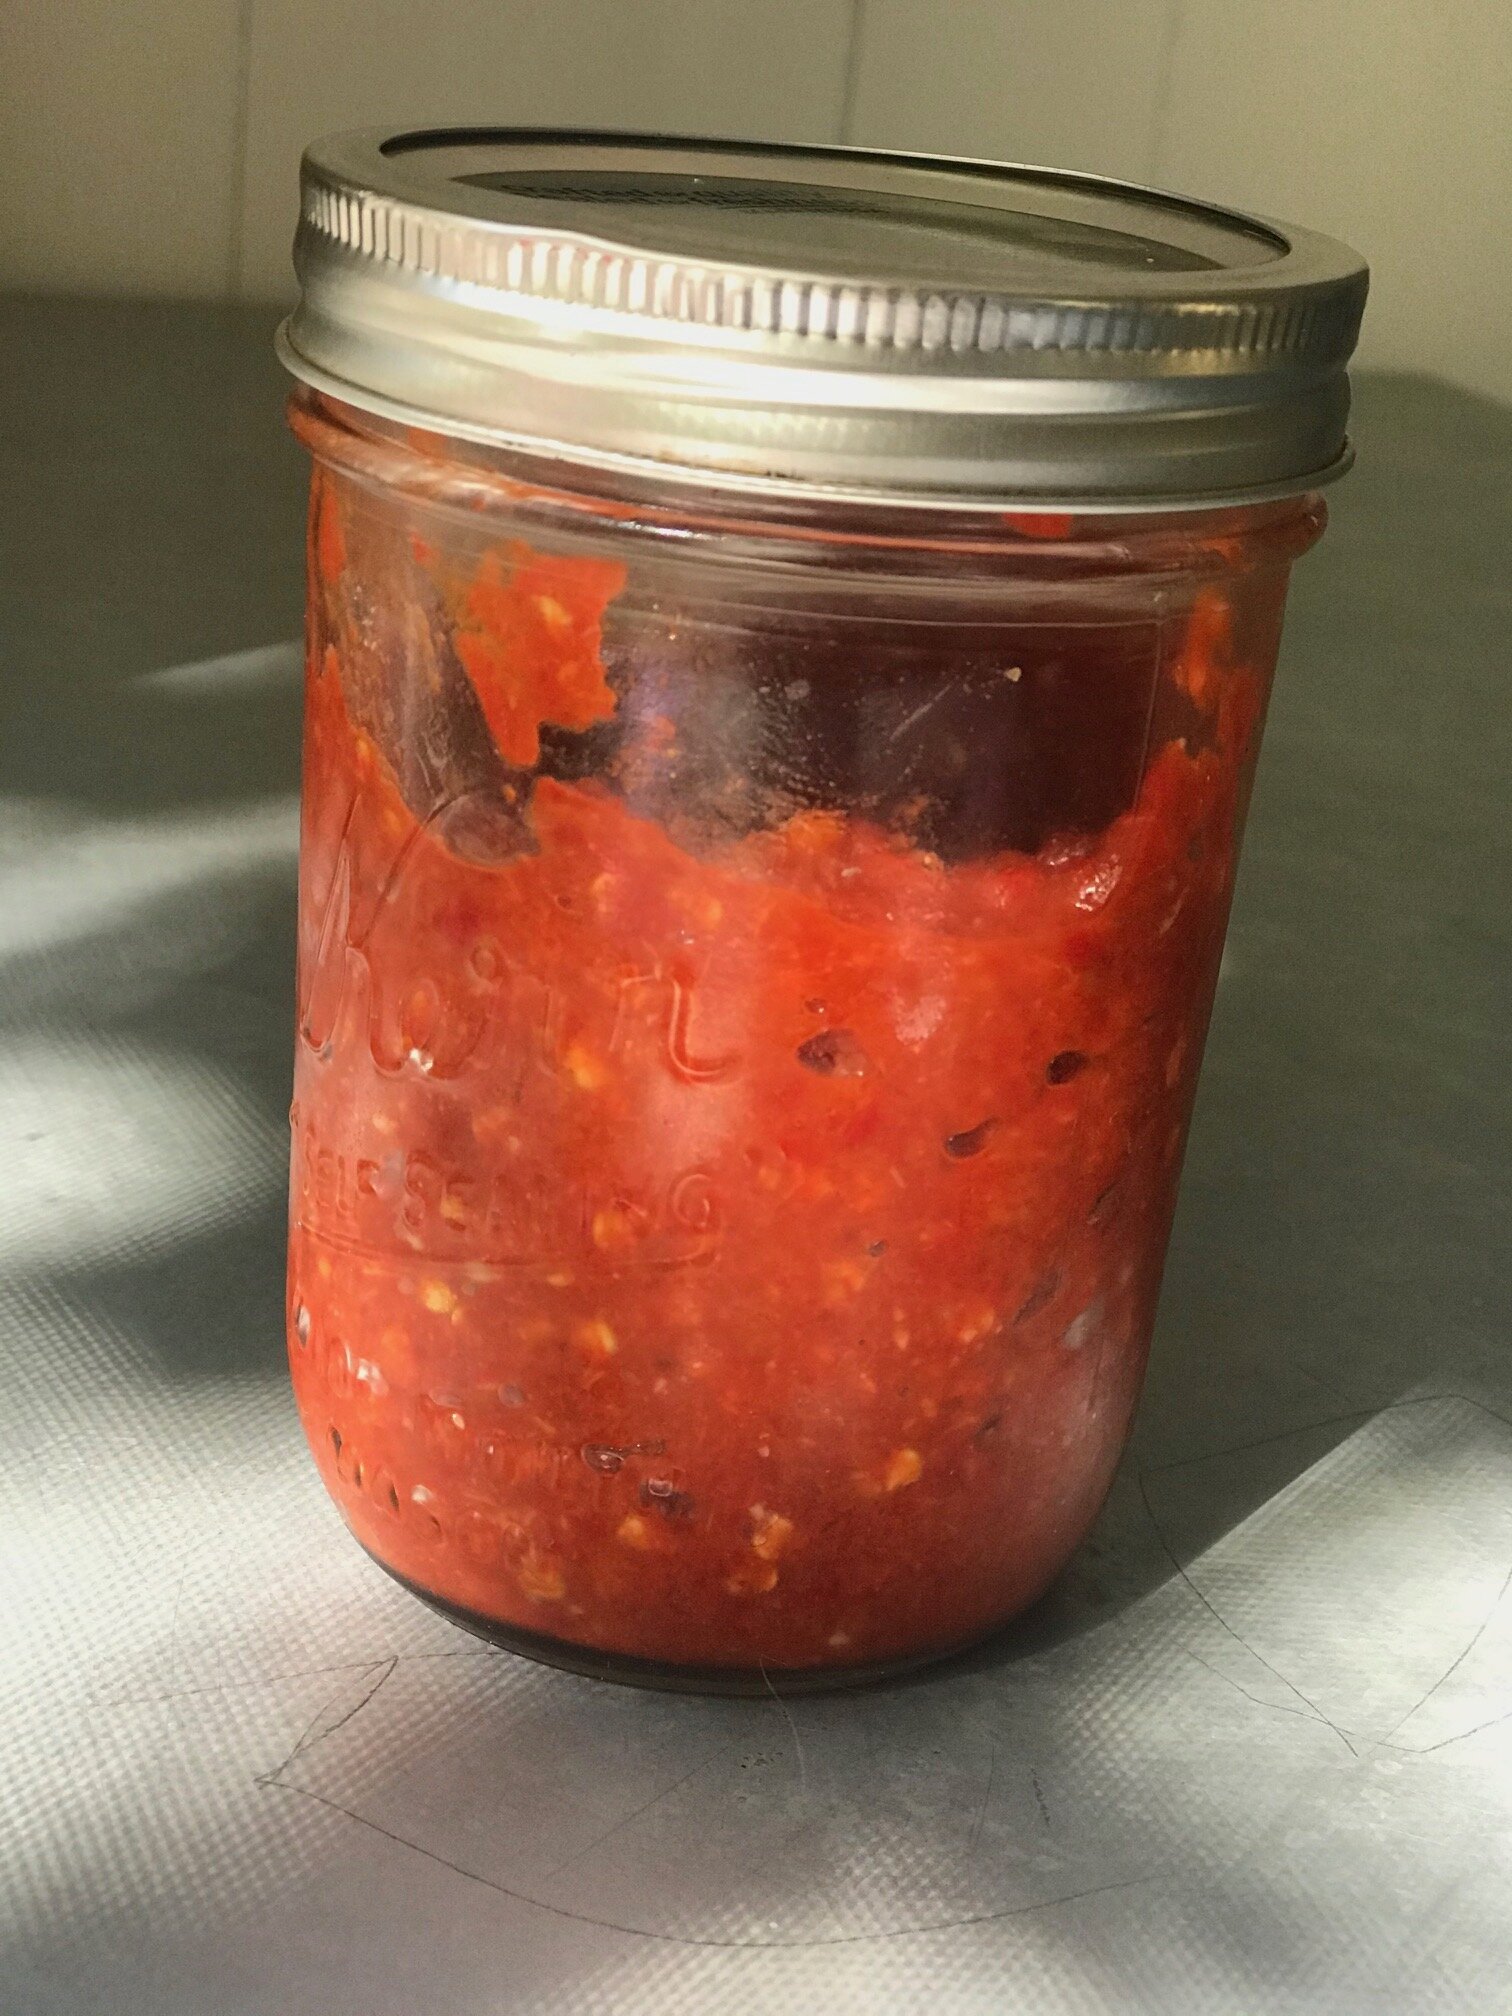
Liquid gold in the fridge!
This is the easiest chili garlic sauce—it uses loads of peppers (spicy or not, you choose—I prefer a mix of Hungarian (medium spicy) and jalapeño) and can just stay in the fridge and get better with time. It’s what I make when all the peppers are ripe NOW and I want to preserve them for maximum deliciousness. I’ve combined a few recipes over the years into one that works best for me but I think that in general it’s fairly adaptable. You can leave out the sugar if you’d like for a more salt/vinegar profile but I’ve found that a little sugar really helps the overall flavor of the sauce.

Found these in between the weeds in the garden.
Super Chill Chili Garlic Sauce
Ingredients:
—2lb, 9 oz mixed chili peppers (2.5 lbs is great)
—2 small heads garlic, peeled (12-14 medium cloves)
—1T kosher salt (I use Diamond Crystal)
—1T sugar
—1.5c white vinegar
—1.5 c water
Cut the green tops off the peppers (taking care to not touch the cut parts with your bare skin, or use gloves to prevent capsaicin burns), and place all of the ingredients in a non-reactive saucepan with a lid. Cover and bring to a boil, then reduce to a simmer. Simmer, covered, for ten minutes.

This is what it looks like before blending.
Check the peppers and liquid. You want the liquid to be reduced almost to a syrup but not to boil off entirely, and you want the peppers to be soft and cooked but not totally cooked to oblivion. Keep cooking the peppers (20 minutes total or so covered), and then remove the lid and cook for five more minutes uncovered, or until the liquid is reduced but not gone. You can add more liquid (half vinegar, half water) if the liquid seems to be boiling off before the peppers are cooked. Stir occasionally. Once the mixture is cool, use an immersion blender or regular blender (in batches for safety) to create a thick paste. Taste and correct seasonings (I added more salt). Store in jars in the fridge (should be good for about a month, you can pour a little vinegar on top each time to keep it fresh longer as long as you don’t mind a bit more vinegar flavor), or in the freezer (I’ve read it should be good for up to a year in the freezer but I haven’t tried it myself yet). Ours from last year (with extra vinegar) lasted in the fridge almost an entire year without getting moldy—and the flavor improved over time while becoming less spicy!

Recipe: Pantry Chocolate Chip Cookies (Chocolate Chip Cookies with No Raw Egg)

You can sneak some of this dough! But don’t say I told you…. Photo: Anne Cleary
This recipe, like basically all of my cooking, happened accidentally. I started baking cookies then realized we didn’t have any eggs in the fridge, and I was NOT about to abandon my cookie mission. So, I did a little research and came up with a magic ingredient. I’ve tweaked the recipe since, and now it’s actually part of the regular rotation, easy to throw together and I don’t usually even have to go to the store to grab eggs (since I prefer to be fully stocked on chocolate chips at all times, and of course Bob’s Red Mill Organic AP flour.)

Like the pizza dough post, this one is also shown in our ski video, The Recipe, coming soon. Thanks for reading! Happy baking and happy adventuring!
Pantry Chocolate Chip Cookies (No-Raw-Egg Cookies)
Notes:
**These don’t have any raw egg in them (if you use store-bought mayo), so you can take from that what you will (sneak samples of the raw dough, use it for making cookie dough ice cream), however don’t say I told you it was okay because the FDA does NOT recommend eating raw flour for E.Coli risks and more
**I have only made it using regular mayo but if you wanted to make these vegan (or for someone with an egg allergy) I bet they would work with a vegan mayo instead, and swapping out vegetable shortening for the butter. Let me know how it works out!

Molasses plus sugar equals brown sugar just in case you ever find yourself out of brown sugar…but you’re probably a better planner than me and never realize you’re out of something last minute. Now, I barely buy brown sugar any more and always have molasses on hand. Photo: Anne Cleary
INGREDIENTS
1 c. white sugar
1 T molasses (if you don’t have molasses you can substitute a half cup, packed, of brown sugar for half of the white sugar)
3/4 c (one and a half sticks) unsalted butter
1 tsp vanilla
2 rounded tablespoons mayonnaise
2 c Bob’s Red Mill Organic All-Purpose Flour
1 tsp Bob’s Red Mill Baking Soda
1/2 tsp kosher salt (use 1/4 tsp if using table salt)
2 c semisweet or dark chocolate chips (my all-time favorite are the Ghirardelli 60%)
DIRECTIONS:
Preheat oven to 375 degrees.
Cream butter and sugar(s) together in an electric mixer until light and fluffy, which may take a few minutes. Add mayonnaise, molasses and vanilla, and beat on medium until well mixed. Sprinkle the flour, soda, and salt on top and mix by hand with a rubber spatula until most of the flour disappears. Stir in chocolate chips.
Form into balls and bake at 375 for 8-12 minutes, checking them at 8 and GENTLY rotating cookie sheets back to front and top to bottom if necessary. Cool on sheets for a minute or two before transferring to wire racks.

We heard there were cookies coming out of the oven? Photo: Anne Cleary

Recipe: Evening Pizza Dough

Hot pizza, come and get it! Yes, I use scissors to cut pizza—with the rectangle pizzas it works like a dream. Photo: Anne Cleary
This is an easy pizza dough recipe that can be started and baked in the same evening, and makes two massive oven-sized pan pizzas. I love to use pizza stones and pizza steels but we’ve discovered that we make pizza more often (and can enjoy more stress-free hang out time before dinner, which is especially nice if people are over) if I just throw it on a few pans and call it good. The kids prefer veggie (and fruit) pizza so these days we do lots of zucchini, mushroom, olive, and fresh pineapple and red pepper pizzas, and we have a huge stash of sauce in the freezer that we made in the fall from our garden tomatoes. Anything that makes pizza night easier and more frequent is a huge win in this house.

Where’s the snow? Oh well, I guess I’ll go pick apples and bake something! Photo: Anne Cleary
This post is inspired by a video that I made last winter with my very talented friend Anne Cleary. We set out to capture the excellent skiing in Washington, and a few days after beginning our work for the winter, the winter in Washington decided it had other plans and decided to take a month off, returning in April for a few hot wet storms. So, we did succeed in getting the full spectrum of Washington conditions from wet and warm to crusty to powder and storm days, and the sun peeked out for about a minute, too. Since we both love to bake and cook, we were laughing about how often the textures of the snow reminded us of food, or dough, or batter, or flour, and voila, our shred video turned into an ode to the many flavors of Washington skiing and also to our love of baking and cooking. I will put out the video soon. In the meantime, happy baking! And thanks to Bob’s Red Mill who sponsored the ski video, and who makes the best flour and pantry items and dry goods out there! And of course thanks to Anne for the vision and the creativity.
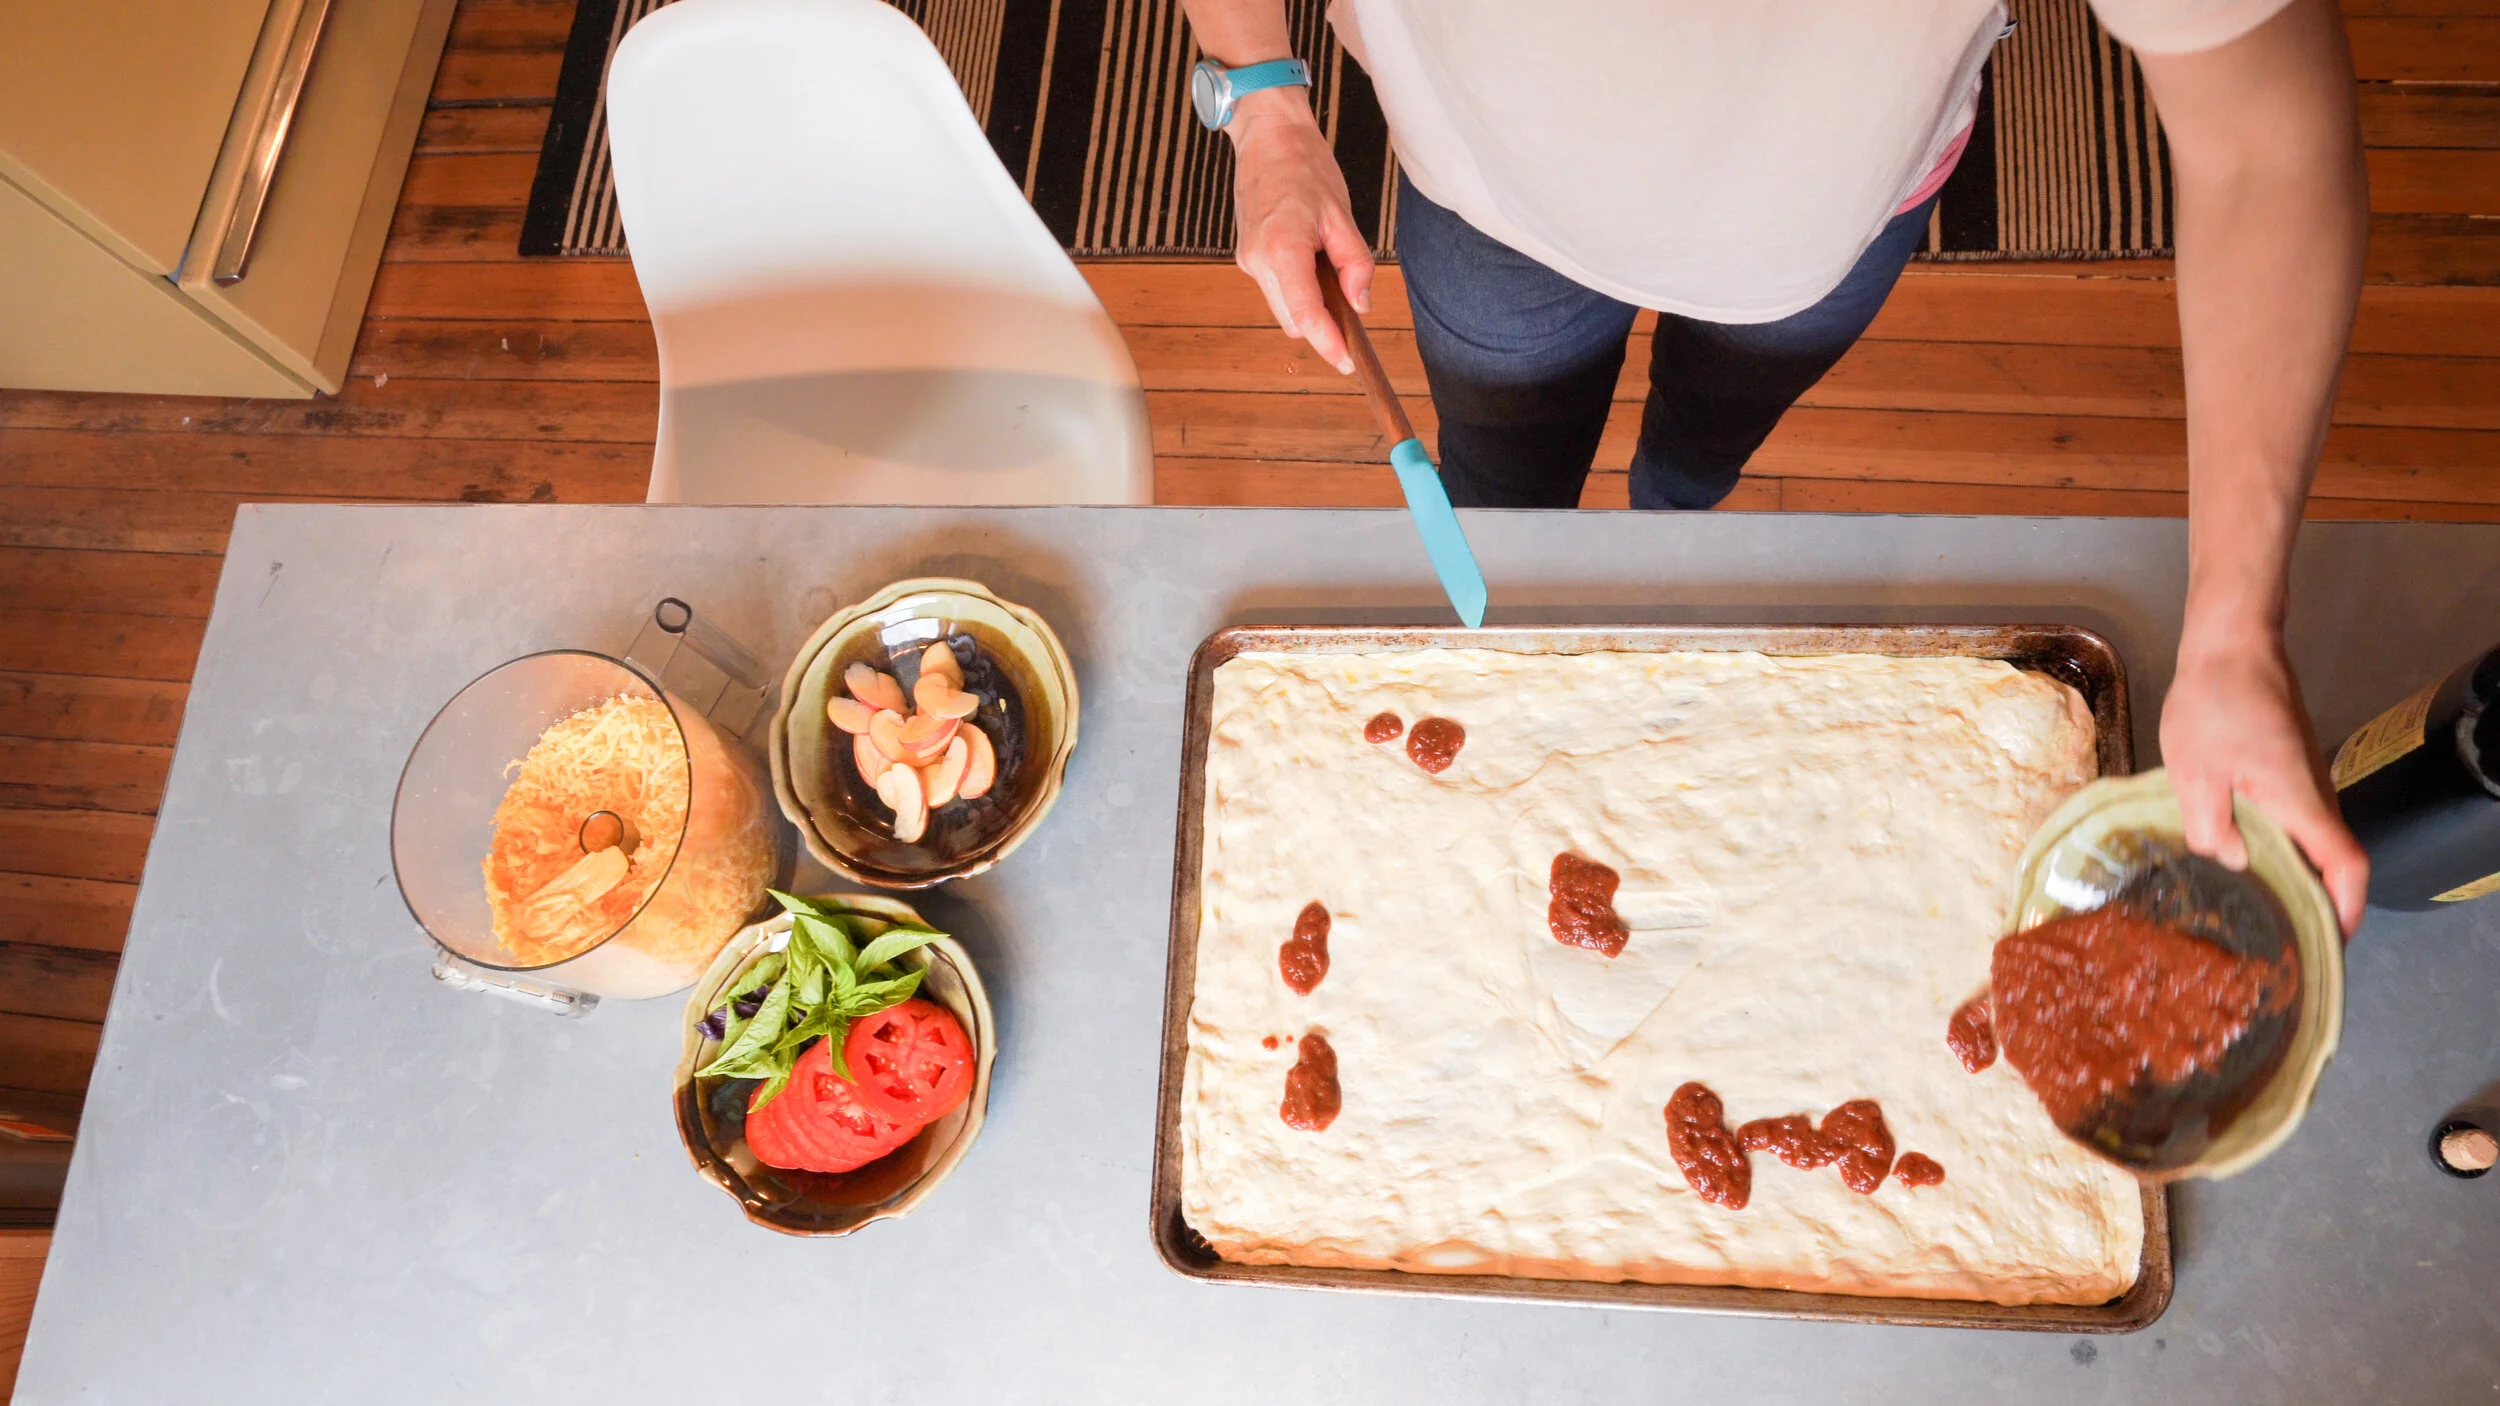
Just a light layer of sauce helps keep the dough from sogging out. Feel free to mix the sauce with some olive oil to help it spread and also to thin it up a bit. Photo: Anne Cleary
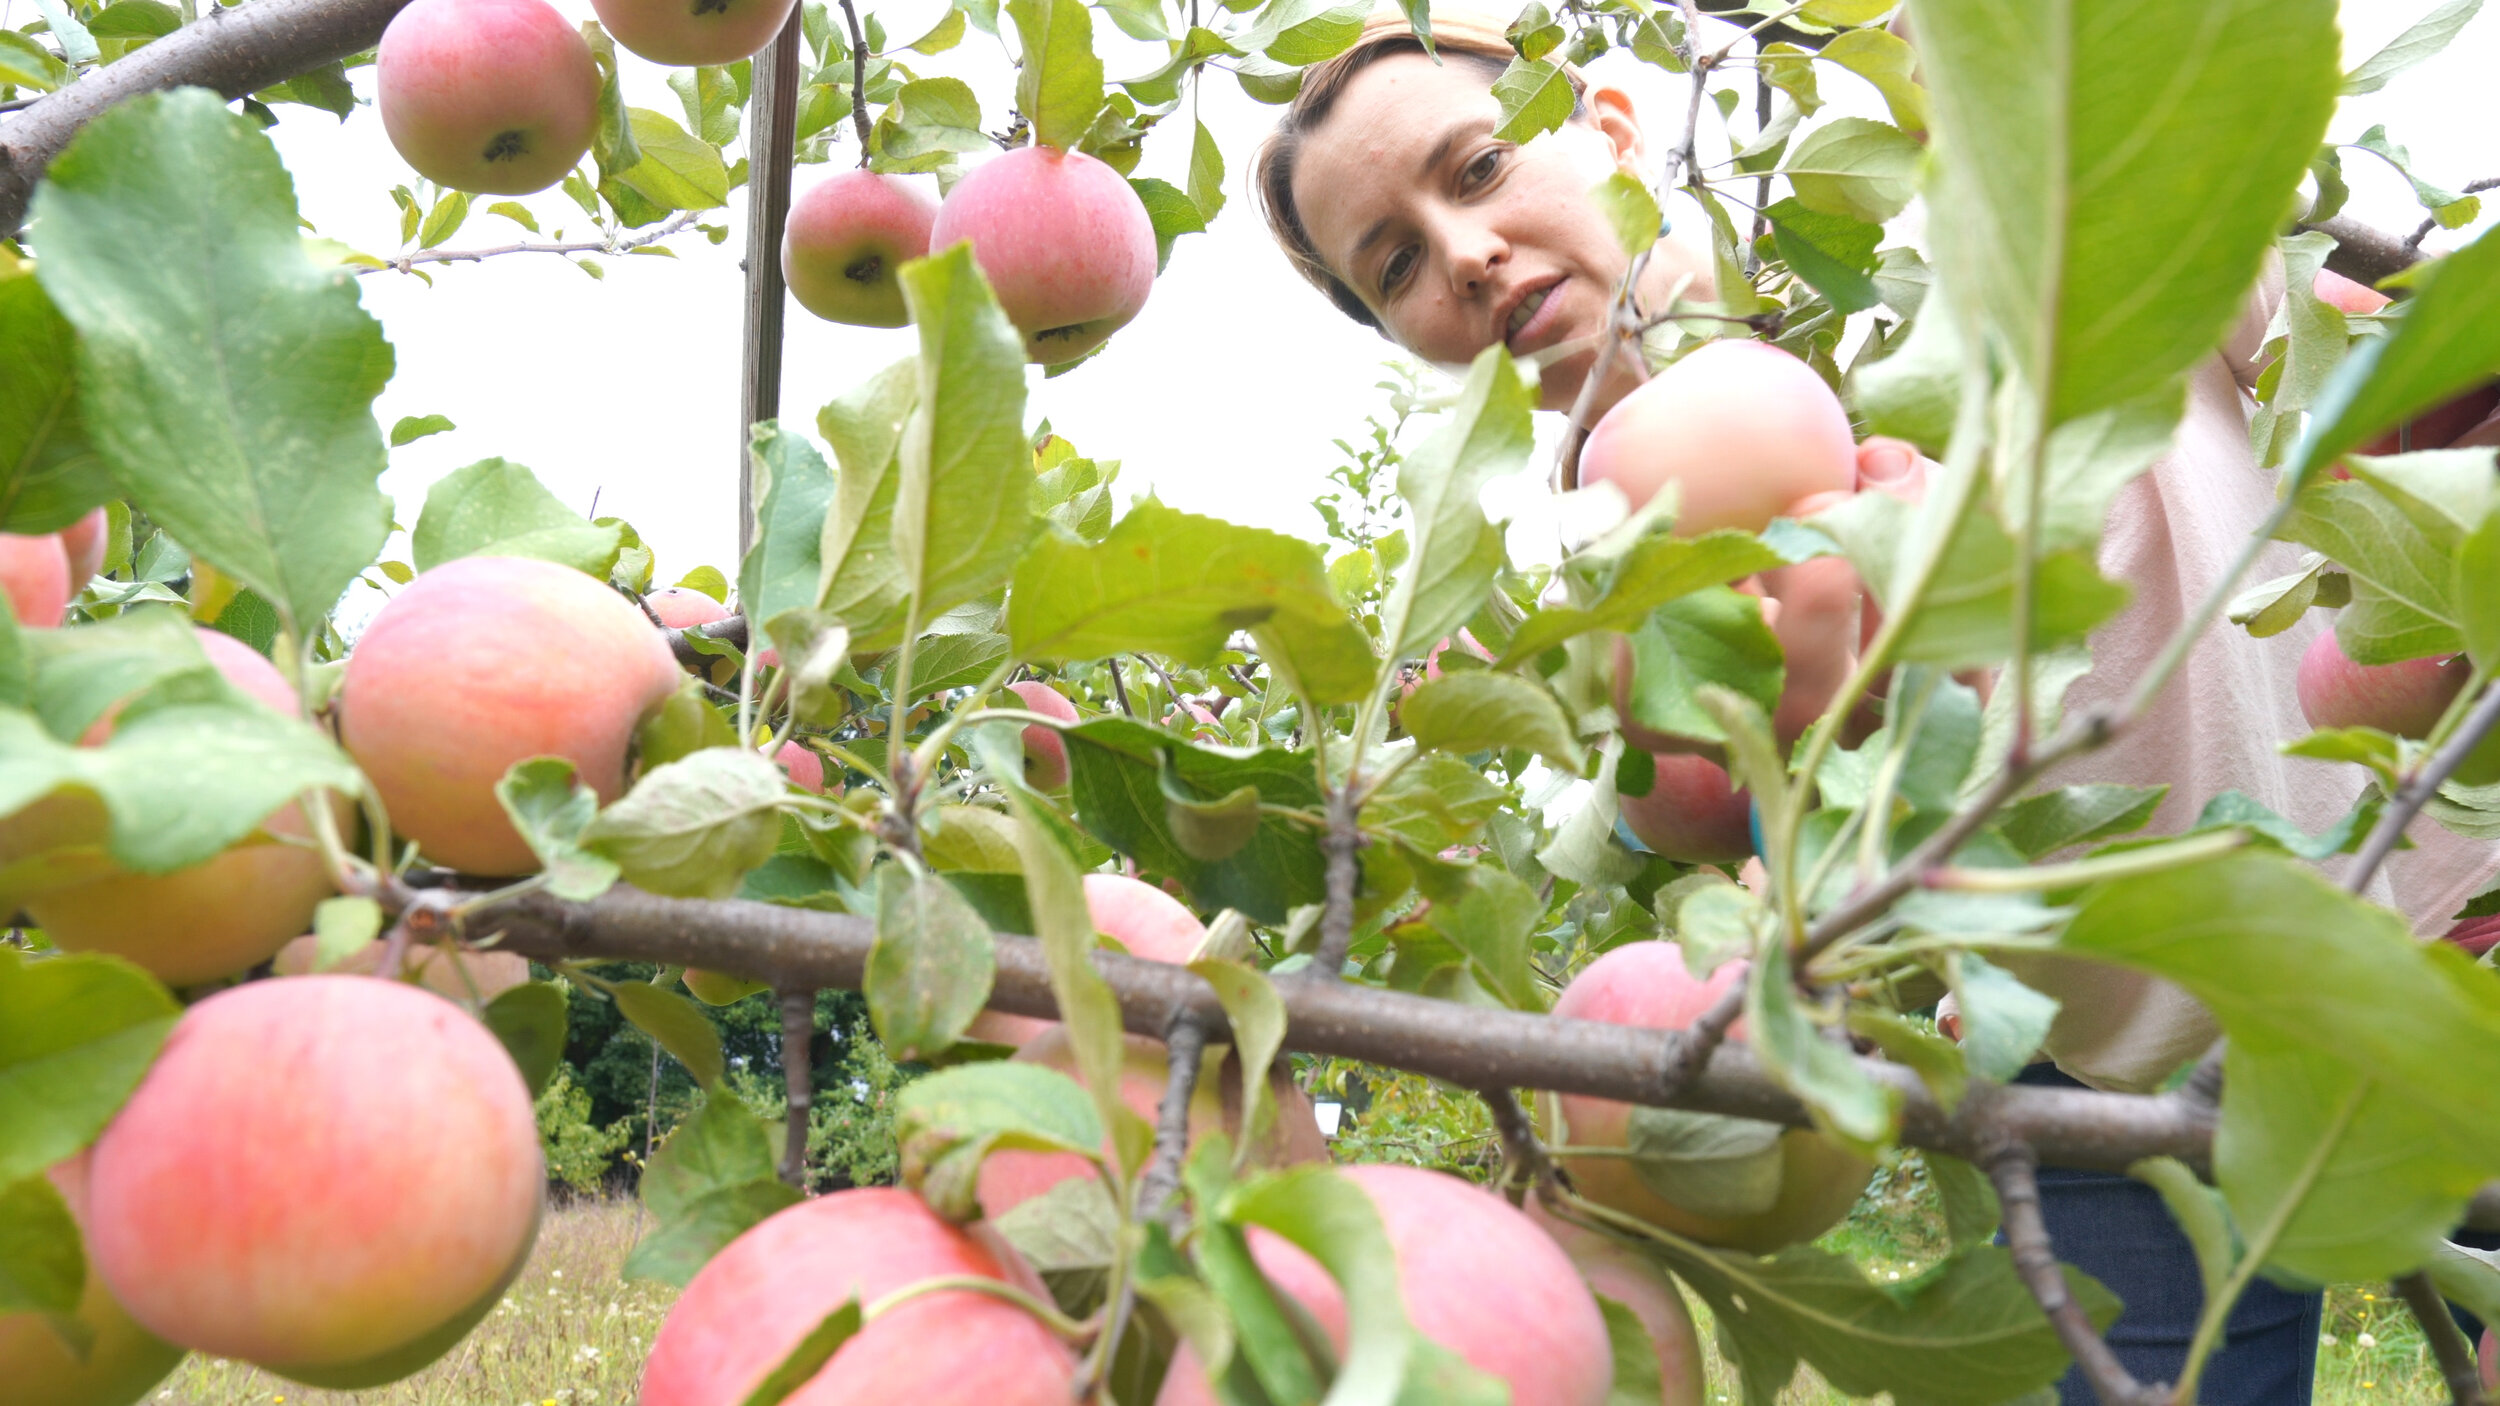
Apple everything!!!! Photo: Anne Cleary
EVENING PIZZA DOUGH (makes two massive oven-sized sheet pan pizzas or many round pizzas)
Notes:
**Begin making the dough 2-3 hours before you want the pizzas to hit the oven. If you want to make it further ahead of time, let it rest up to 24 hours or more, covered, in the fridge until an hour before baking time. An hour before baking take the dough out of the fridge and let it rest on the counter to come to room temperature.
**I made an apple and cheddar pizza in the video (ski & baking video…coming soon!), because we were picking fresh apples from our tree and also because I didn’t have any mozzarella in the fridge and I am all about using what I have. Also, I think cheddar on pizza is delicious. To do this, for two huge pizzas, grate 1 to 1.5 pounds cheddar cheese, mixing in some jack, fontina, or mozzarella if you’d like. (We like it cheesy! Most people would probably be fine with one pound.)
Thinly slice two apples. After shaping the pizza in the pan, dress it with a light layer of tomato sauce and a generous dose of olive oil. Sprinkle the cheese on top, reserving about a half cup. Arrange the apples and any other toppings (bacon or arugula are nice), sprinkling the last handful of cheese over the toppings to help wilt the apples and any greens. Bake in a 450 degree oven for 10-15 minutes, until cheese is browning, checking frequently and rotating top to bottom and front to back to ensure even cooking.
This amount of pizza for us usually feeds 4 adults and several kids and sometimes (rarely) leaves leftovers.
Update: I’ve added a small amount of sugar to the dough recently (2022) and it helps the dough rise and the crust brown a bit which seems to be an improvement. It’s not totally necessary but I think it’s a great addition and am adding it to the recipe!
INGREDIENTS:
4.5 c Bob’s Red Mill Organic All-Purpose Flour
2 tsp salt
2 tsp sugar (see update, above)
1.75 c water, plus more as necessary
2 tsp instant yeast (or one package)
2 T olive oil (plus more for the pan)
DIRECTIONS:
Around 2 to 2.5 hours before you want to put the pizzas in the oven, make the dough. In a large measuring cup or bowl, sprinkle the yeast and sugar on 1.75 c of lukewarm water, and let it sit while you prep the flour. In a large food processor (or standing mixer with a dough hook), pulse the flour and salt a few times. Add the 2 T olive oil to the water and yeast (give it a quick stir before or as you are pouring), and with the food processor or mixer running, drizzle in the liquid and yeast, scraping the cup with a spatula to make sure you get all the yeasty bits. Process or mix until the dough comes together in one big ball, and then for 20-30 seconds longer. Add a little more water if the dough is too shaggy, OR more flour (2 T at a time, sprinkling all over) if the dough is too sticky and it causes the food processor to stall out. Give the dough a few kneads and then plop it into an oiled bowl, covering with a shower cap (my favorite, I reuse them many many times!) or whatever you like to use (plastic wrap, beeswax, special bowl cover).
About thirty minutes before you want to have pizza, preheat the oven to 450 and grease two large, rimmed baking sheets with a lot of olive oil, keeping some on your hands. With oiled hands, divide the dough into two equal pieces. Working with one piece at a time, gently massage it into a larger circle using the greased backs of your hands, then slowly pulling with your fingertips at the top edge of the oval, rotating the dough in your fingers while letting gravity pull the pizza dough down and larger. Once it gets to a decent size, 12 inches or so in diameter (don’t stretch it too hard! Be gentle!), place it on the sheet and continue to massage it gently from the center outwards on the sheet, stretching and pushing while taking care to not tear the dough. Feel free to re-oil your hands. Take deep breaths and practice patience! Repeat with the other dough and sheet. After the first good stretch session, give the doughs a few minutes to rest. Walk away, make a salad, do some dishes, prep a few toppings. Come back after ten minutes or so, re-oil your hands and stretch the dough all the way to the edges, pulling the edges up and over the rim of the sheet to help keep it in place. If you made a hole, tear a small bit from an overhanging edge (extra somewhere else) and use it as a patch for your hole.
Decorate your pizzas and bake as above, see notes.

Cheddar…it’s just better. Or it’s what I had in the fridge. Photo: Anne Cleary