
Slow-Cooked Tomato Sauce
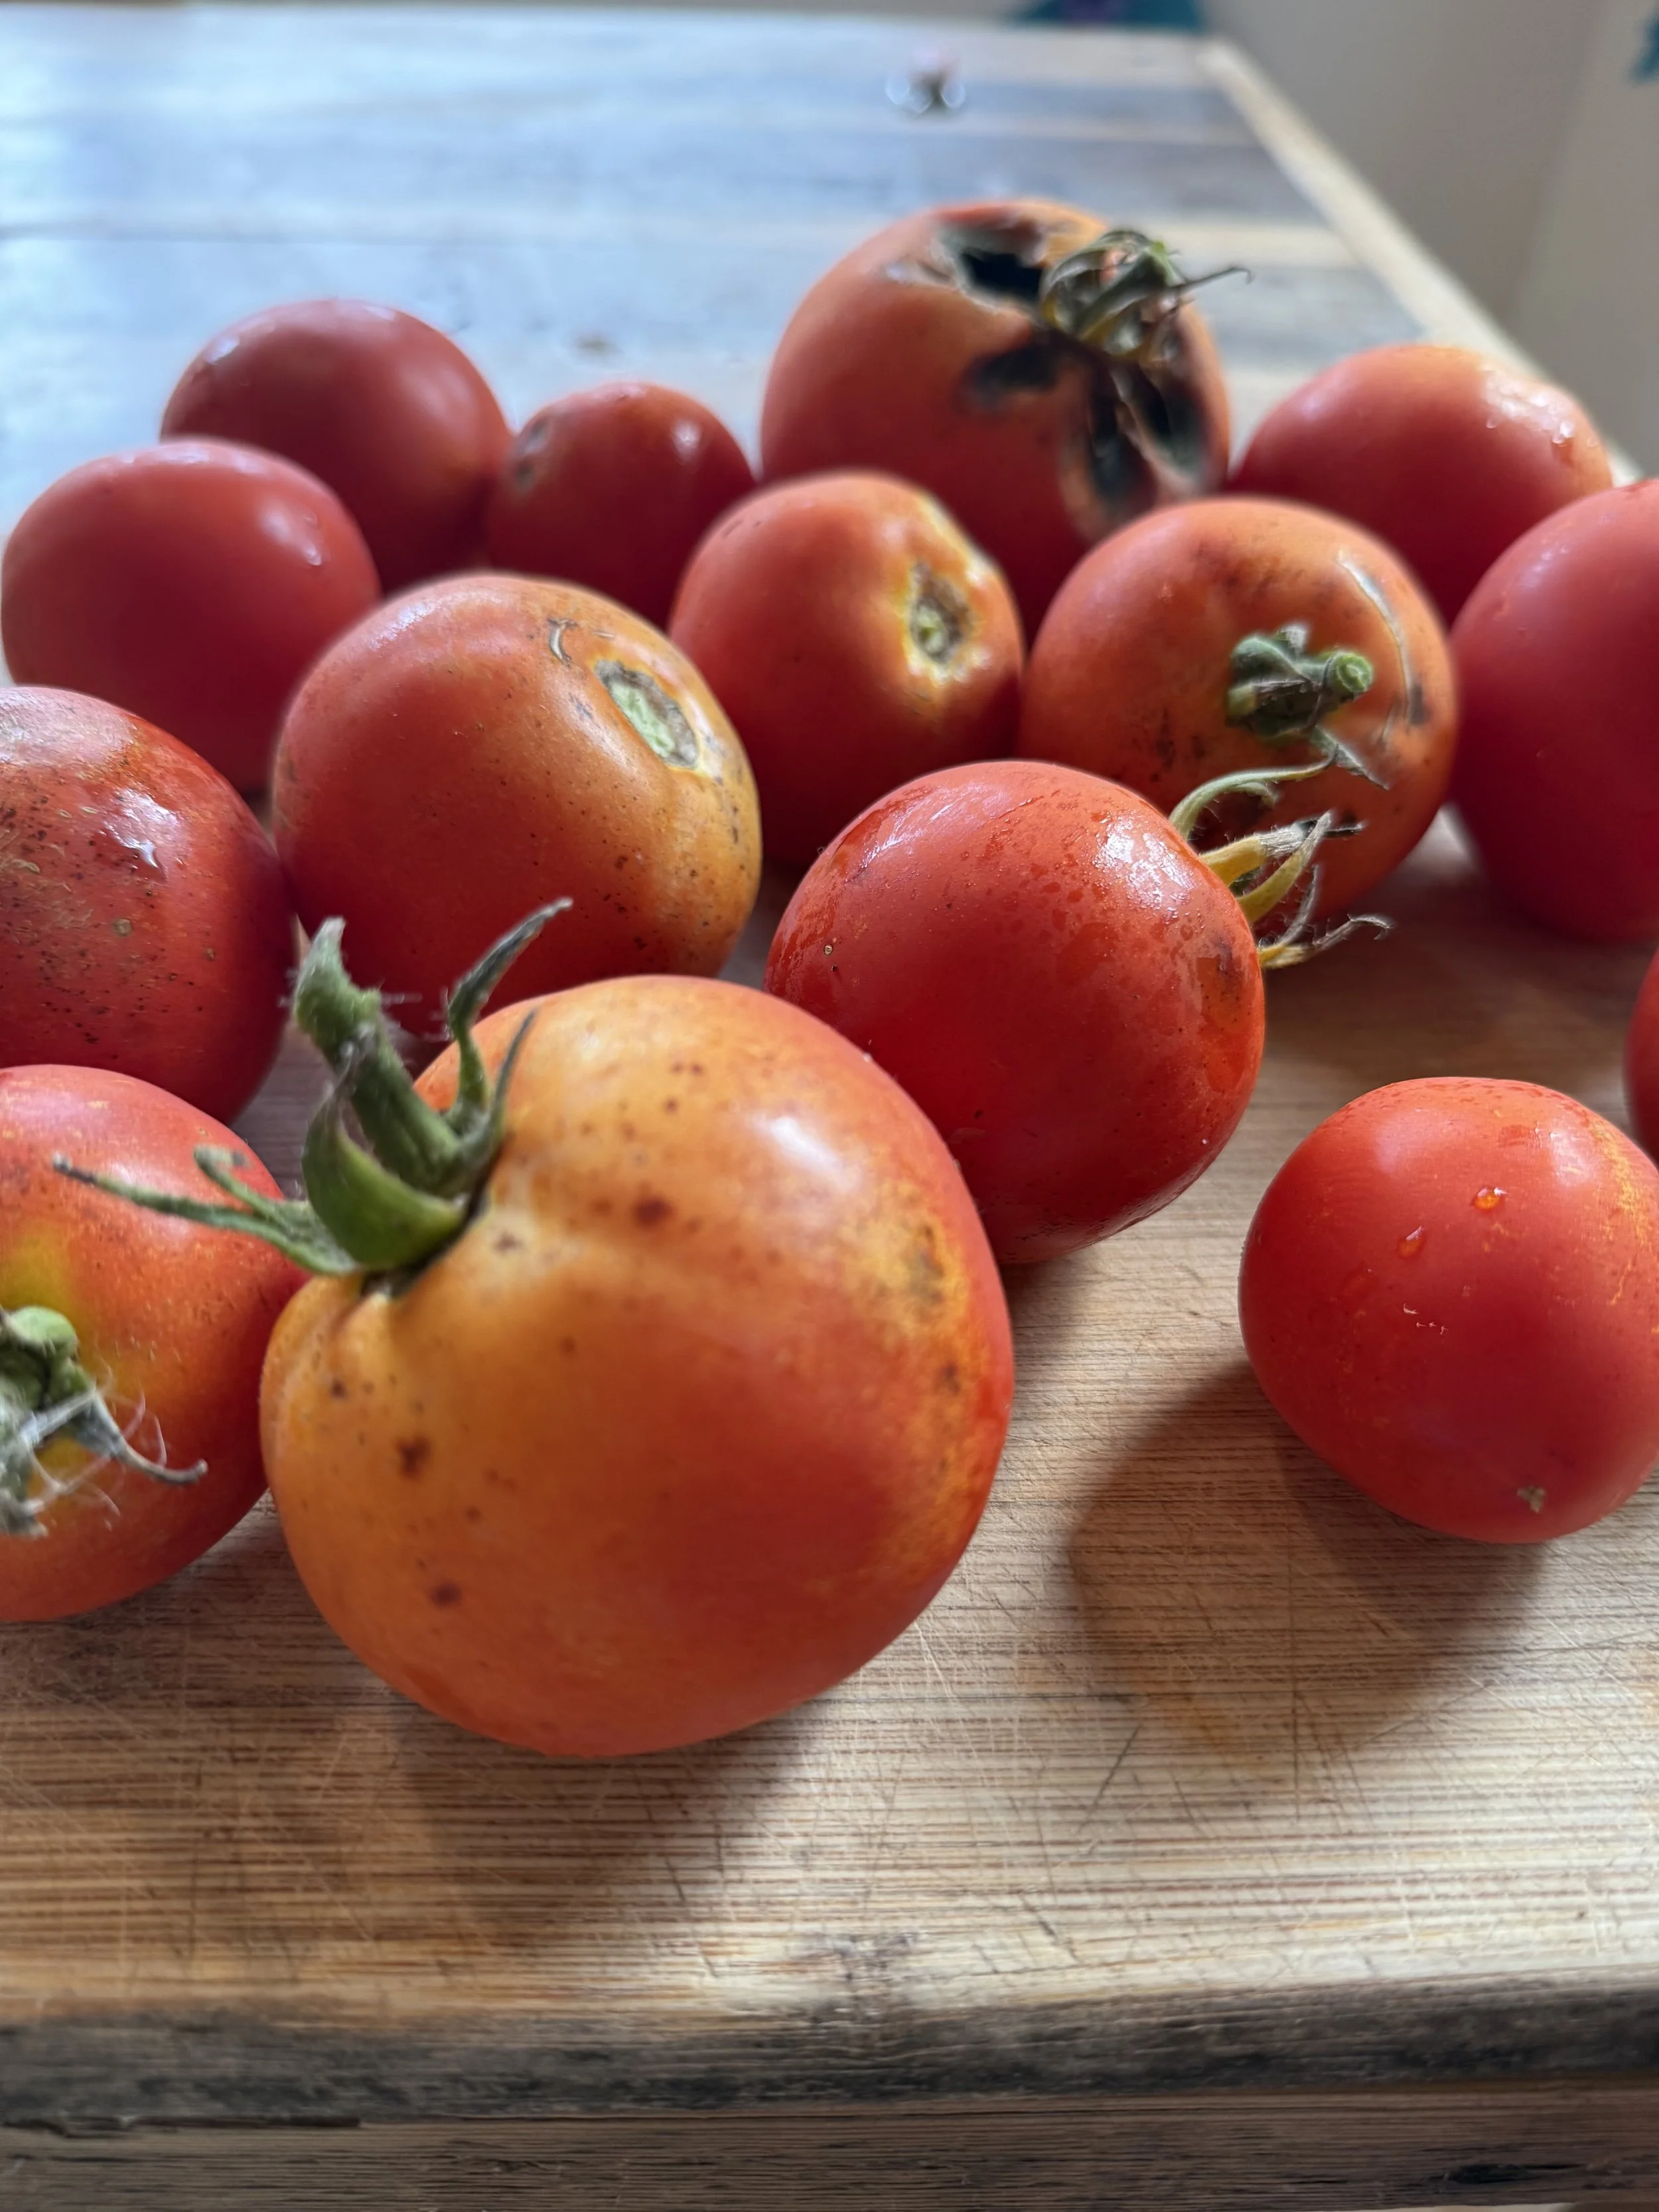
This recipe is so easy, it might not even need to be called a recipe. You literally throw some stuff in a slow-cooker or pot and walk away for overnight or even 24 hours, then blend and voila: a freezer-worthy quantity of umami-packed goodness! I first started doing this one year when I accidentally planted 80 tomato plants and panicked during September when I had pounds of tomatoes to use up each day. At one point I had a slow cooker going plus two pots on the stove round the clock for a week. It’s great for using up the last bounty of tomatoes or a bunch scored on sale. Roma tomatoes work best for thicker sauce, while slicers or heirlooms will make a thinner batch.
I personally have never minded tomato seeds (natural pectin!), skins, or even the tomato core in my sauce, although I do cut out (most) rotten or black spots because I’m not that hard core. (Pun! Unintended!)
If you aren’t a fan of seeds, skins, or cores, feel free to remove them, but keep in mind that removing the seeds will give you less liquid and a thicker final product—you will need less cooking time and more careful watching so as not to burn the sauce.
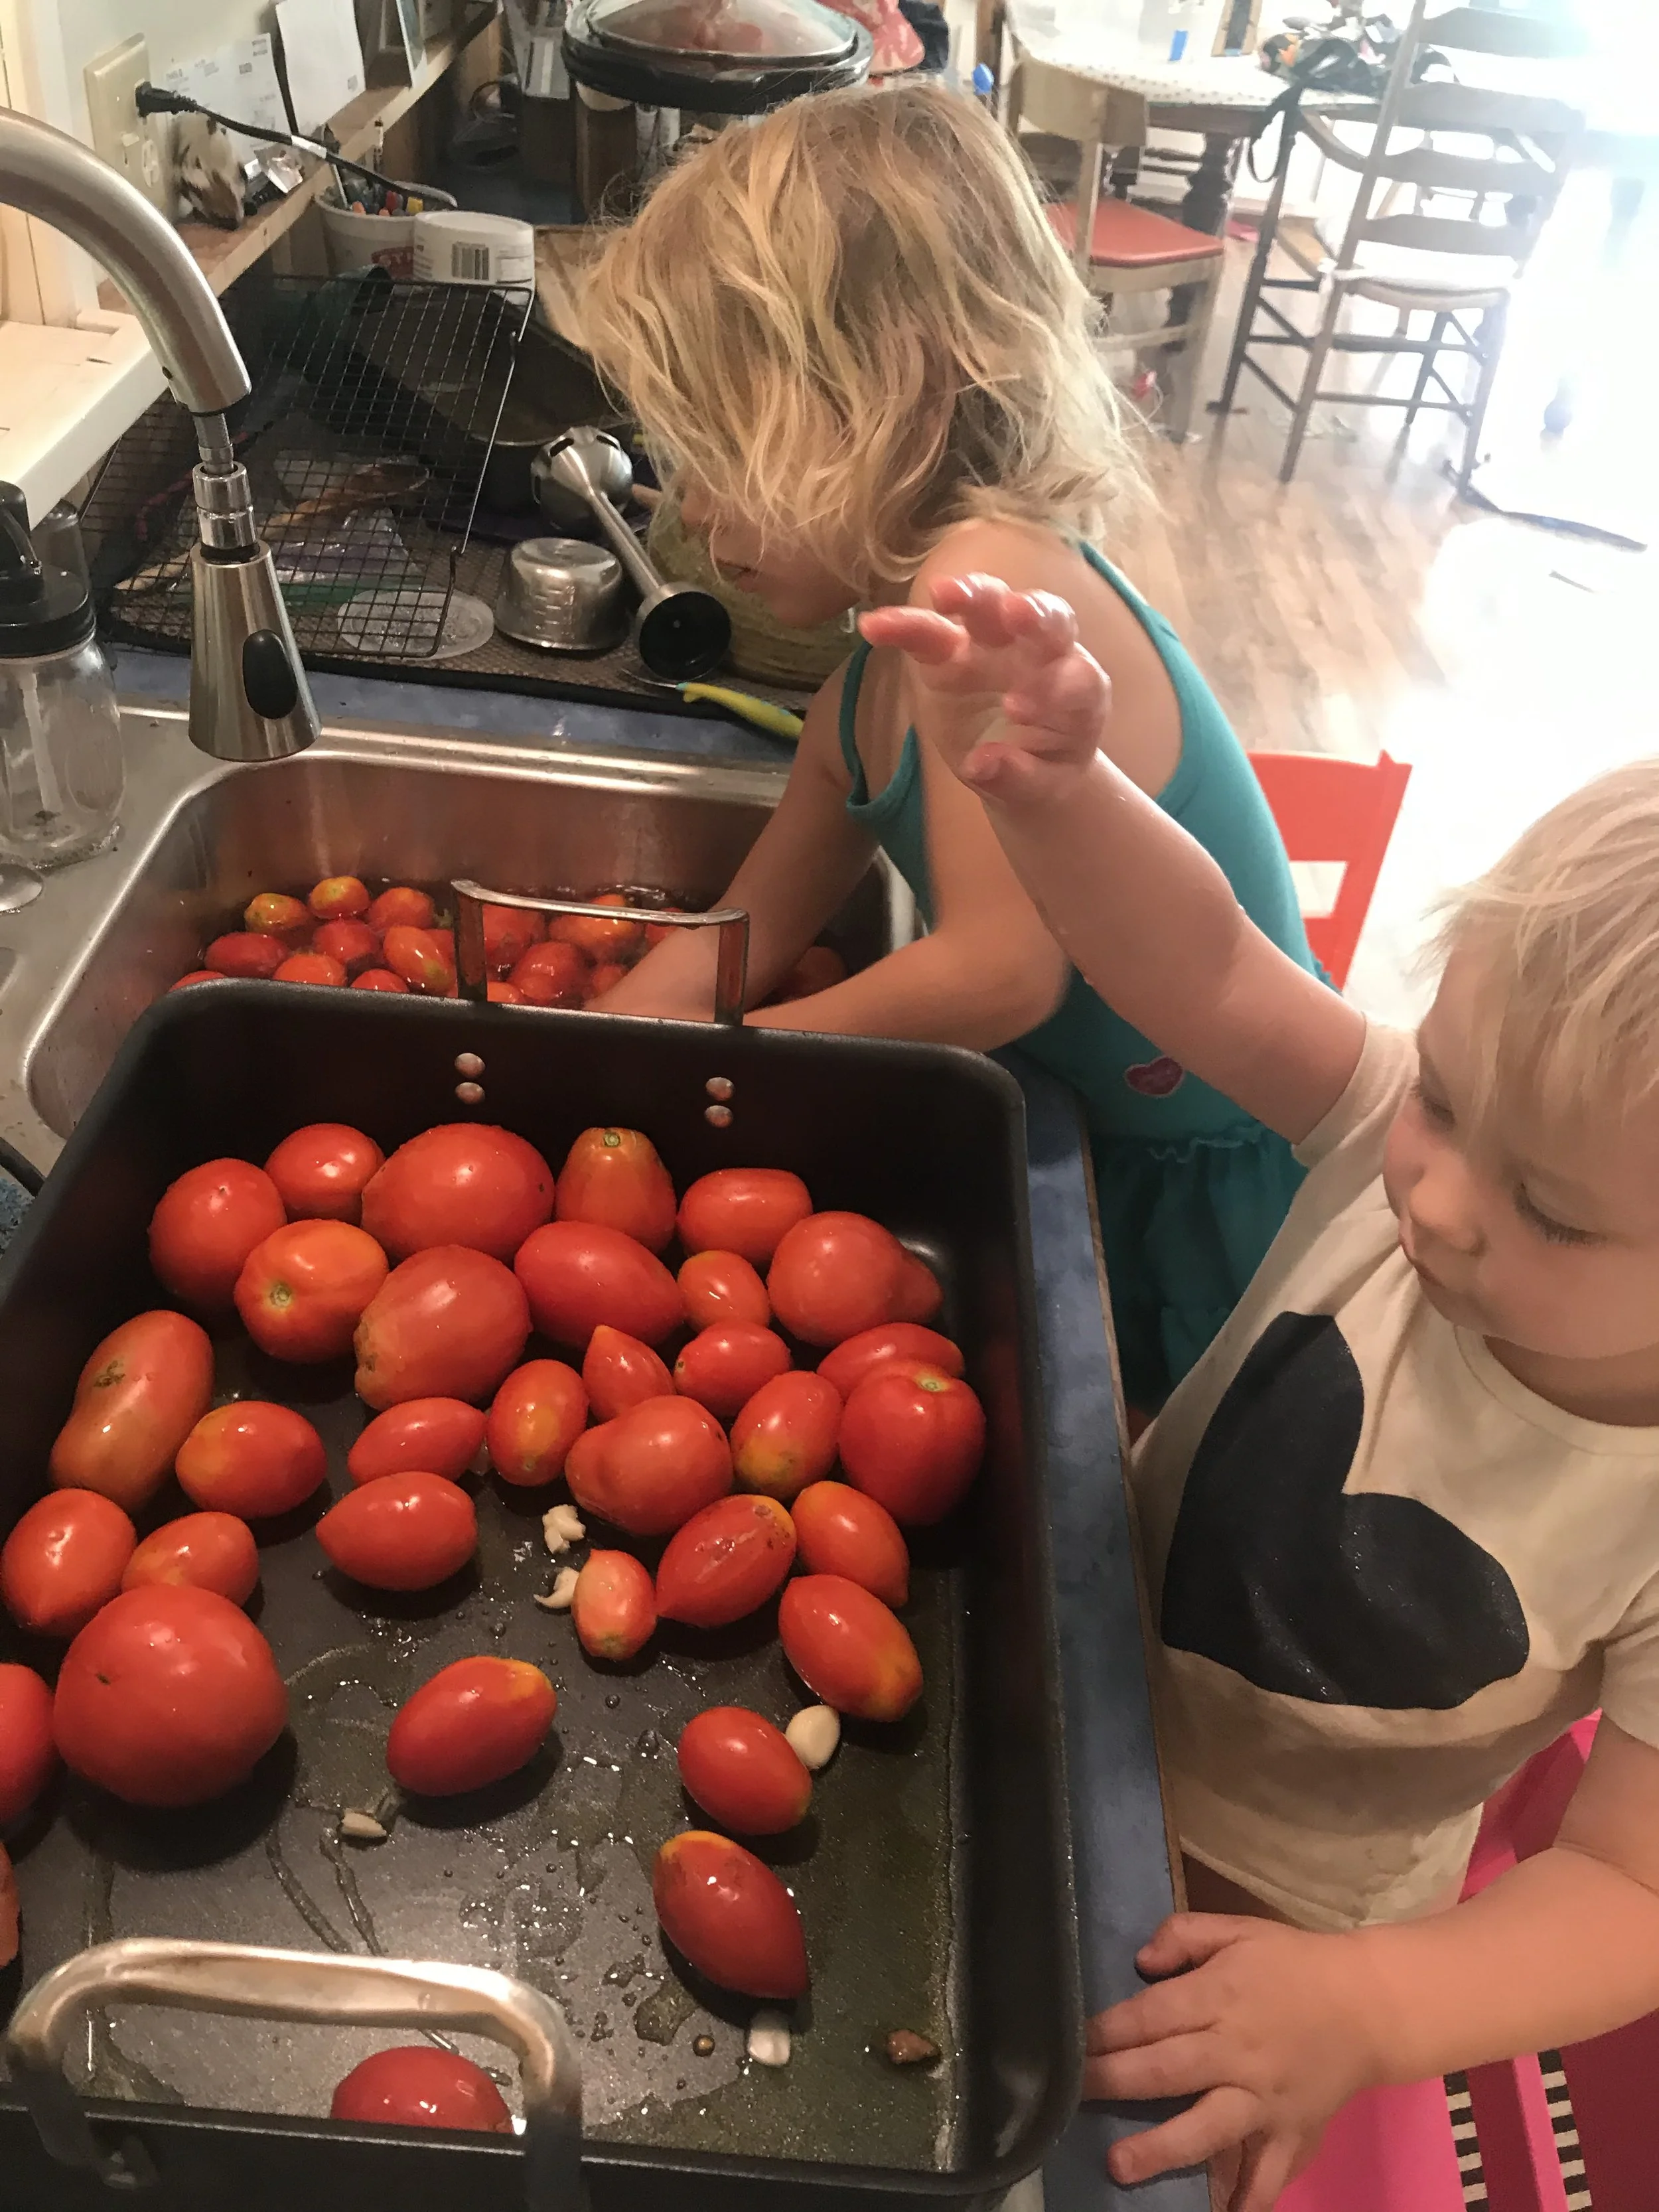
My favorite tomato washers, circa 2021.
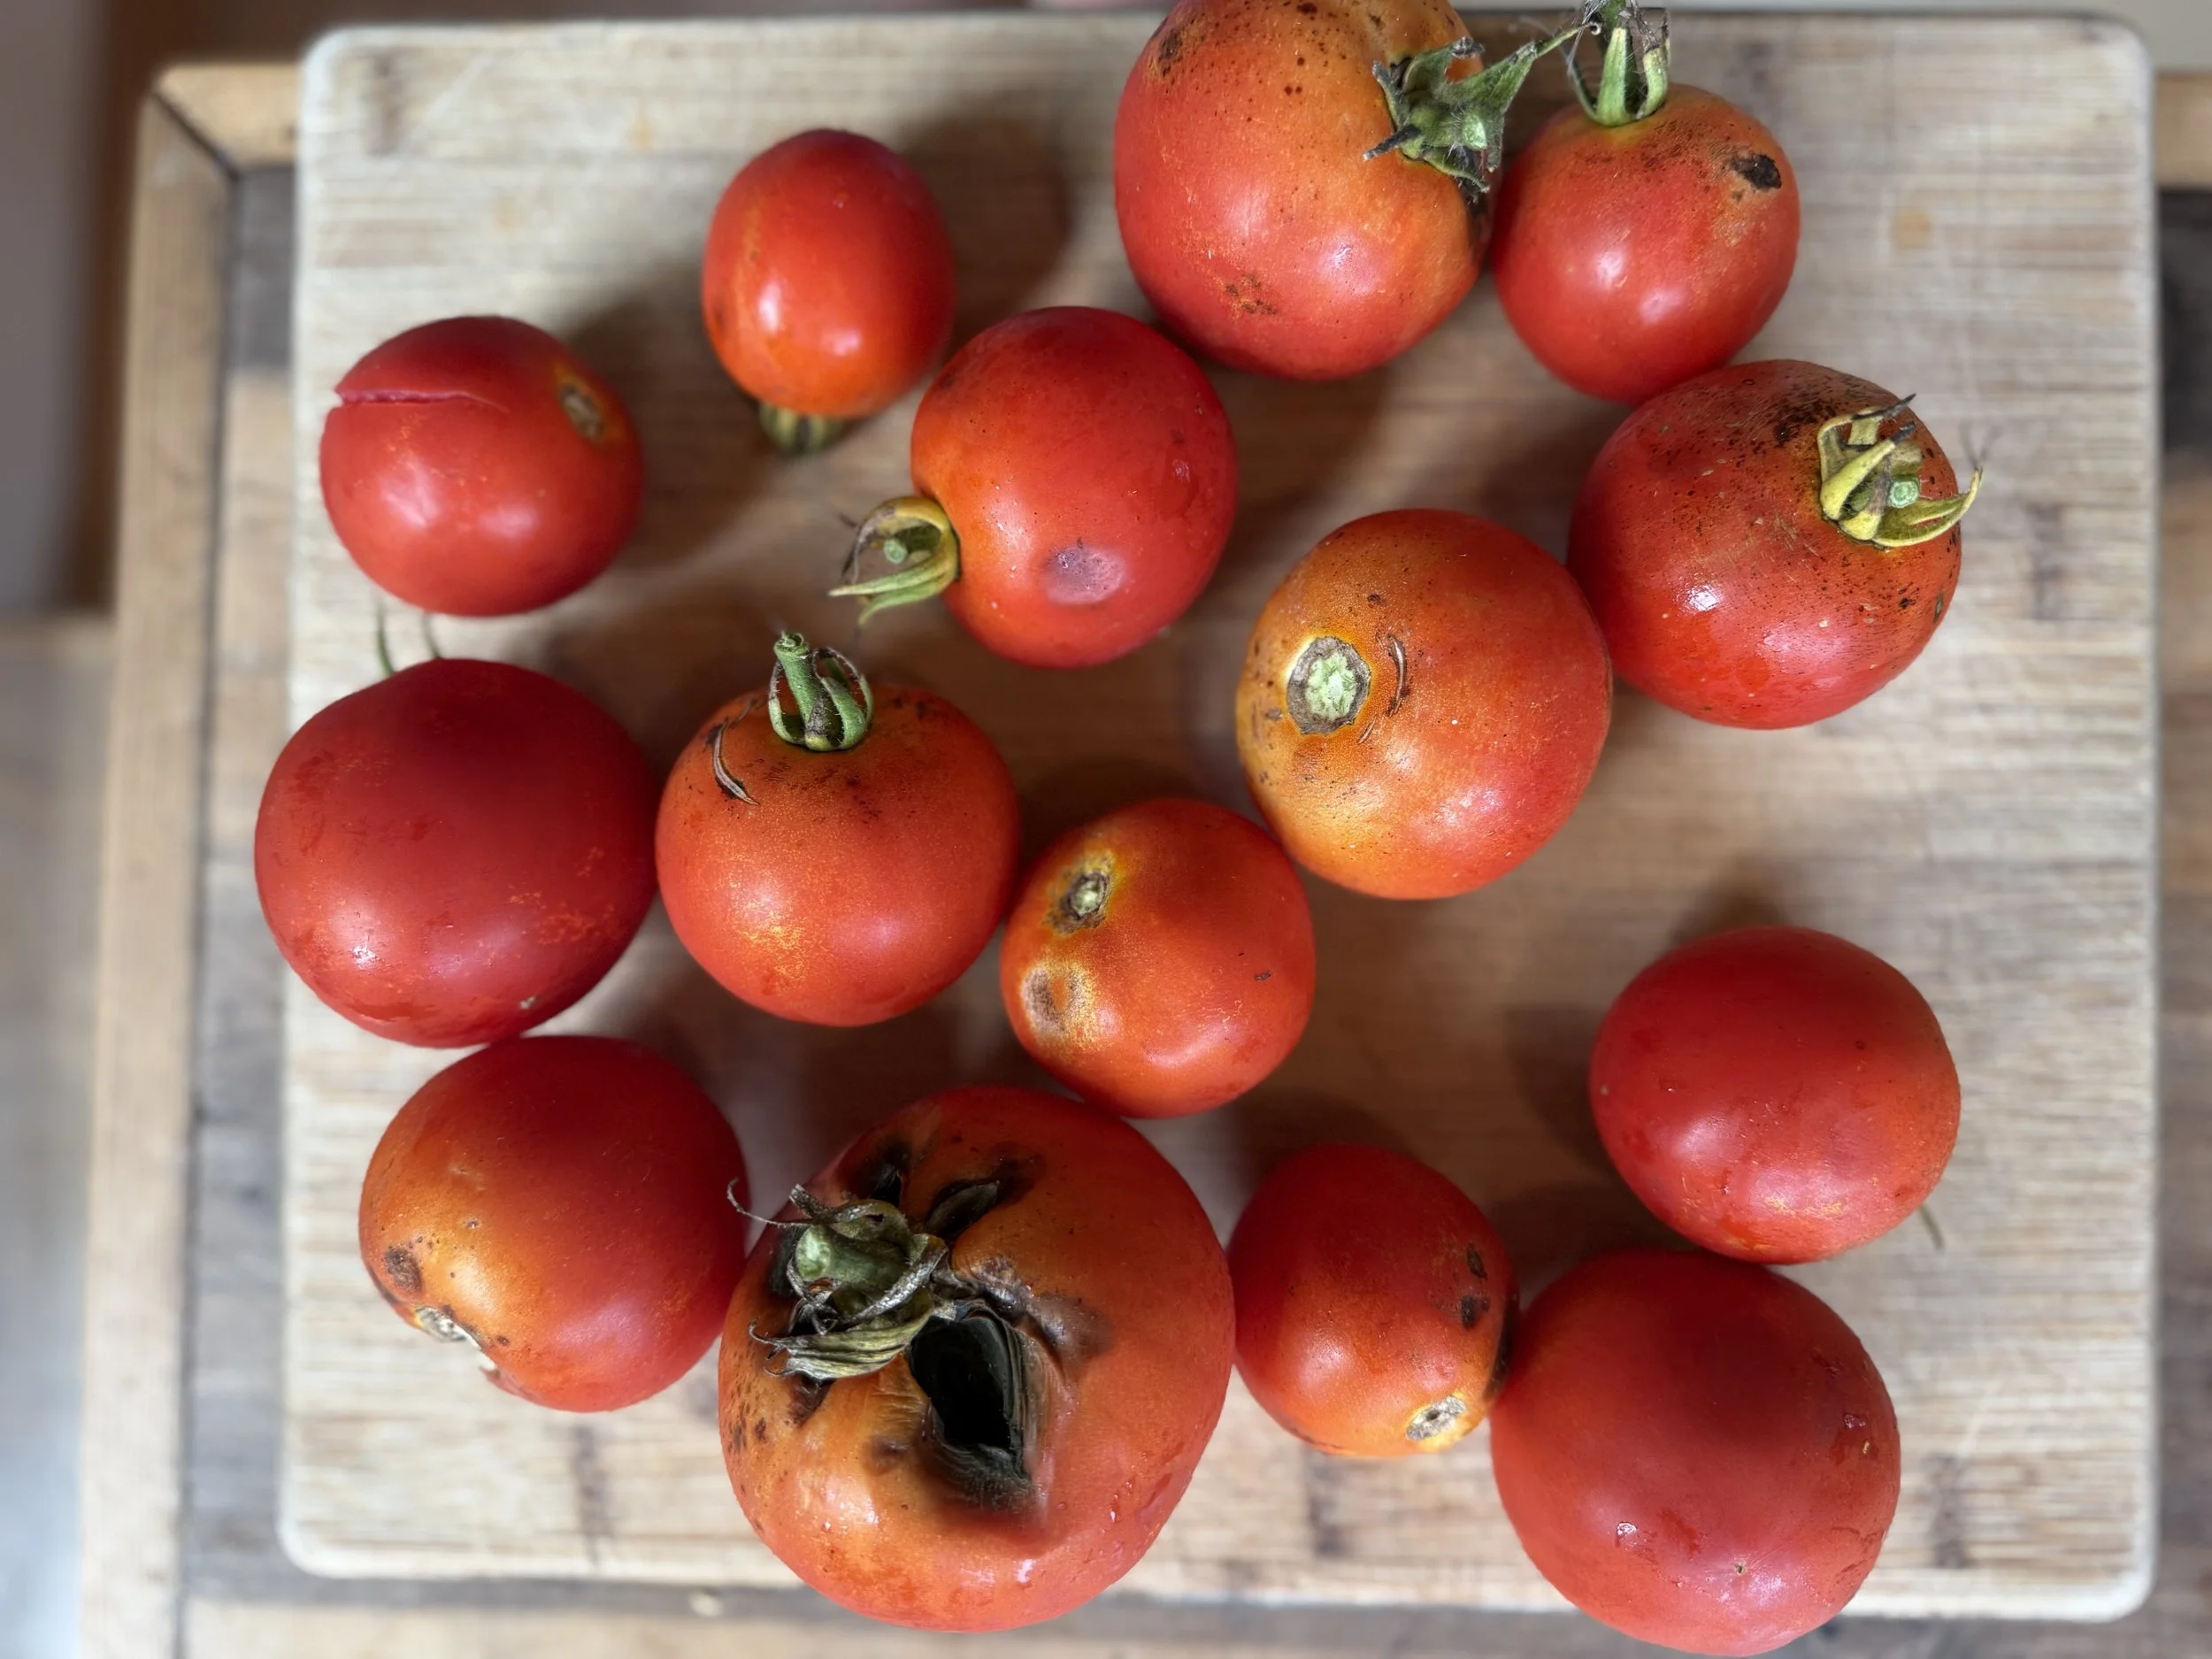
Ugly beauties, ready for sauce.
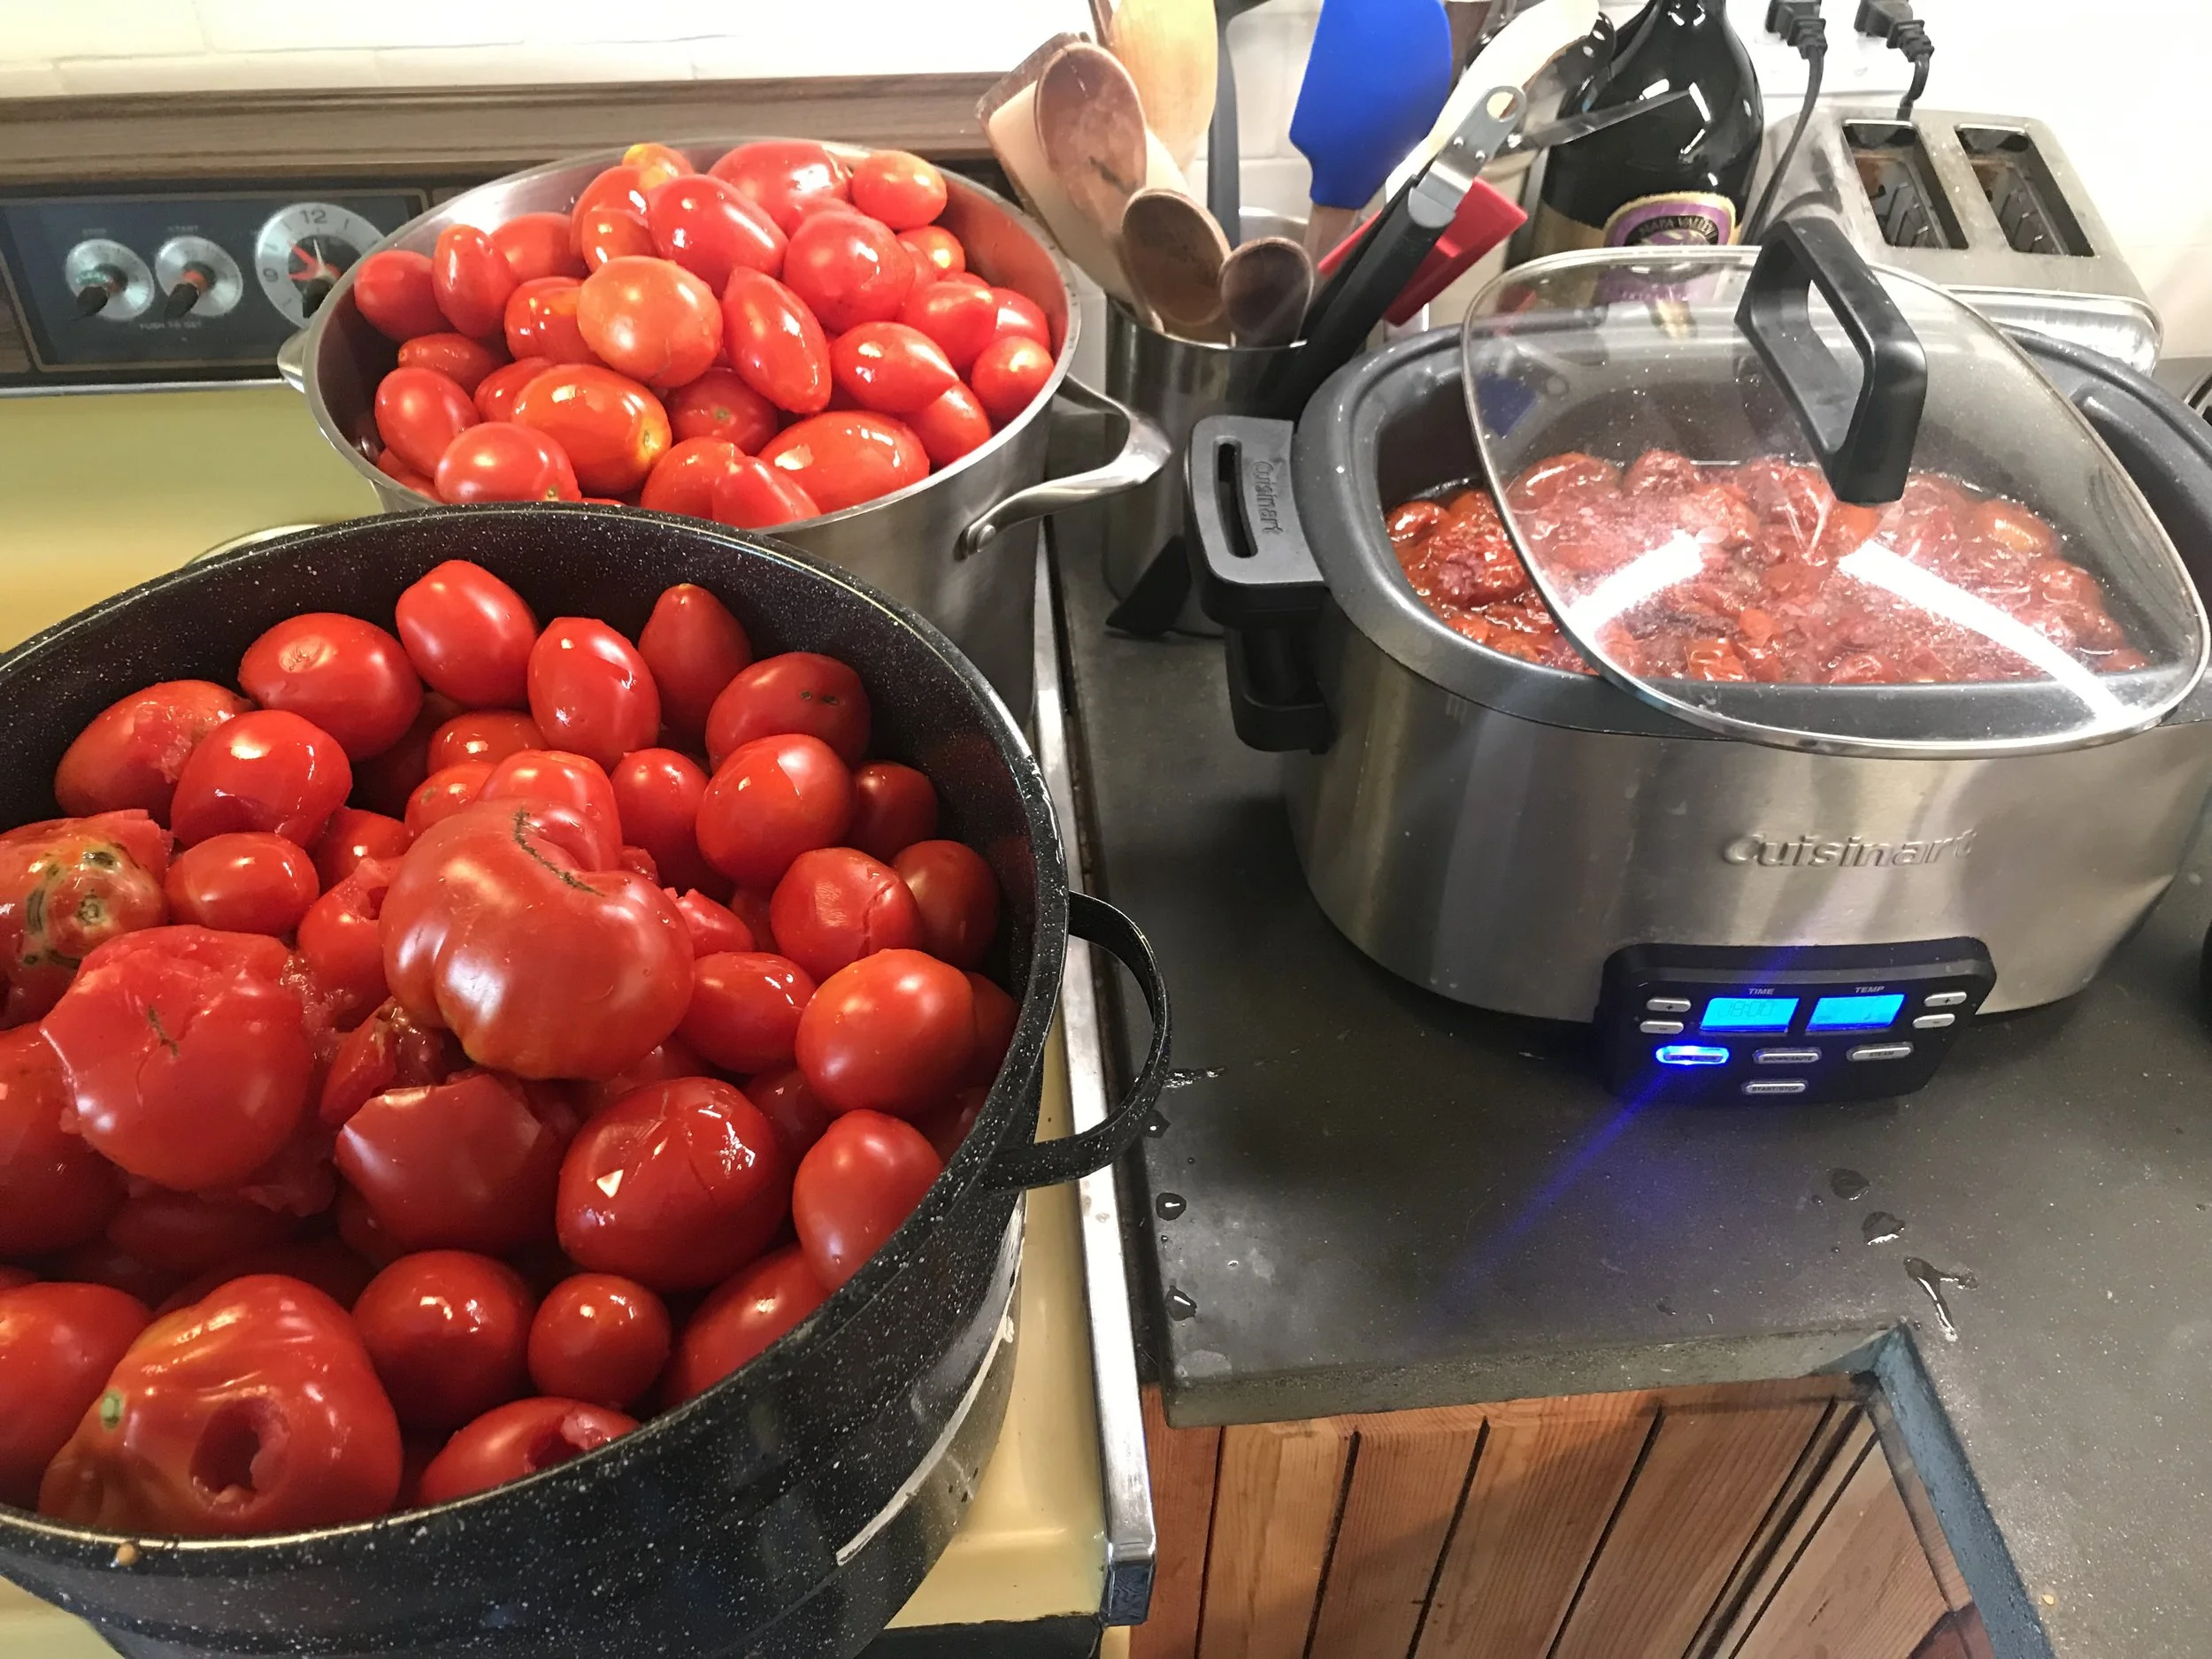
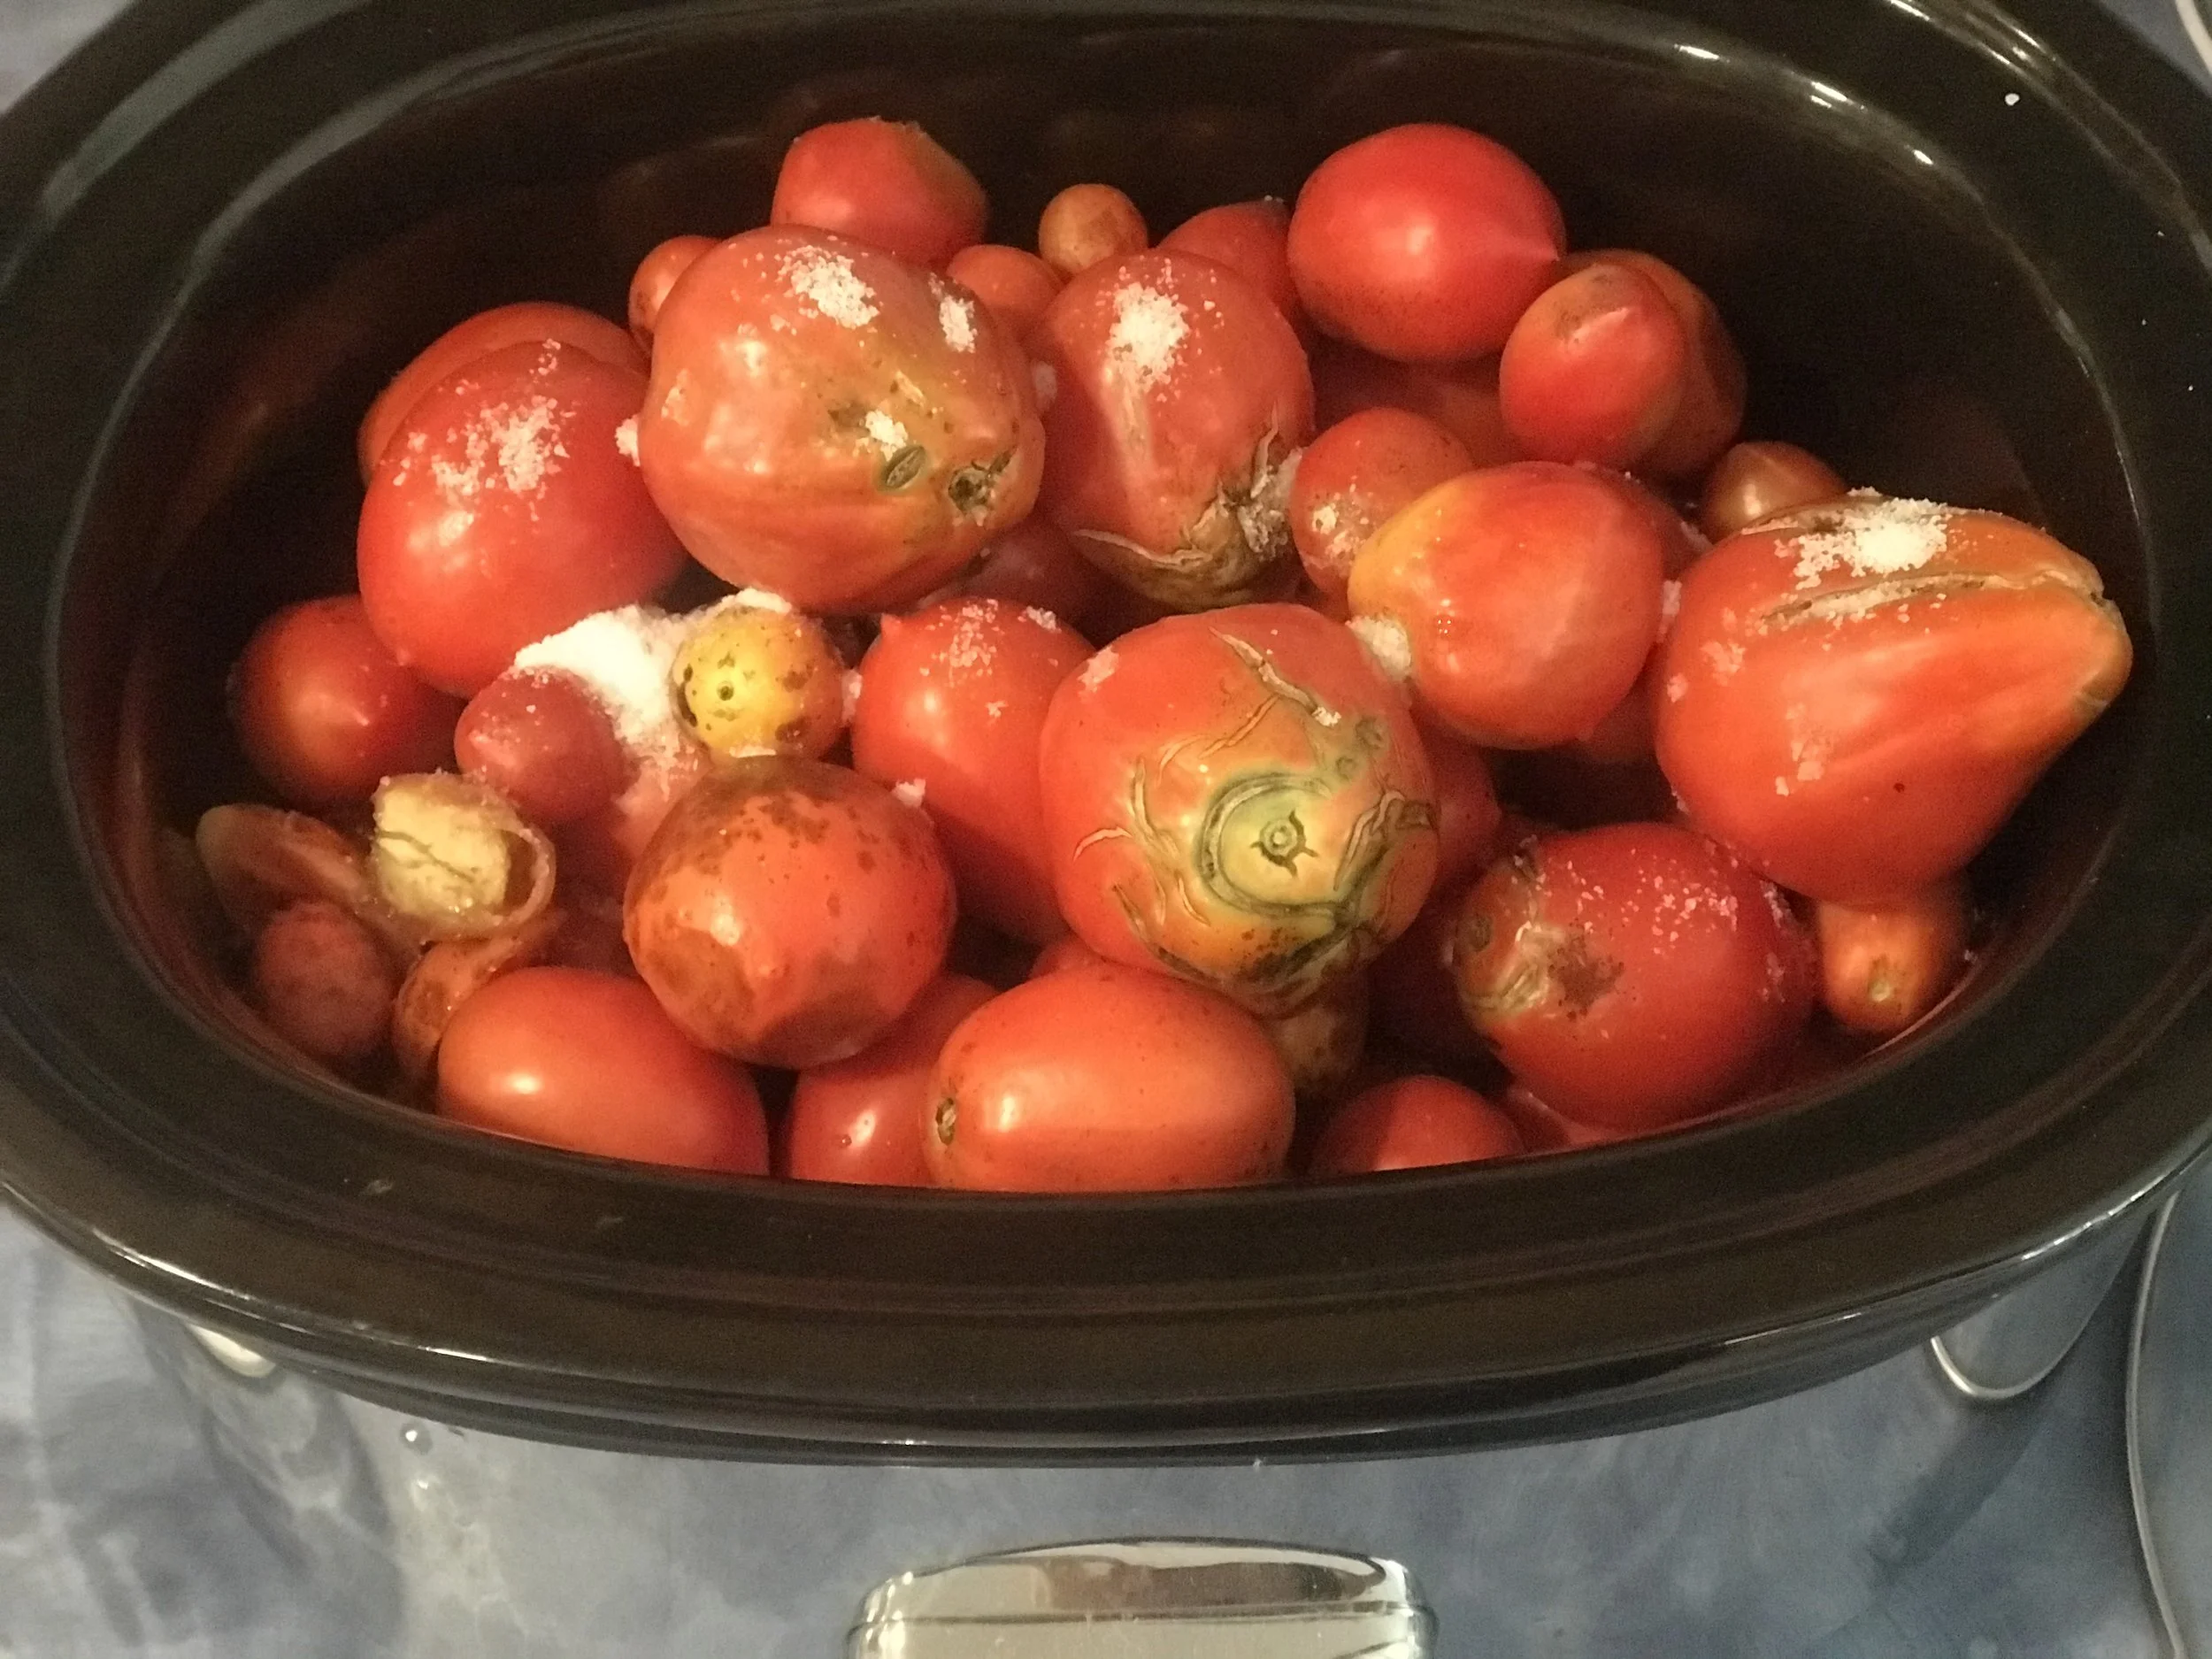
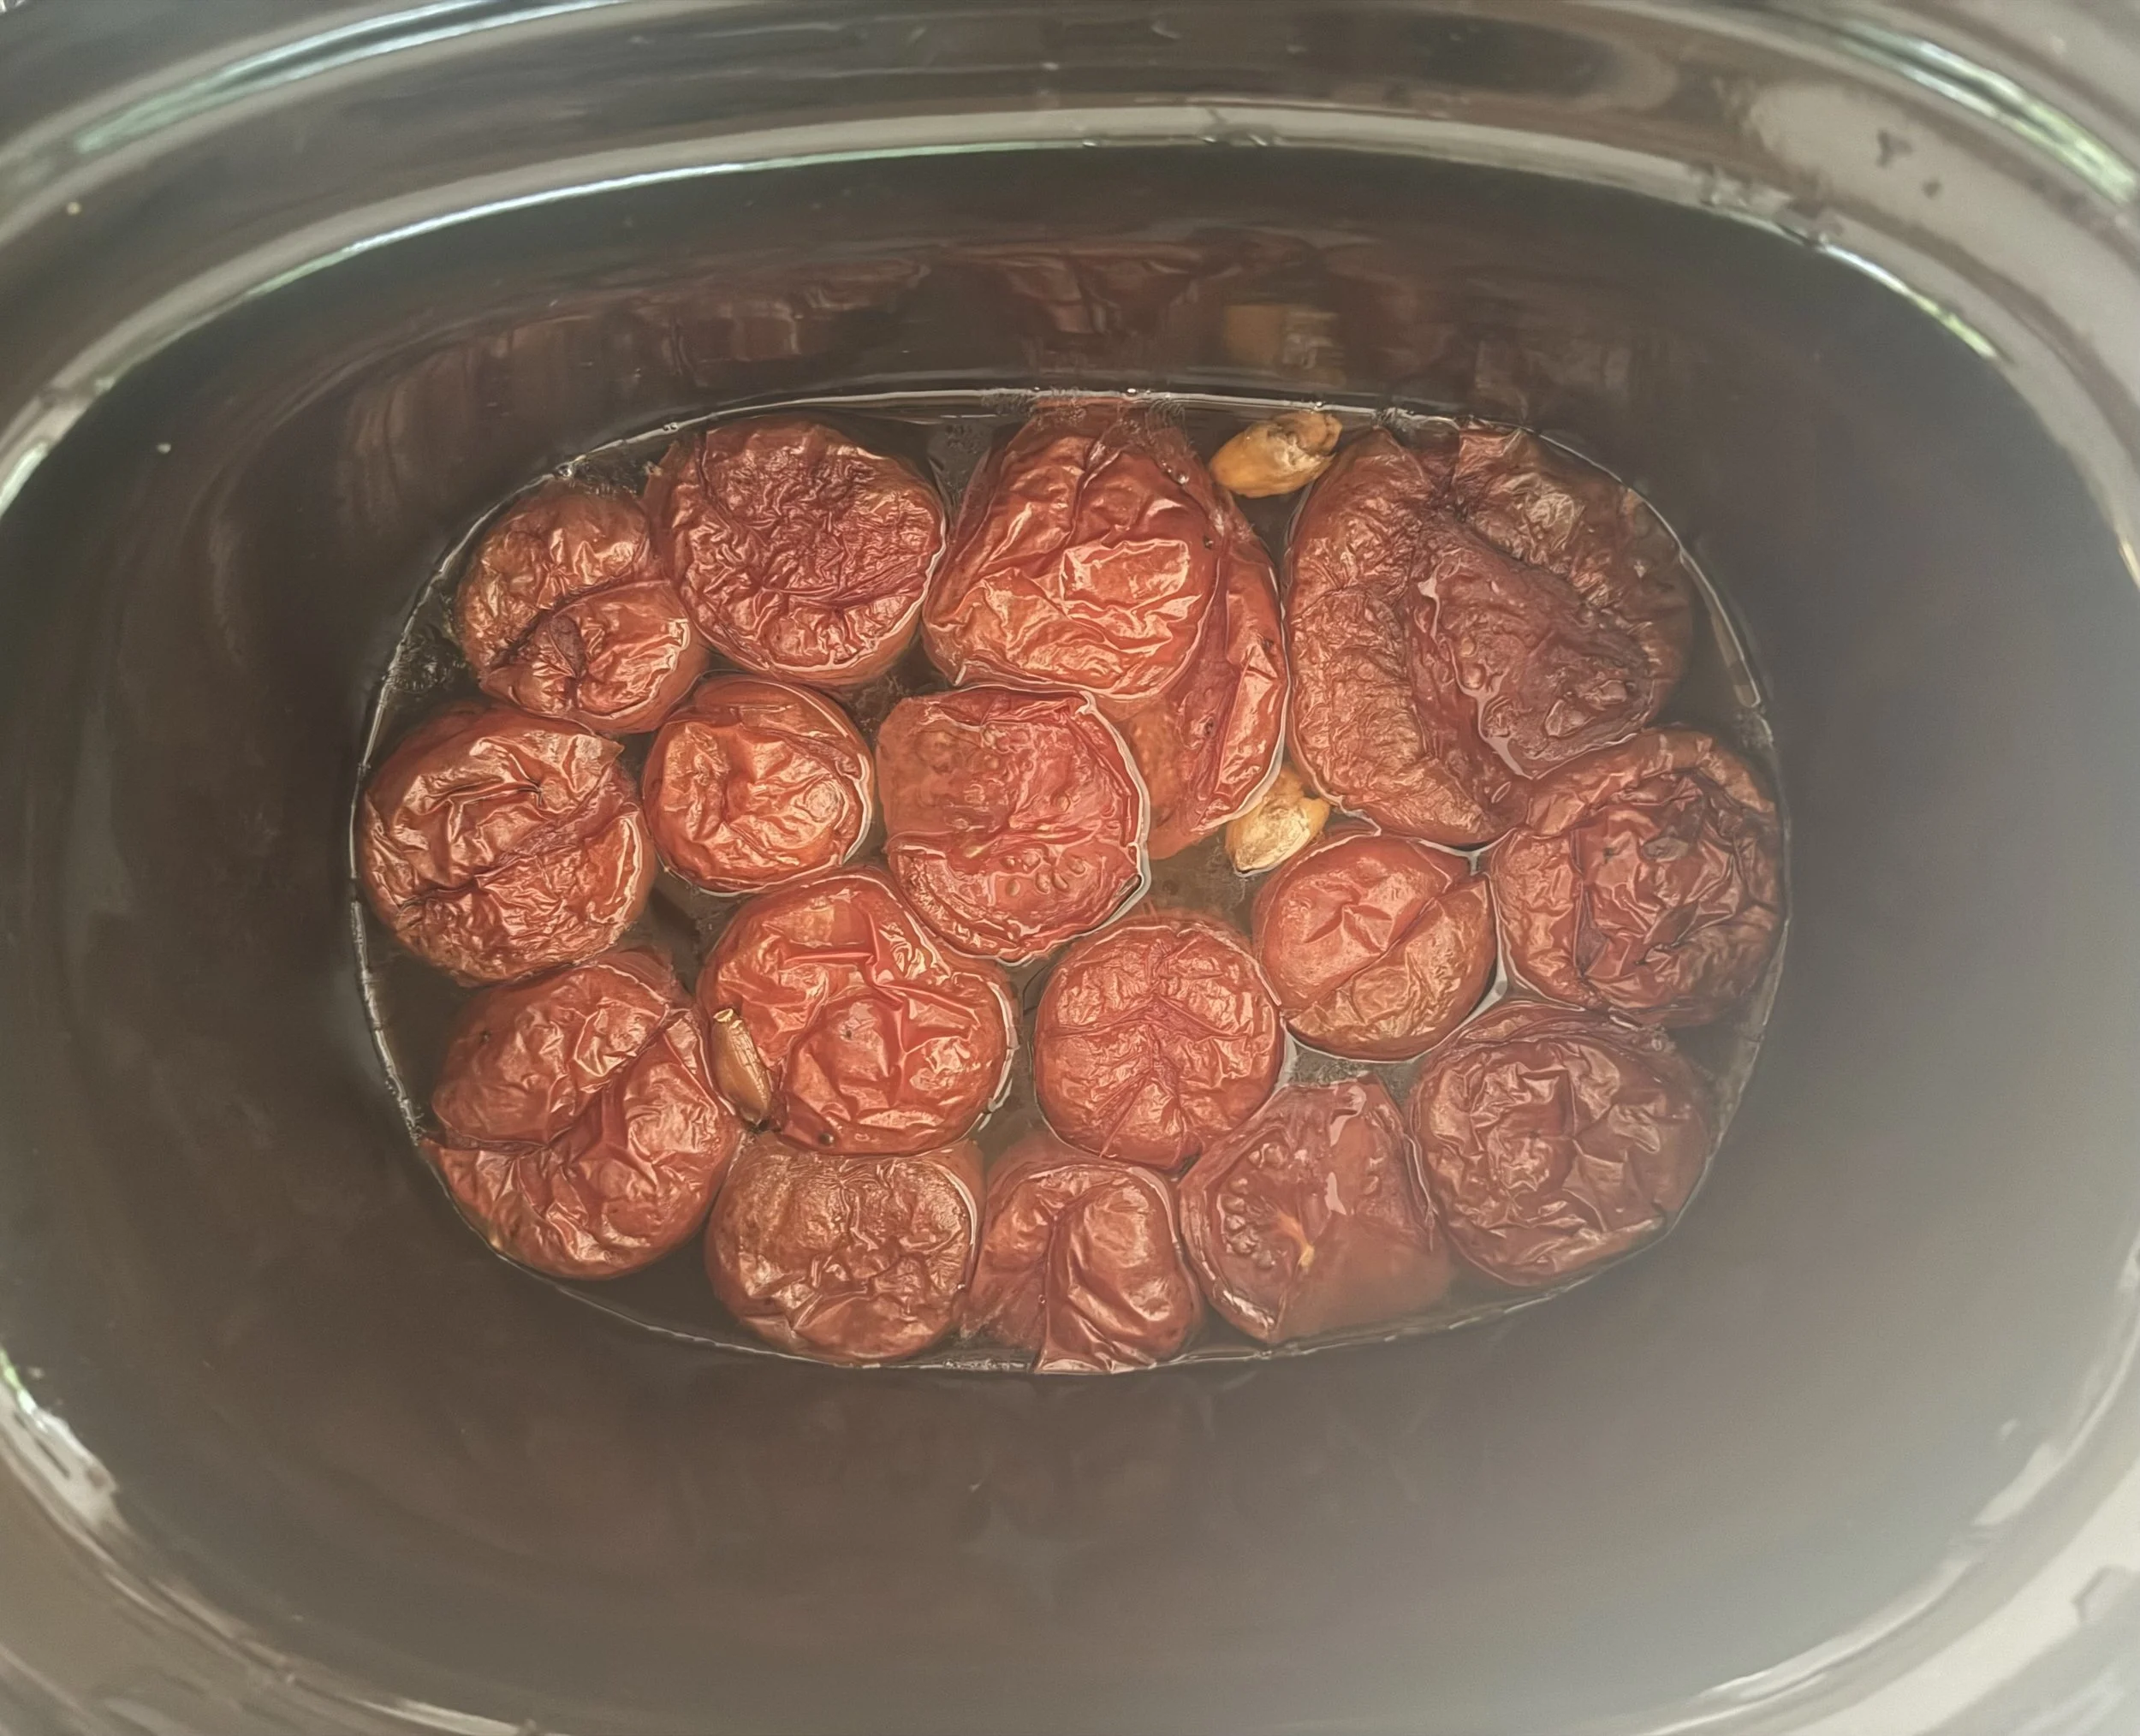
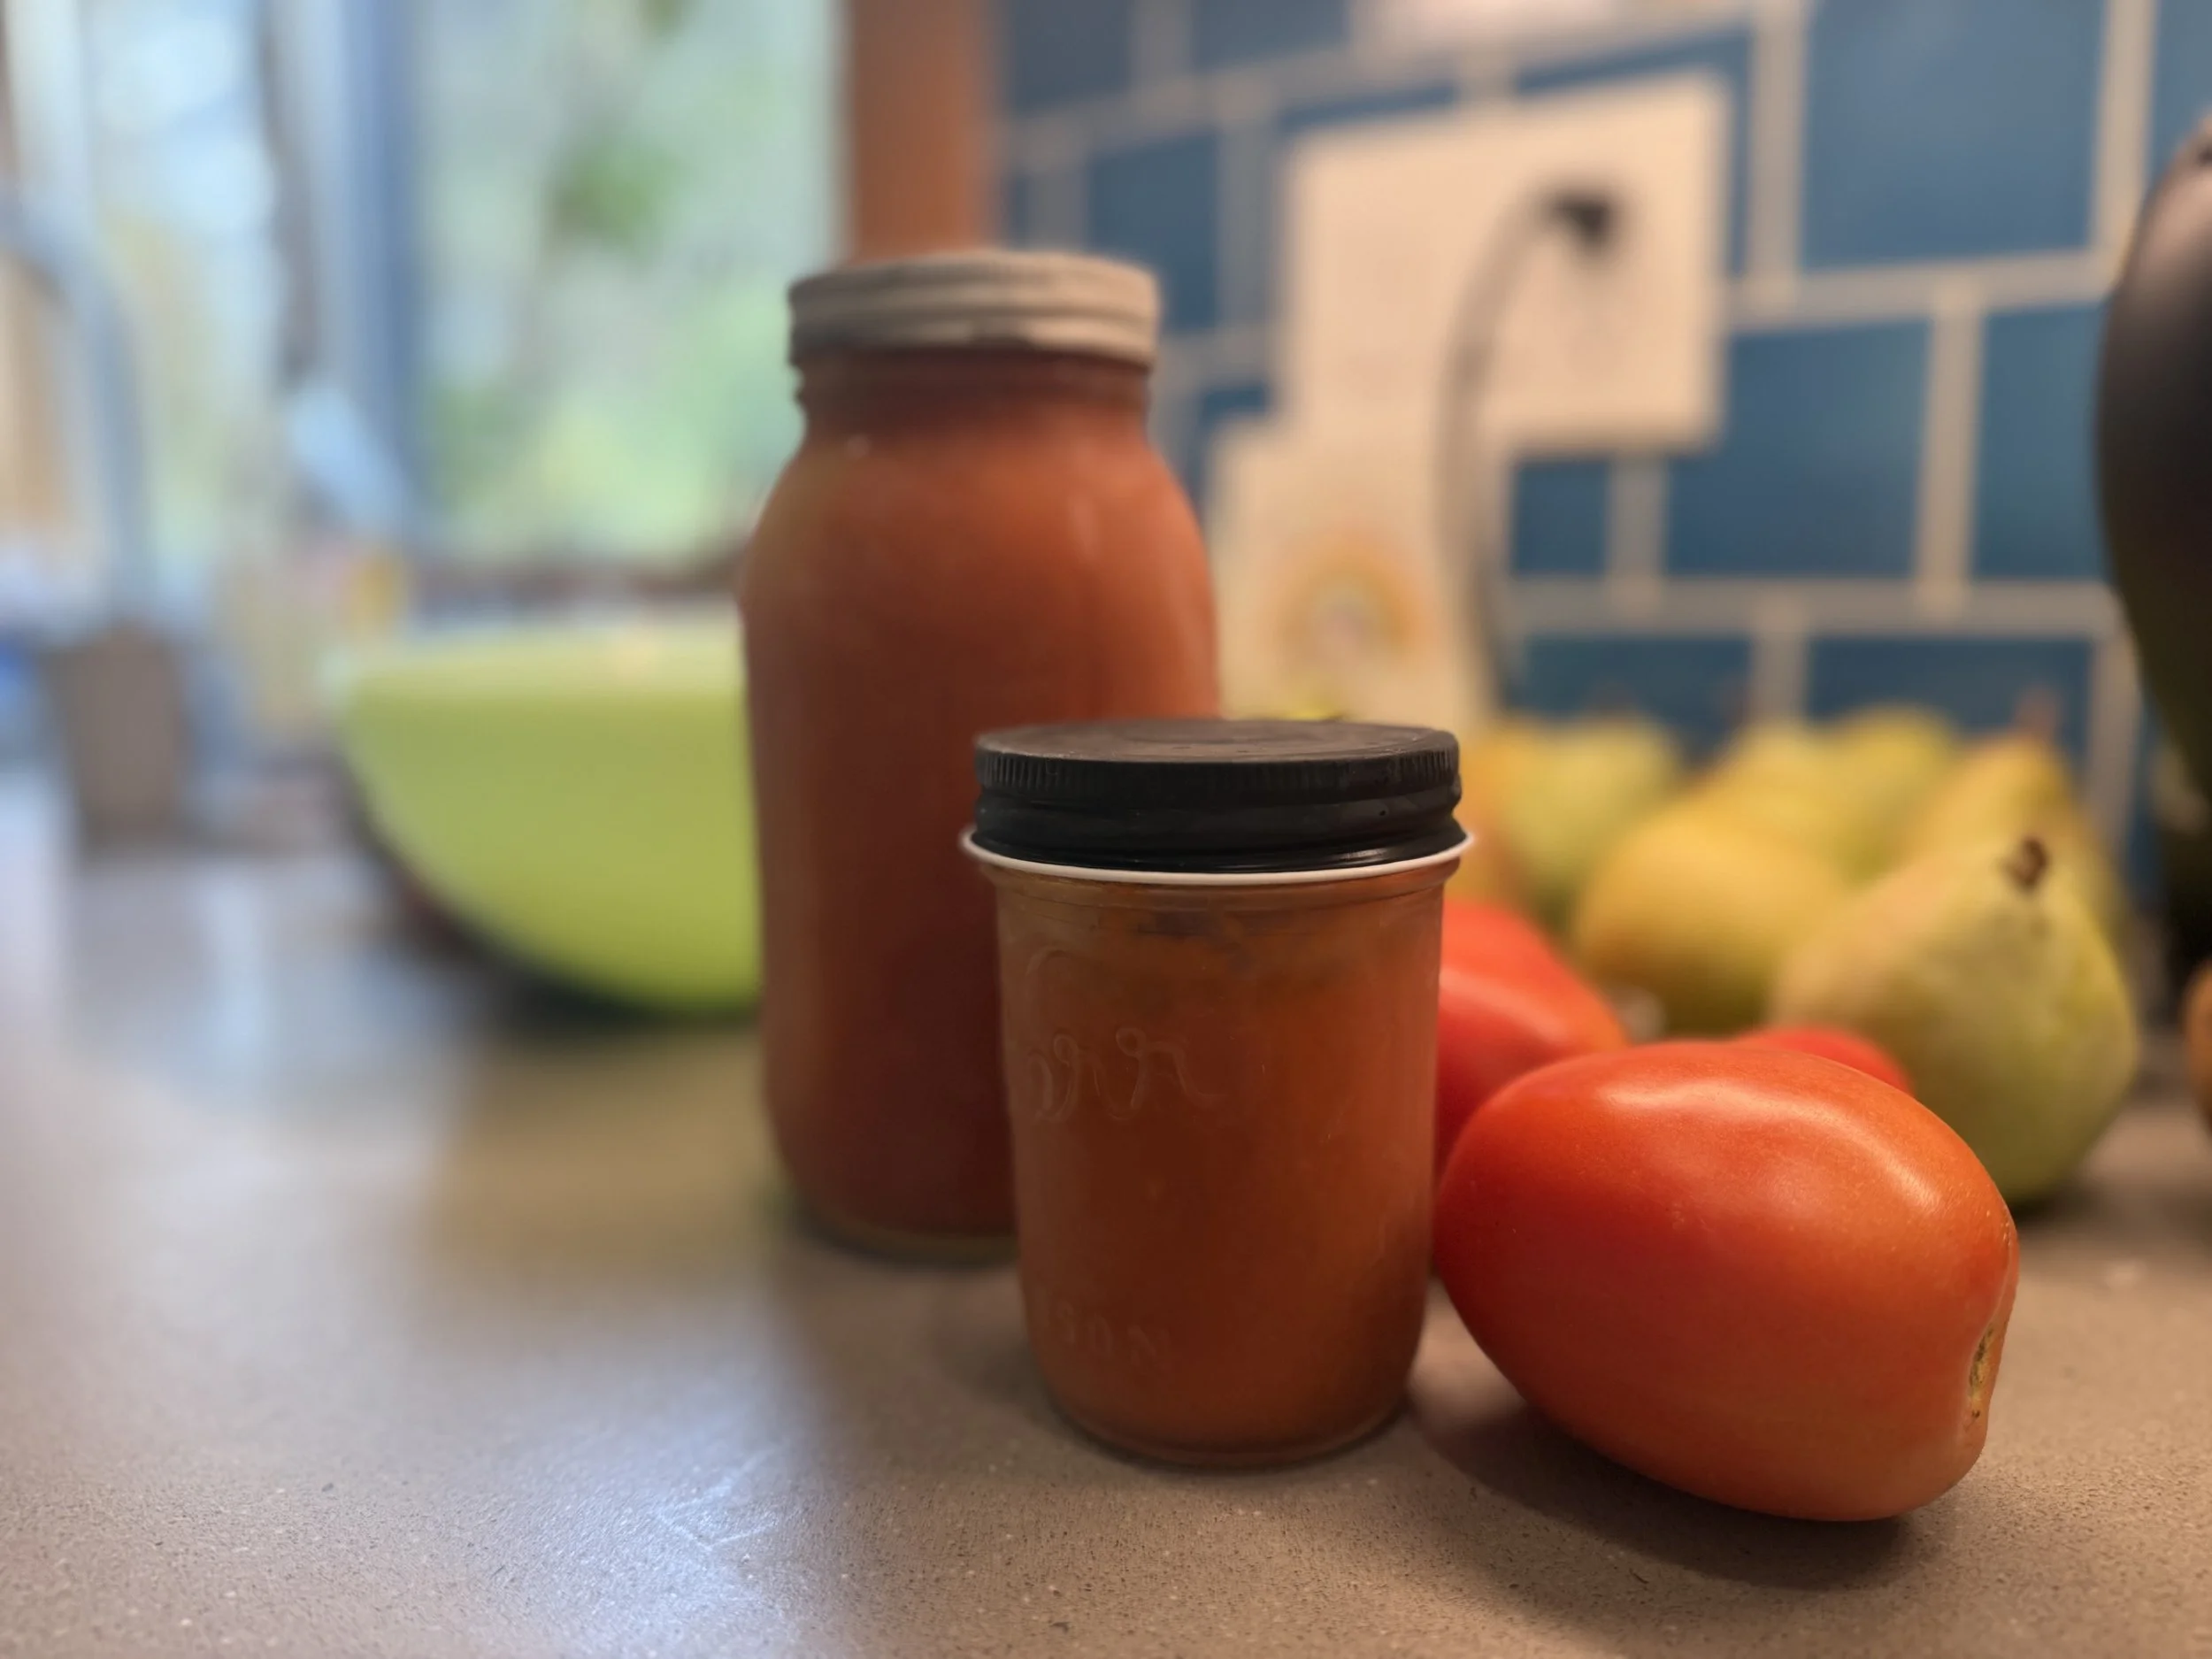
SLOW-COOKED TOMATO SAUCE
INGREDIENTS
—tomatoes (3-8 pounds or more)
—salt
—olive oil
—garlic (optional)
DIRECTIONS
—Place a slow-cooker on high, or put a large pot on the stove.
—Wash your tomatoes, then throw them in the slow-cooker or pot. If using a pot on the stove, turn it on medium low.
—Drizzle some olive oil over the tomatoes, about 1 T for each 2 lbs of tomatoes (every 6 tomatoes), or more or less to your taste.
—Sprinkle salt over the tomatoes, about 1 tsp per 2-3 lbs of tomatoes (every 6-8 tomatoes), or more or less to your taste.
—Add peeled, smashed cloves of garlic (optional), about 1 clove per each 3 lbs (6-8 large) tomatoes.
—If using a slow-cooker, let the mixture cook on high in the machine for 6-8 hours, then up to 12 more hours on low, periodically checking to make sure the tomatoes aren’t turning black. If there is too much liquid, feel free to remove the slow cooker lid at any point to cook off some of the liquid, or you can spoon it out if you want a thicker. Leave the liquid in if you want a thinner sauce, or even a soup. Once the tomatoes look totally and sufficiently roasted, slumped and browned, blend with a stick blender (or in batches in a food processor/blender) until desired smoothness. Taste and adjust for seasonings. Use immediately, refrigerate for up to a week, or freeze for up to one year.
—If using a pot on the stove, let the mixture cook down on medium low for 4-6 hours, covered. You can check it periodically and stir. If it’s time for bed, just turn off the pot and leave the lid on overnight without touching it, then turn back on in the morning on medium low for another few hours or until it looks roasted and the tomatoes are slumped and brown, removing the lid if you’d like to cook off some of the liquid. Blend with a stick blender or in batches in a food processor/blender until desired smoothness. Use immediately, refrigerate for up to a week, or freeze for up to one year.
Enjoy!
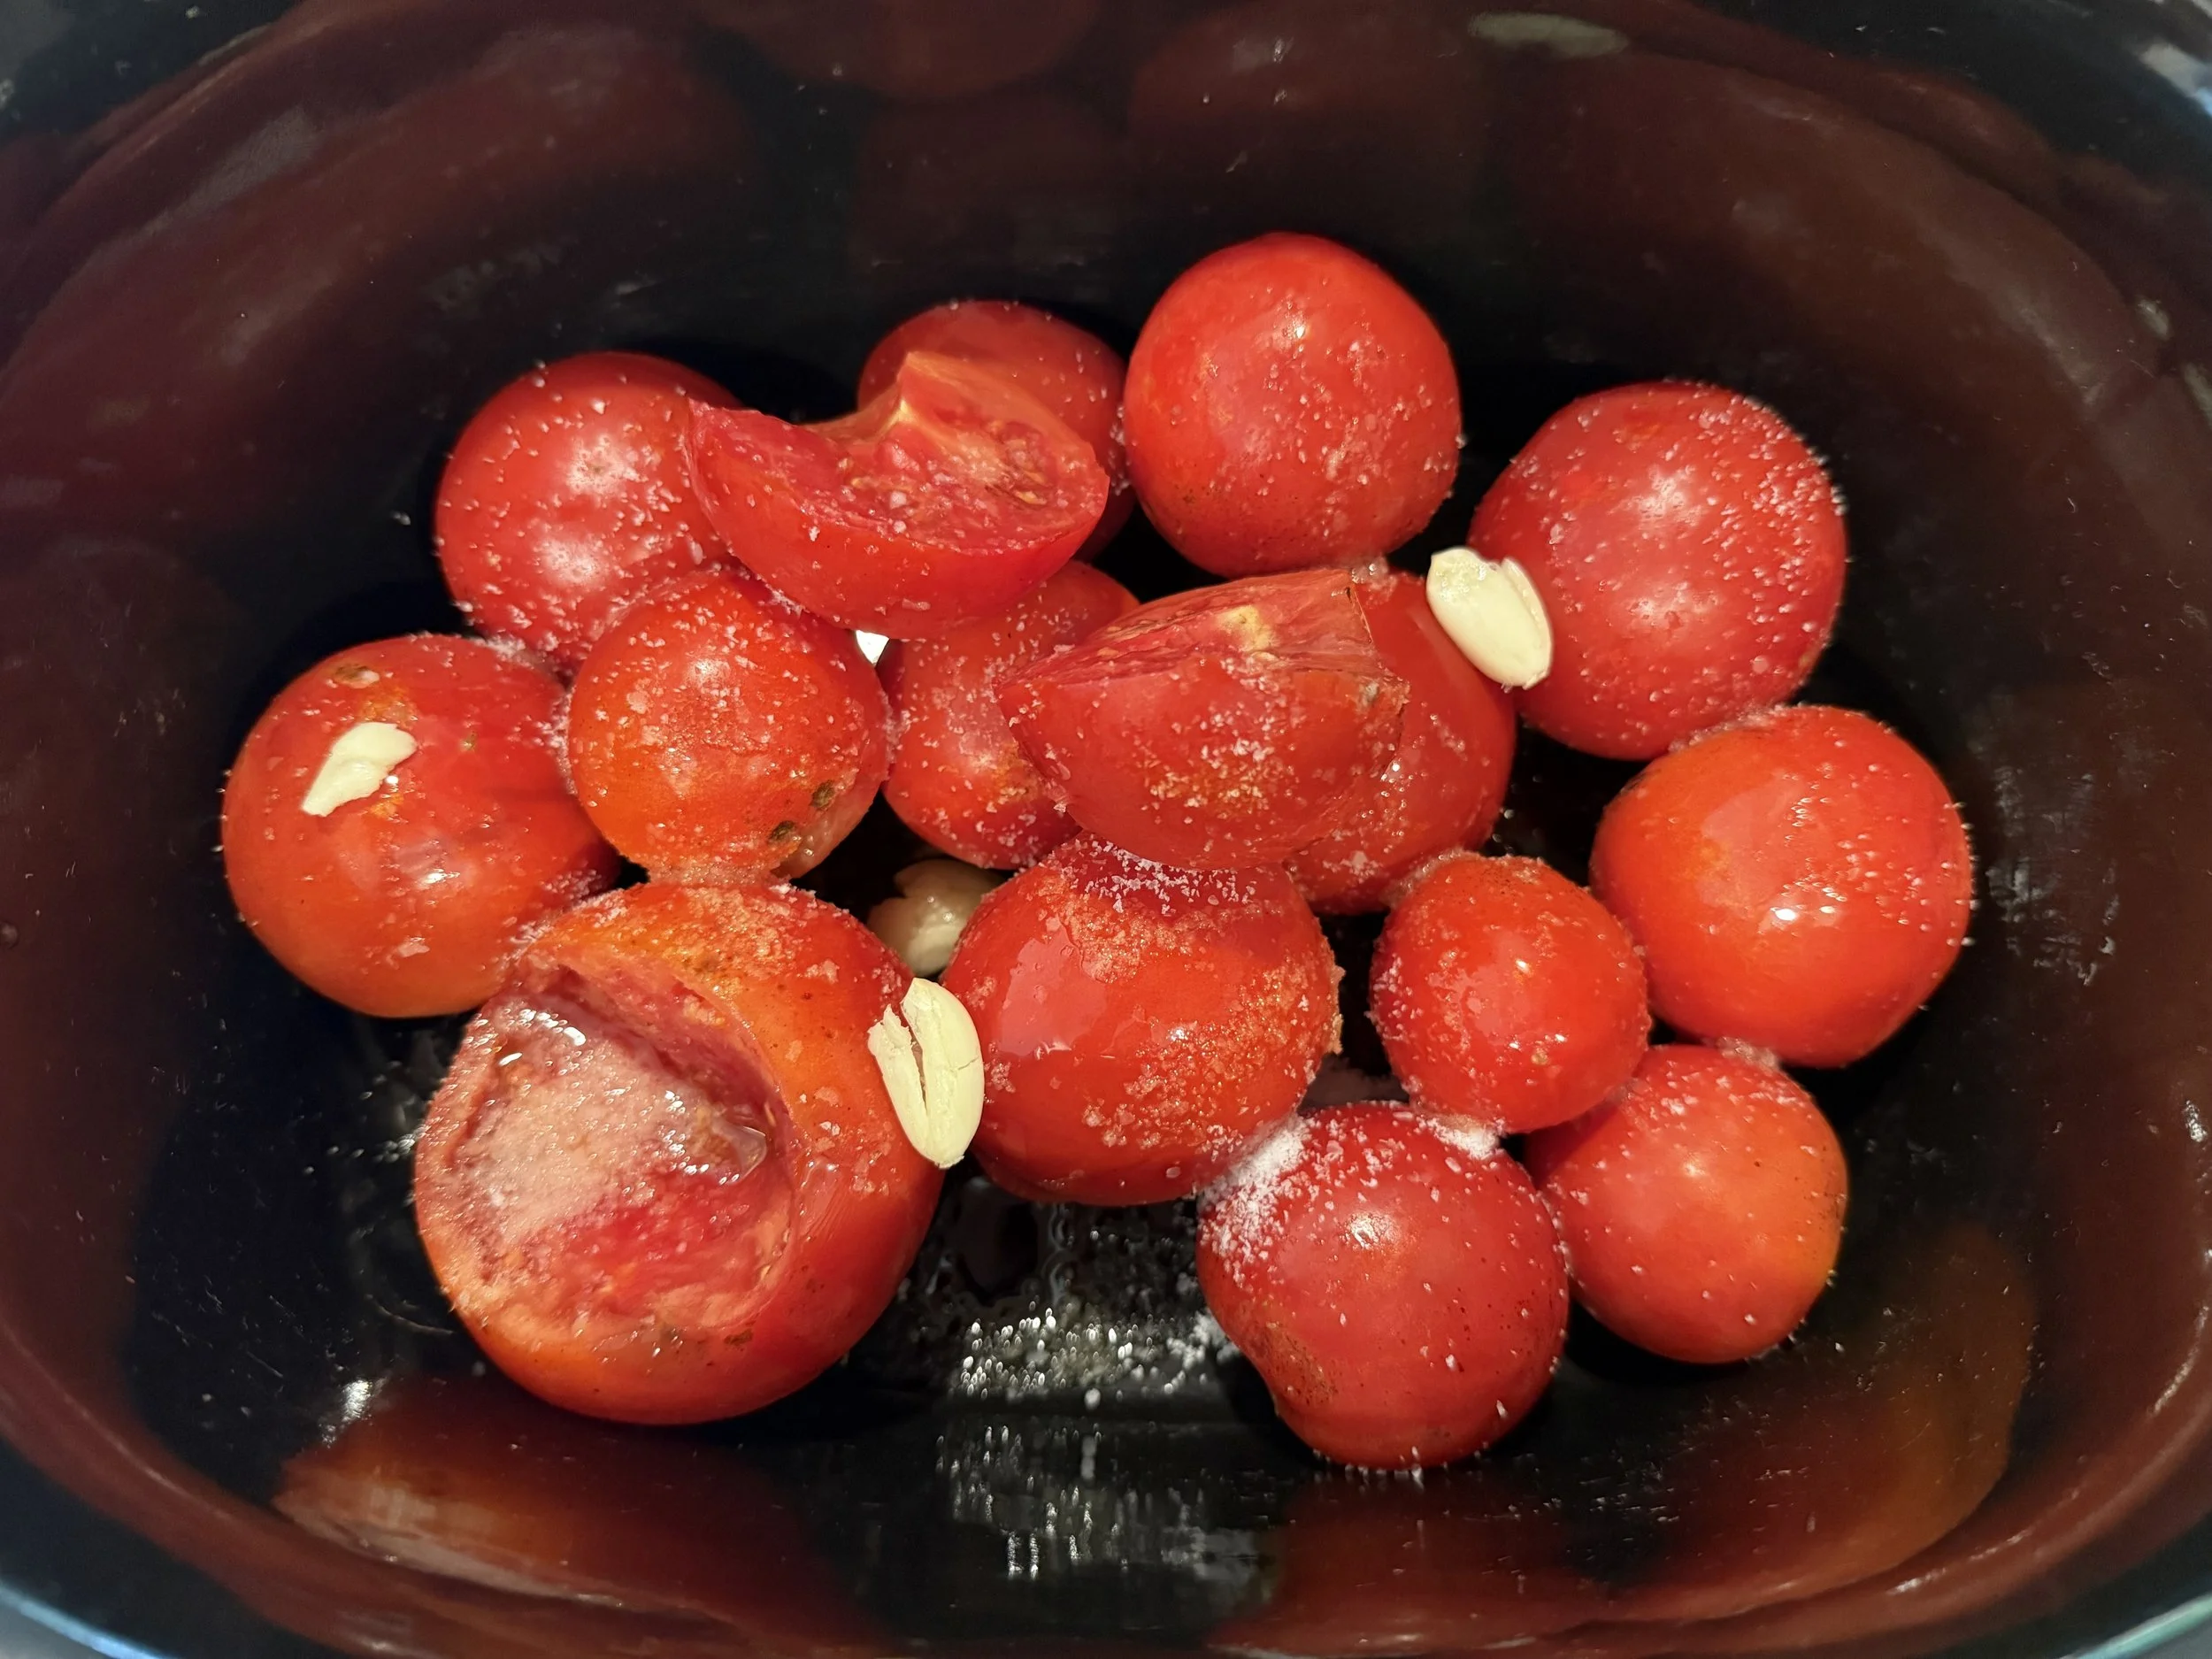

Sweet and Salty Browned Butter Popcorn

This probably doesn’t qualify as a recipe so much as simply a good thing to make. The kids can even make the popcorn themselves with our old-school air popper. (This appliance deserves its own aside—it punches well above its $15 price and more than deserves its share of precious kitchen drawer space. Let’s just say I haven’t gotten an instant pot yet because I don’t “have” the space for it, but I’m happy to let this popcorn maker hog all the space it needs.) But back to the popcorn. It takes a total of about five minutes, it’s cost-effective, and IMHO tastes much better than the stuff out of the bag!
SWEET AND SALTY BROWN BUTTER POPCORN
Serves: 4-6 as a snack
INGREDIENTS
—1/2 cup unpopped popcorn kernels, or about 8 cups popped, plus oil if needed
—5 T butter
—1/2-1 tsp kosher salt
—1 T brown sugar. or honey
DIRECTIONS
Pop corn according to directions on the popcorn maker. Or, use a large heavy pot with a lid on medium high heat to pop the corn with 2T oil for about five minutes, covered, shaking the pot gently until all of the kernels are popped.
Meanwhile, place butter in a skillet over medium heat, stirring occasionally until lightly brown with a nutty aroma. Watch it closely so as not to burn it. Remove from heat immediately, stir in the brown sugar or honey and salt, and drizzle the mixture over the popcorn, stirring as you go. Taste and adjust seasoning, sprinkling more sugar and/or salt to your taste, or even adding up to 1 tsp of curry powder for a delicious variation. The possibilities are endless!


Our air popper, nestled in its well-deserved kitchen drawer space.

Strawberry Rhubarb Crisp

Breakfast! I mean, dessert.
I have no shame when it comes to begging, borrowing, and stealing rhubarb. Now, I’ve never actually stolen any, though I’ve been tempted by a thick patch once or twice. I have been known to (gasp!) buy some in a pinch, but rhubarb is one of those things (like zucchini) that in most places it seems like there’s always a kindly person with extra garden bounty who is happy to share. One time I was forlornly talking about how I was looking for some while checking out at the local health food store. The kindly clerk said, “There is a ton at the place I’m renting and I am not going to use it. Here’s my address, come on by!” Perhaps a normal person would have felt awkward and shy about this, but I will overcome a lot of things for free rhubarb, so I showed up at her house the next day and took her up on it, very gratefully.

Waiting for the rhubarb lovers to join…
I have been trying to grow our own for almost ten years now, including two very special plants sent from Wisconsin by my mother-in-law, and this year it’s finally at a size where I can meaningfully harvest it. While I will miss my random encounters with strangers over rhubarb (oh, and definitely don’t be shy if you have extra, I can always put more to use…hint, hint), it feels amazing to be able to go out and cut off several stalks and make one of our favorite desserts. This is also the time of the year when strawberries start going on sale but invariably some baskets are better than others; the tasteless ones or the ones on manager’s special, super sale, or the ones in the back of your fridge, a day away from being composted, are absolutely perfect for this dessert. Free strawberries are a bit harder to come by (whoever heard of someone having too many strawberries?), but of course, if you’re even more lucky and have friends with strawberries, or can go pick at a farm near you while the rhubarb is still in season, then this dessert will be even more out-of-this-world.

The elusive rhubarb patch, in the flesh.
I’m a strawberry rhubarb purist; I don’t like vanilla, cinnamon, orange, or lemon trying to interfere with the perfect marriage of strawberries and rhubarb in my crisps, but you can find plenty of recipes out there that add other stuff in if you are into that kind of thing. My favorite recipe is this one: simply fruit plus sugar with a flour, oat and butter topping, baked to perfection. It’s amazing with a scoop of ice cream, or—my personal favorite—for breakfast the next day with some plain yogurt. I hope you have lots of friends and neighbors with extra rhubarb!
Note: This recipe can easily be made gluten-free—see substitutions below.


INGREDIENTS
FRUIT FILLING
—4 cups strawberries, hulled and sliced (from about 2.5-3lbs strawberries)
—5 cups rhubarb, sliced into 1/2 inch pieces, from about 8-10 medium stalks
—1.5 cups sugar
—3.5 T flour (substitute cornstarch for gluten-free)
CRISP TOPPING
—1 cup all-purpose flour (substitute 1:1 gluten-free flour blend for GF)
—1 cup rolled oats (use GF rolled oats for gluten free)
—1 cup brown sugar, packed
—1 cup (2 sticks) butter, cut into chunks
—pinch salt
DIRECTIONS:
Preheat oven to 375 degrees.
Mix sliced strawberries and rhubarb in a 9x13 baking dish. Add 1c sugar and 3.5 T flour or cornstarch and mix thoroughly until fruit is coated with flour/sugar mixture.
Combine all of the crisp topping ingredients in a food processor, or a large bowl if you’re making the crisp by hand. By hand: using a pastry cutter, two knives, or your fingers, mix all ingredients together in the bowl, cutting or pinching butter into small chunks until the mixture is uniform with pea-sized butter clumps. By food processor: process all ingredients in 8-10, 2 second pulses or until the mixture is uniform with pea-sized butter clumps.
Pour crisp topping ingredients over fruit mixture, pressing down and spreading to the corners until mostly even.
Bake for 45-60 minutes until topping is light brown and the edges of the crisp are bubbling. Let sit for 15-30 minutes (or longer) to let the juices thicken. Serve with ice cream, whipped cream, or plain!

The end goal—perfection.
Peanut Butter Play Dough

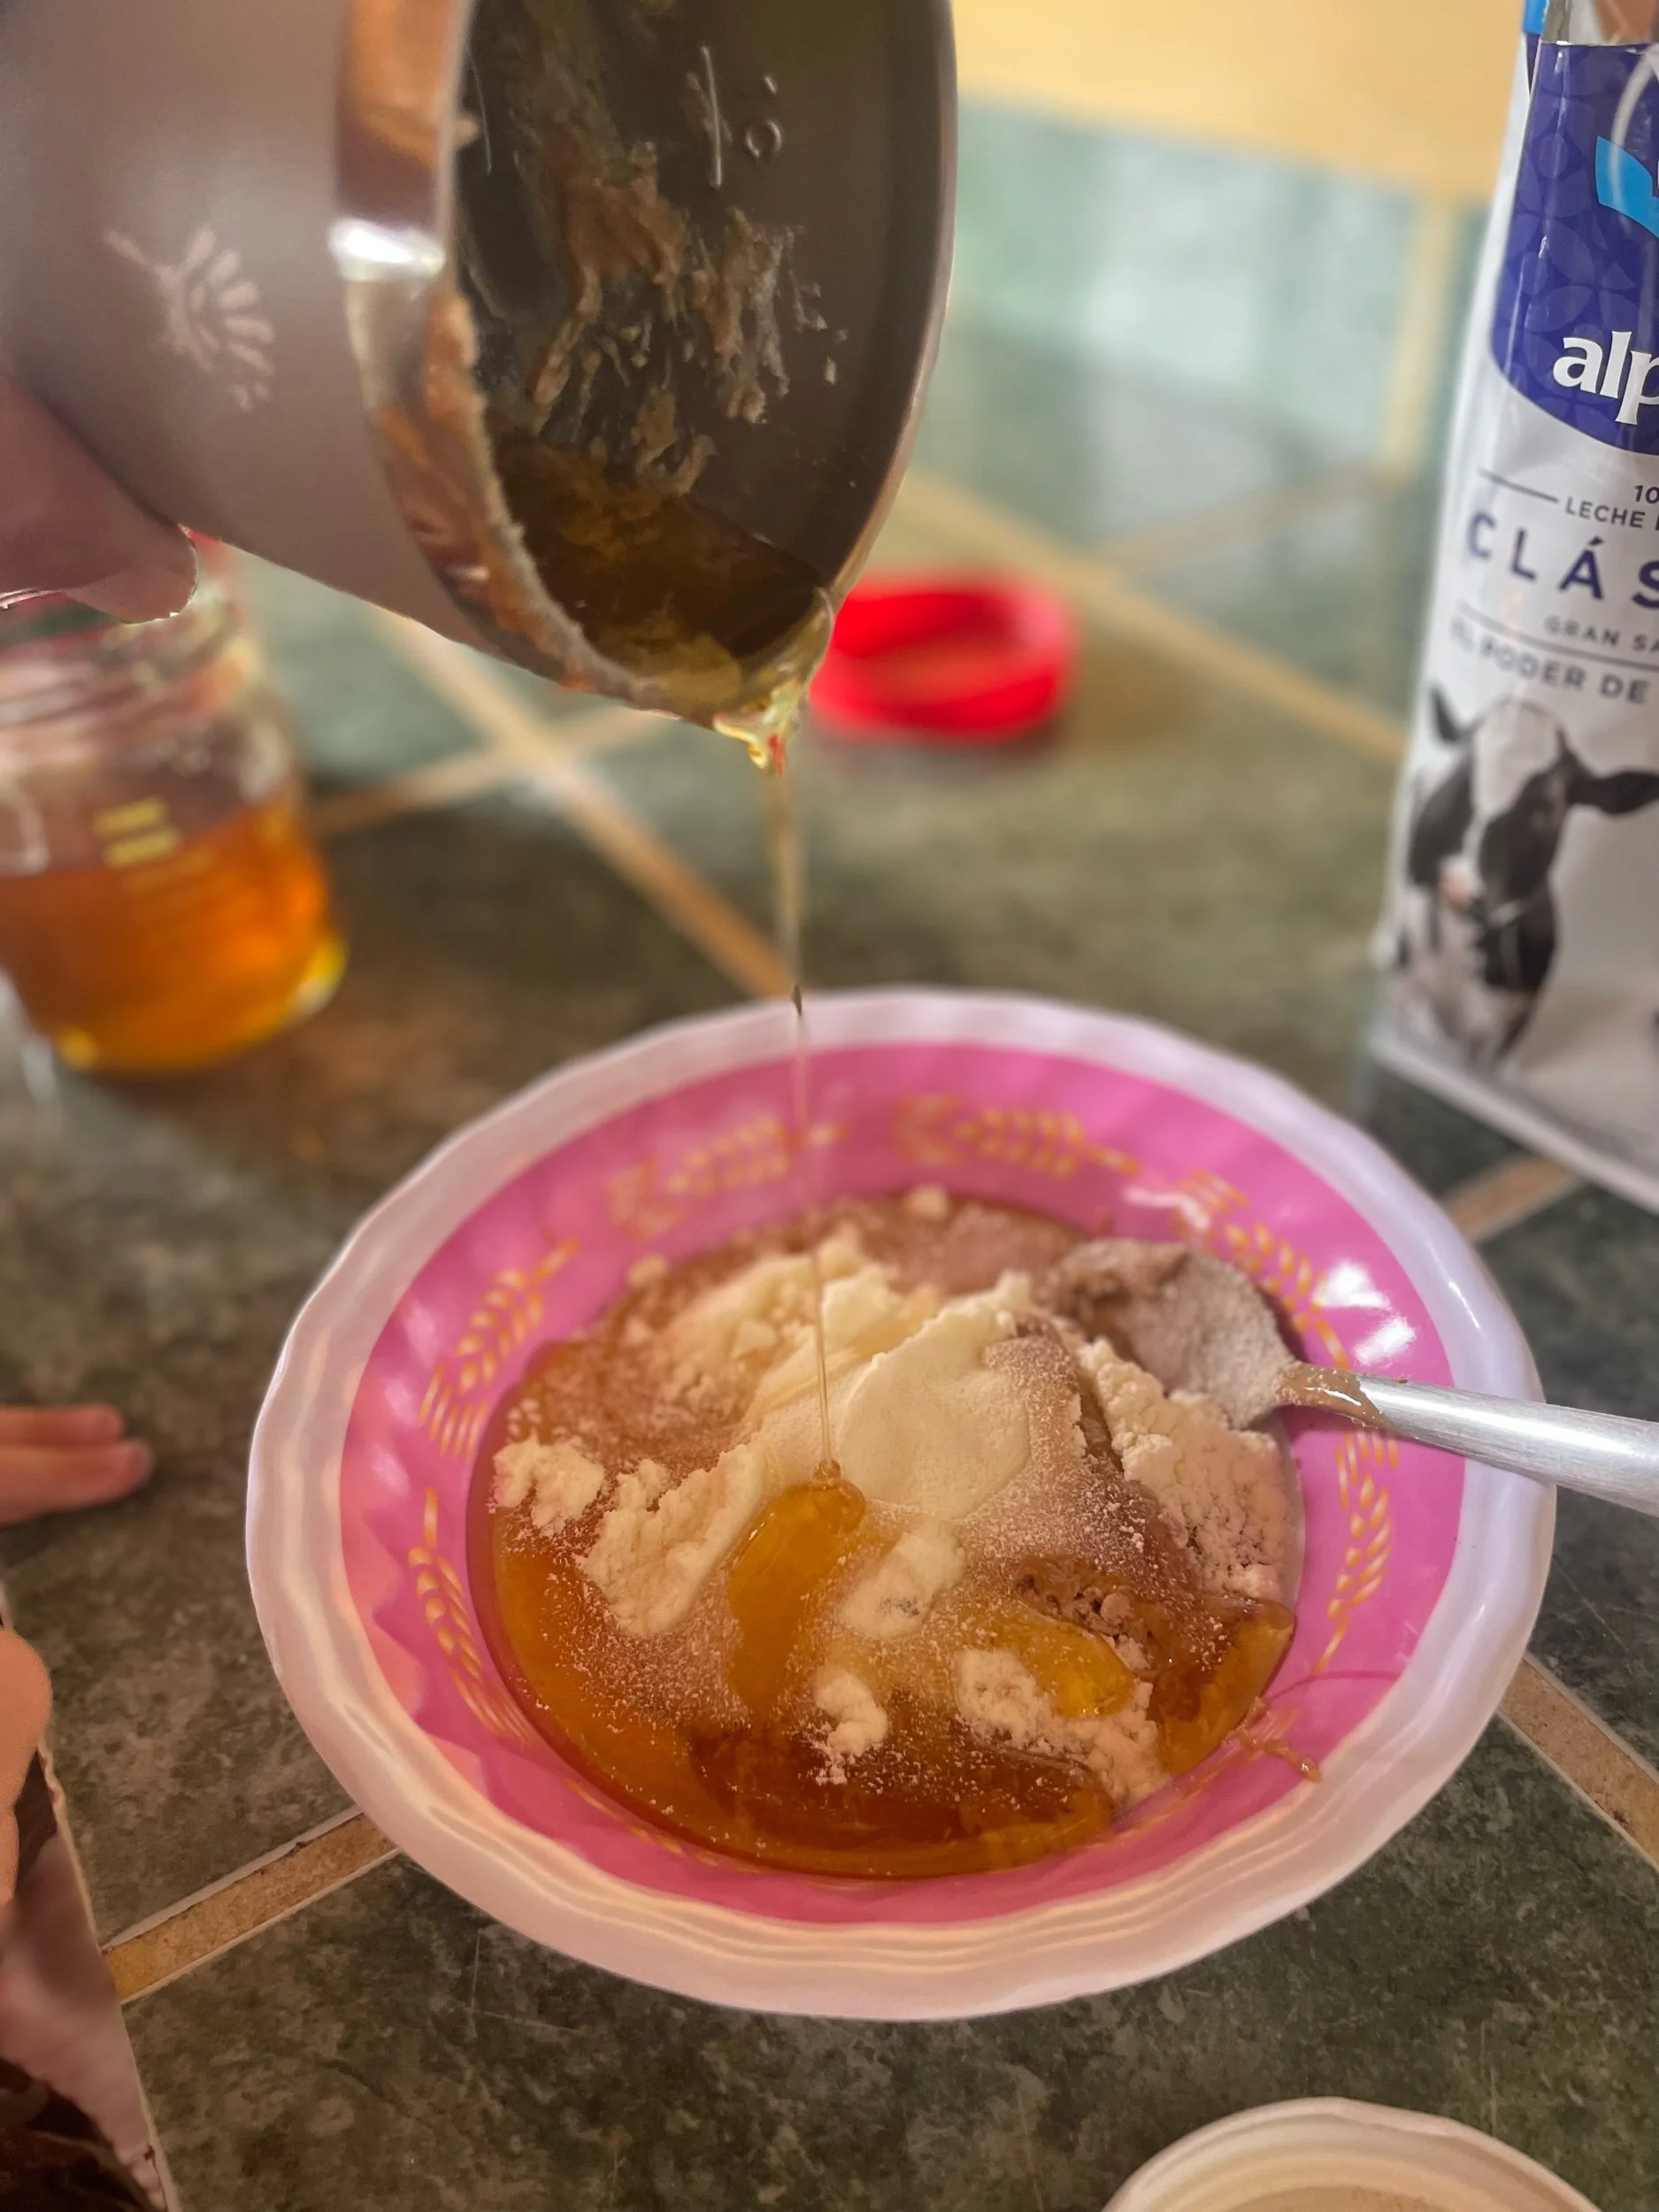
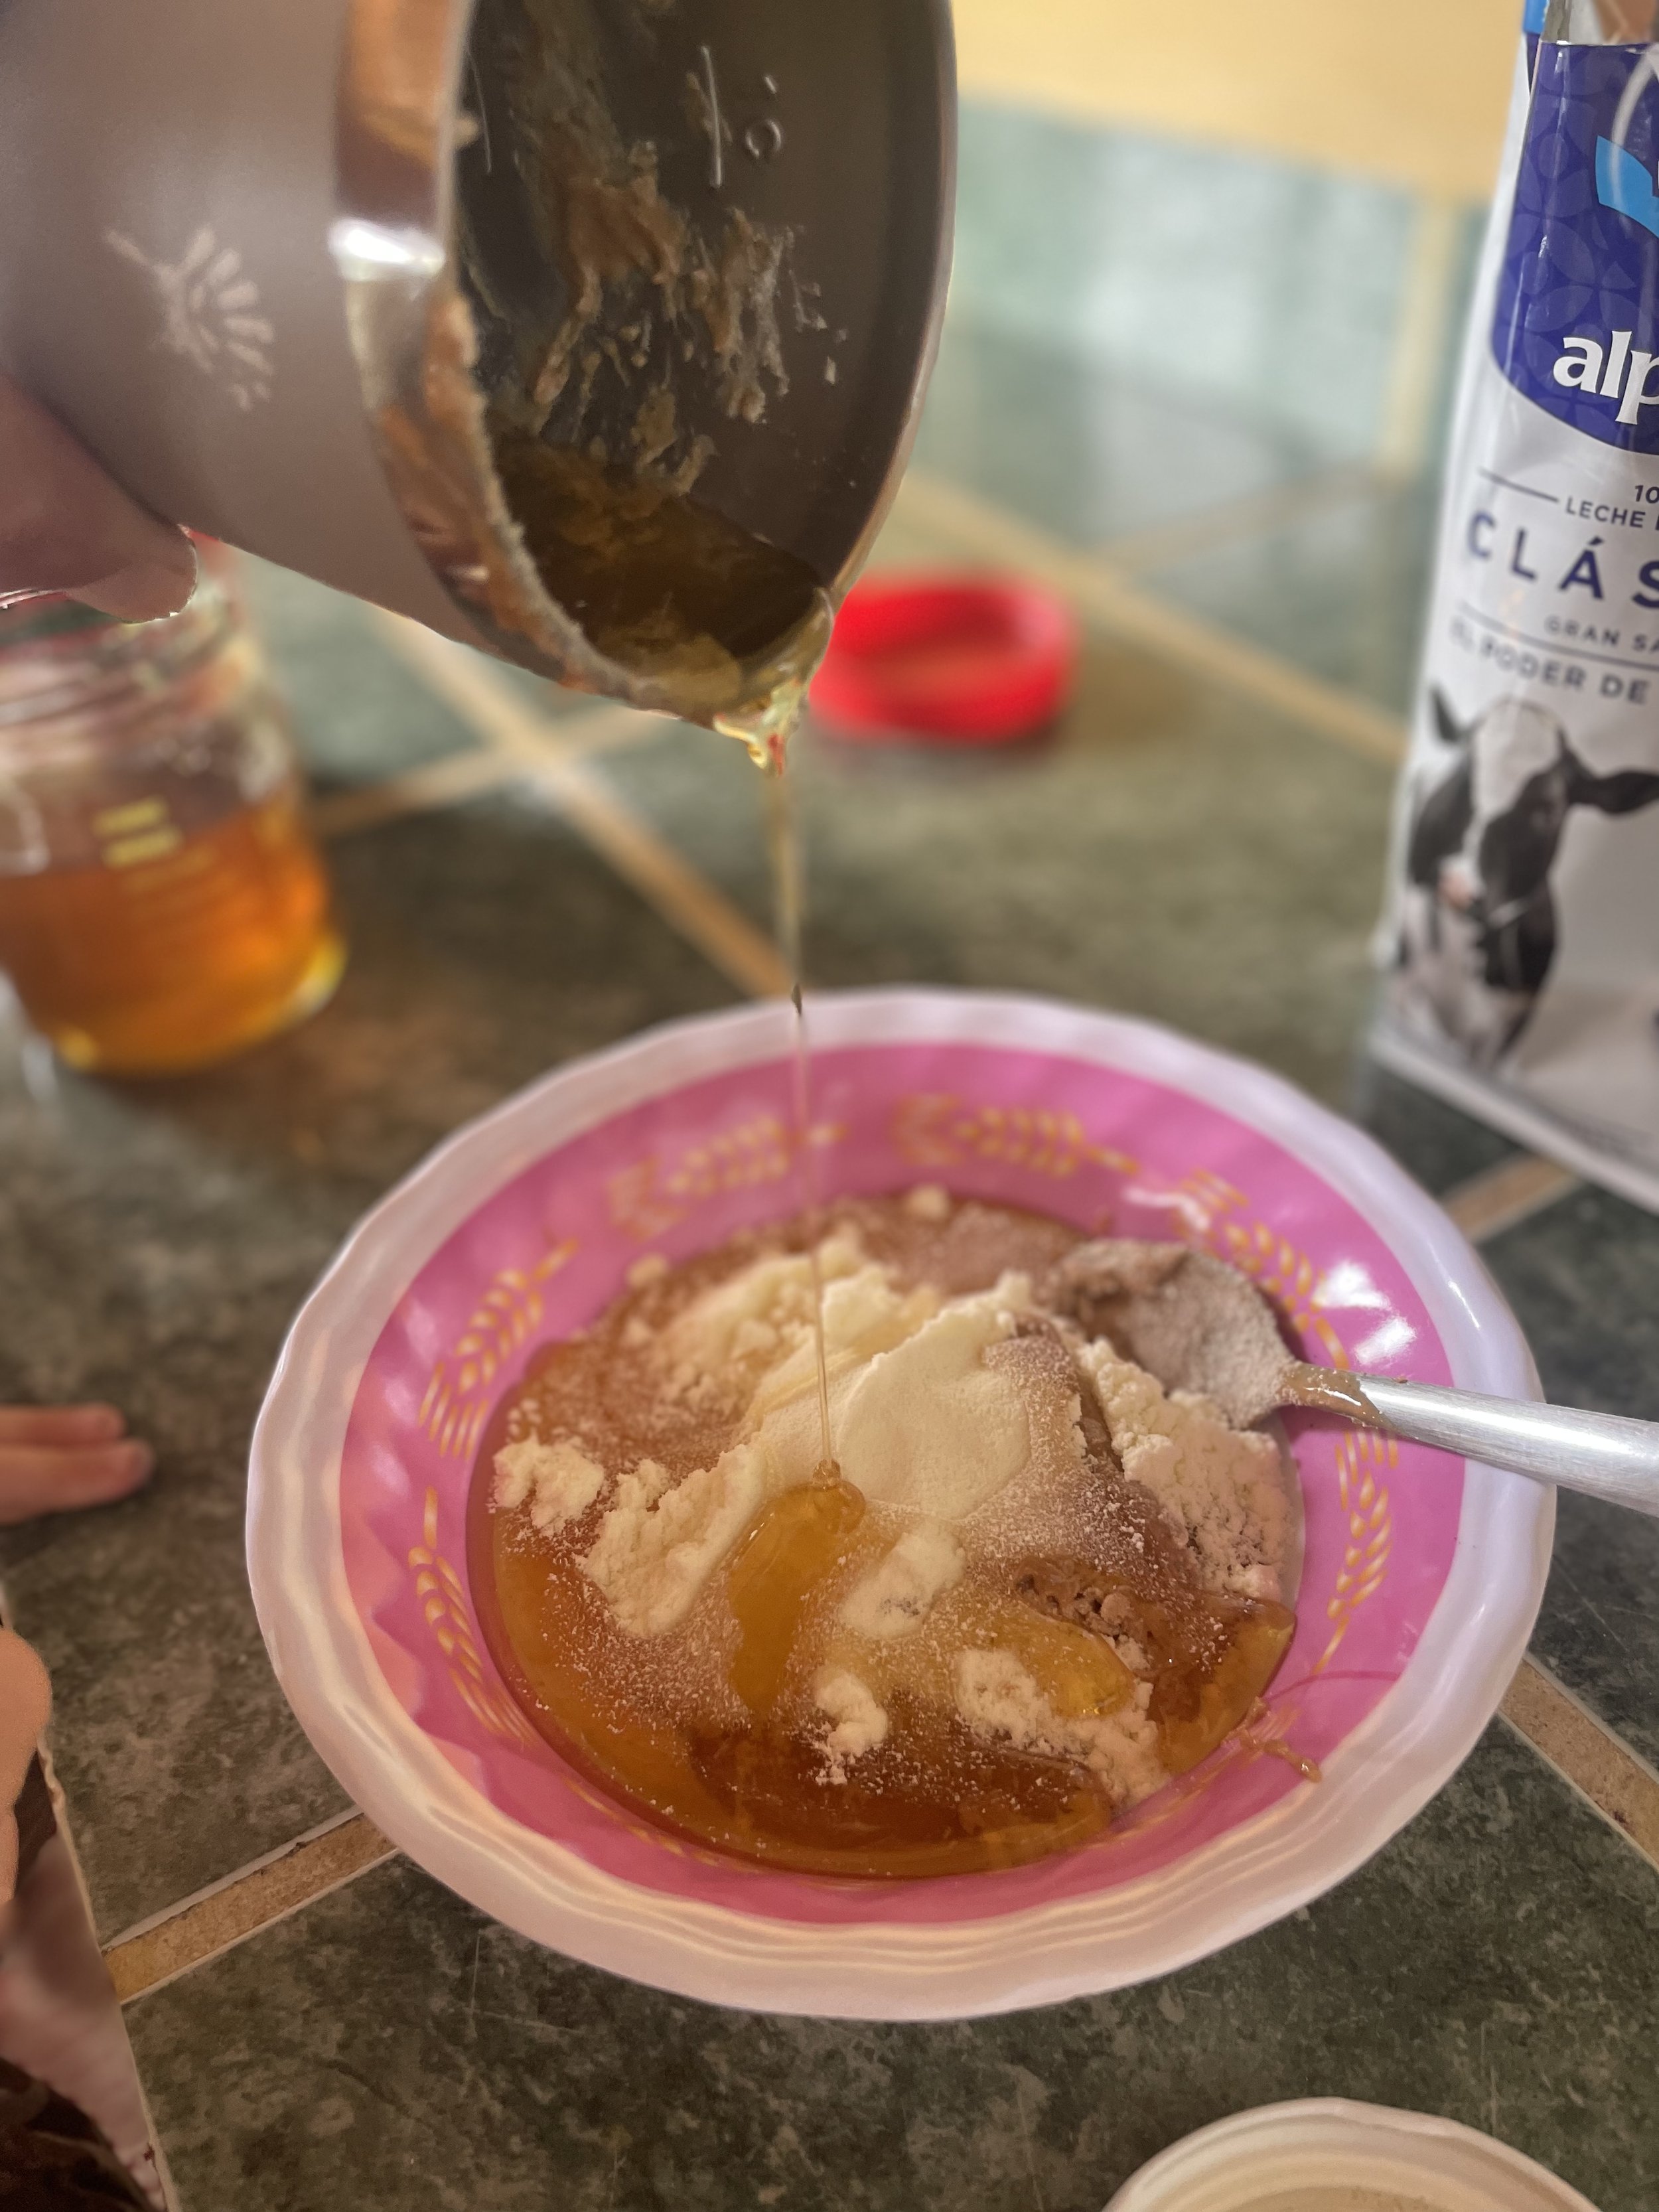
My mom used to make this for and with me when I was little, and even though it seems like a snack made for kids, this wondrous treat has kept me going through some of the toughest physical challenges of my life. When I was 19, studying abroad in New Zealand, my friend Jen and I did a 2 week backpacking trip. We ate this literally by the bucket, mixing it directly in massive peanut butter containers once we’d already inhaled/drank/slurped from spoons half of the peanut butter. In Pakistan, on a ski mountaineering expedition in 2008, we had a pre-trip planning mixup whereby we showed up without any of the on-mountain food we were meant to bring. The news sent me into a panic—I’m supposed to climb and ski this 8000m peak way out of my league and only eat POWDERED FOOD IN A BAG?!?? Luckily my snack-hoarding tendencies meant that I had just happened to bring two big jars of peanut butter, and a massive bag of powdered goats’ milk. (The milk was for coffee if there wasn’t any, and the peanut butter was my mental security blanket. If the shit hits the fan, I will be fine as long as I have some peanut butter.) I remembered this energy packed comfort food from my childhood, borrowed some honey from the camp cook and we made a bunch of these squishy little power balls. They powered us up to 24,500 fleet where we were stuck in a storm for three days but thankfully had energy to get down safely. I credit the edible playdough for our successful failed attempt. :)
At the moment, I’m on an adventure of another kind with my family. We saved up, rented our house out, and have taken an extended trip for the fall to absorb some culture, warm temperatures, Spanish language, and hopefully a wave or two if we can, in between working and schooling. With a minimal kitchen and lots of moving pieces, brainstorming easy and delicious snacks has been difficult until this old favorite jumped into my mind. There’s no cooking involved, it takes a minute to make, keeps fine for the day without refrigeration, and the ingredients are readily available. It’s infinitely adaptable: maple syrup, or other sweeteners, try almond butter, or different powdered milks, dip frozen balls in melted chocolate, mix in oats or chocolate chips or cinnamon or whatever else you fancy! You have full permission to play with your food.

PEANUT BUTTER PLAY DOUGH
Ingredients:
—3/4 c powdered milk (cow, goat, nut, coconut)
—3/4 cup natural peanut butter (preferably just peanuts and salt)
—1/4 honey
—optional mix-ins like chocolate chips, crushed freeze-dried strawberries or other fruit/vegetables, kale powder, collagen powder, nuts, dried fruit, or whatever you can dream up!
Mix the first three ingredients thoroughly and adjust for taste and consistency (more milk powder if it’s too runny, more honey for sweetness, etc.). Slowly add mix-ins (if using) a little at a time and then adjust for consistency and taste. Eat immediately! Unused portion can be stored, covered, in the fridge for up to one week, and these travel well for a few days without refrigeration, but I haven’t tested them much beyond that as they have always been eaten before that. (edit: If you want them to be more like a bar shape, you can use a rolling pin to roll them out and slice, then wrap in parchment for storage.)


5-ingredient “Orange Julius” Creamsicle Smoothie

I prefer my smoothies to match the wildflowers if possible.

Plan ahead—freeze the fruit! Bonus points for old used washed out plastic bags.
I haven’t been to a mall in a very long time so I’m not sure if Orange Julius even still exists, but if you’ve never had or been to an Orange Julius, it was a sort of a very early ancestor to the modern chain smoothie place. The signature drink was a very sweet, icy, orangy, creamy, frothy cup of heaven to teenaged me, hanging out in Southcenter mall, getting falsely accused of shoplifting at the hallmark store.
But, like so many childhood treats that I get nostalgic cravings for (twizzlers, anyone?), I feel like having one of those drinks today would be an oversweet disappointment to my adult taste buds. I wanted the idea of an Orange Julius, but made even more delicious using regular ingredients that I would normally eat.
So I worked on whipping up a quick and easy Orange Julius smoothie (the toddler loves it when things Have A Name) (Mom, what’s this smoothie called?” “It’s Julius, sweetie.”) with just a few normal ingredients, and my first try was fine but didn’t quite hit the mark, so I tried again, this time with a little prior thought.
The secret is freezing the peeled oranges. I found several Orange Julius copycat recipes and they taste great, I’m sure, but they called for sugar and frozen OJ concentrate. I usually don’t have that on hand, and I was hoping to not add any sugar or sweetener to our version, so I popped a few peeled oranges in the freezer overnight with a peeled banana and the combo gave it the creamy, orangey, icy taste that was even better than I remembered. From the eight glorious minutes of silence that happened while everyone ate theirs this morning, I’d say that Julius was a big hit. Guess I won’t be going to the mall anytime soon! :)

Better than being a teenager at the mall!
5-Ingredient “Orange Julius” Creamsicle Smoothie
yield: 2.5 servings (2 adult and 1.5 kid servings)
***PLAN AHEAD: put oranges and banana in freezer overnight or a few hours ahead!!
ingredients:
—2 medium oranges, peeled and frozen
—one medium ripe banana, peeled and frozen
—1-2 c plain whole milk yogurt
—1/4 c- 1 c milk, half and half, cream, coconut milk or cream, or your favorite nut milk or creamer
—splash of vanilla extract
—spinach or greens (optionl 6th ingredient) for a Green Julius
Instructions:
Blend all ingredients on high until creamy and fully blended, pushing down to make sure all of the frozen orange pieces get mixed. Add more liquid if you like a more drinkable smoothie and less for a very thick spoonable treat. You can add maple syrup, honey or sugar if you like it a bit more sweet. Enjoy!