

Recipe: Evening Pizza Dough

Hot pizza, come and get it! Yes, I use scissors to cut pizza—with the rectangle pizzas it works like a dream. Photo: Anne Cleary
This is an easy pizza dough recipe that can be started and baked in the same evening, and makes two massive oven-sized pan pizzas. I love to use pizza stones and pizza steels but we’ve discovered that we make pizza more often (and can enjoy more stress-free hang out time before dinner, which is especially nice if people are over) if I just throw it on a few pans and call it good. The kids prefer veggie (and fruit) pizza so these days we do lots of zucchini, mushroom, olive, and fresh pineapple and red pepper pizzas, and we have a huge stash of sauce in the freezer that we made in the fall from our garden tomatoes. Anything that makes pizza night easier and more frequent is a huge win in this house.

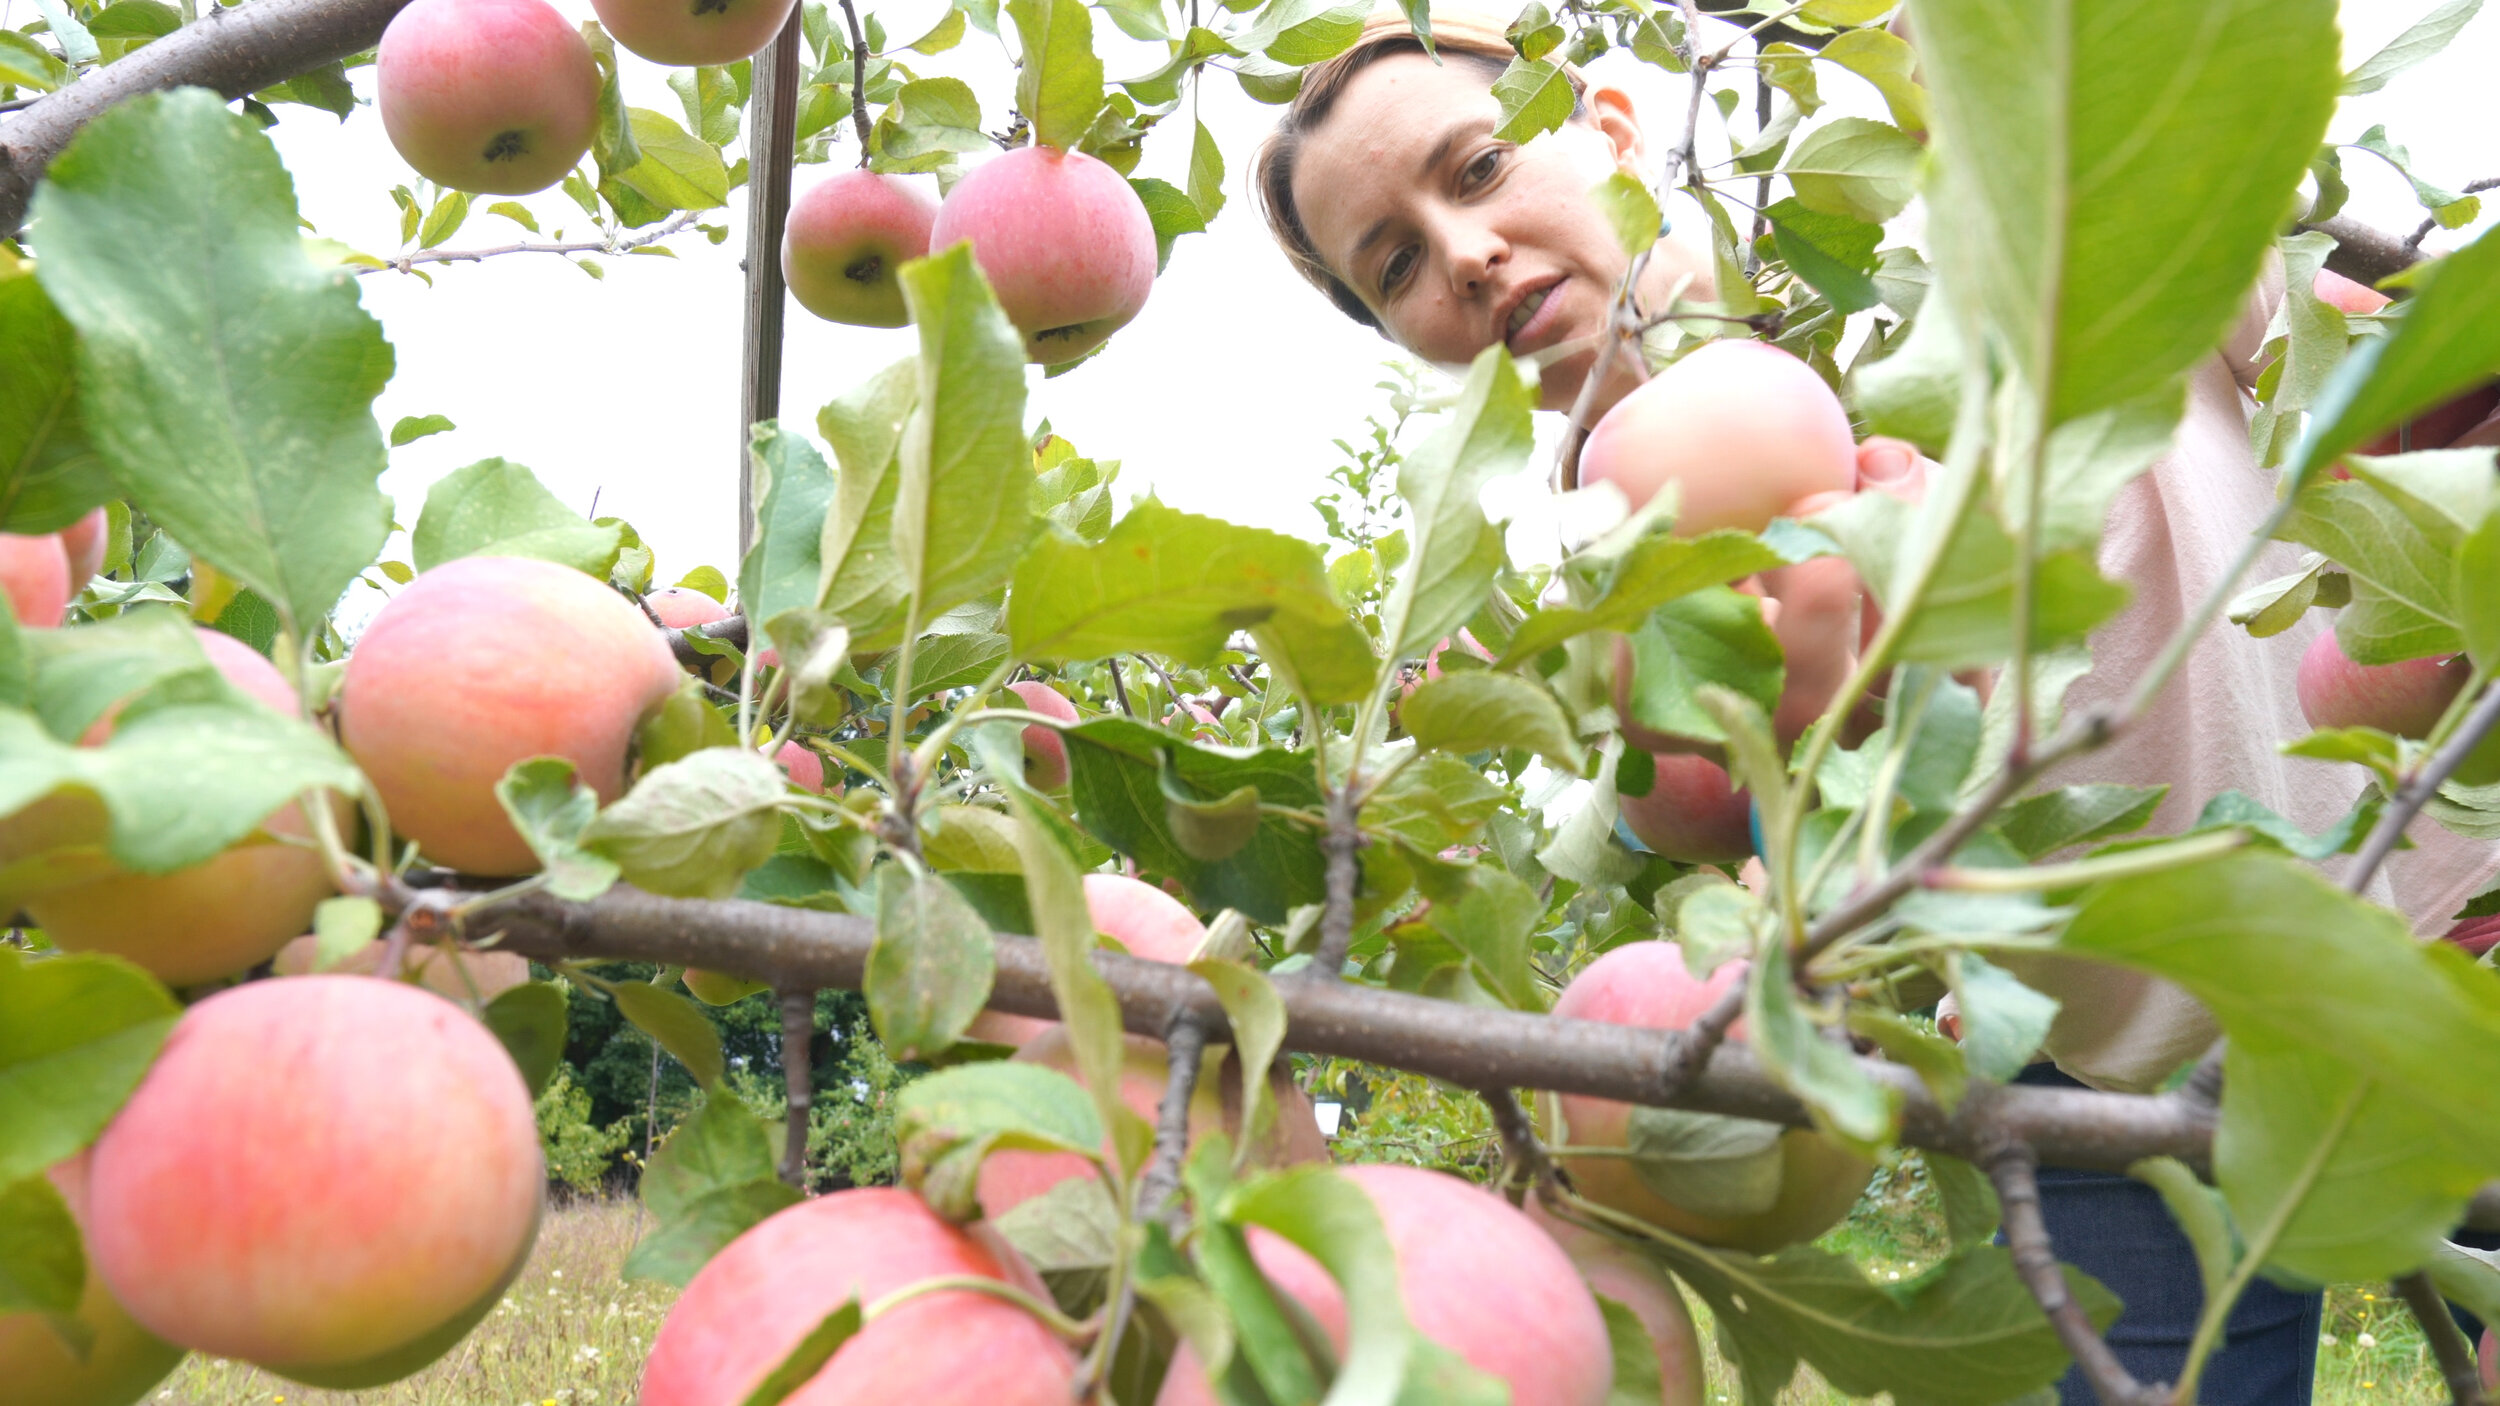
Where’s the snow? Oh well, I guess I’ll go pick apples and bake something! Photo: Anne Cleary
This post is inspired by a video that I made last winter with my very talented friend Anne Cleary. We set out to capture the excellent skiing in Washington, and a few days after beginning our work for the winter, the winter in Washington decided it had other plans and decided to take a month off, returning in April for a few hot wet storms. So, we did succeed in getting the full spectrum of Washington conditions from wet and warm to crusty to powder and storm days, and the sun peeked out for about a minute, too. Since we both love to bake and cook, we were laughing about how often the textures of the snow reminded us of food, or dough, or batter, or flour, and voila, our shred video turned into an ode to the many flavors of Washington skiing and also to our love of baking and cooking. I will put out the video soon. In the meantime, happy baking! And thanks to Bob’s Red Mill who sponsored the ski video, and who makes the best flour and pantry items and dry goods out there! And of course thanks to Anne for the vision and the creativity.
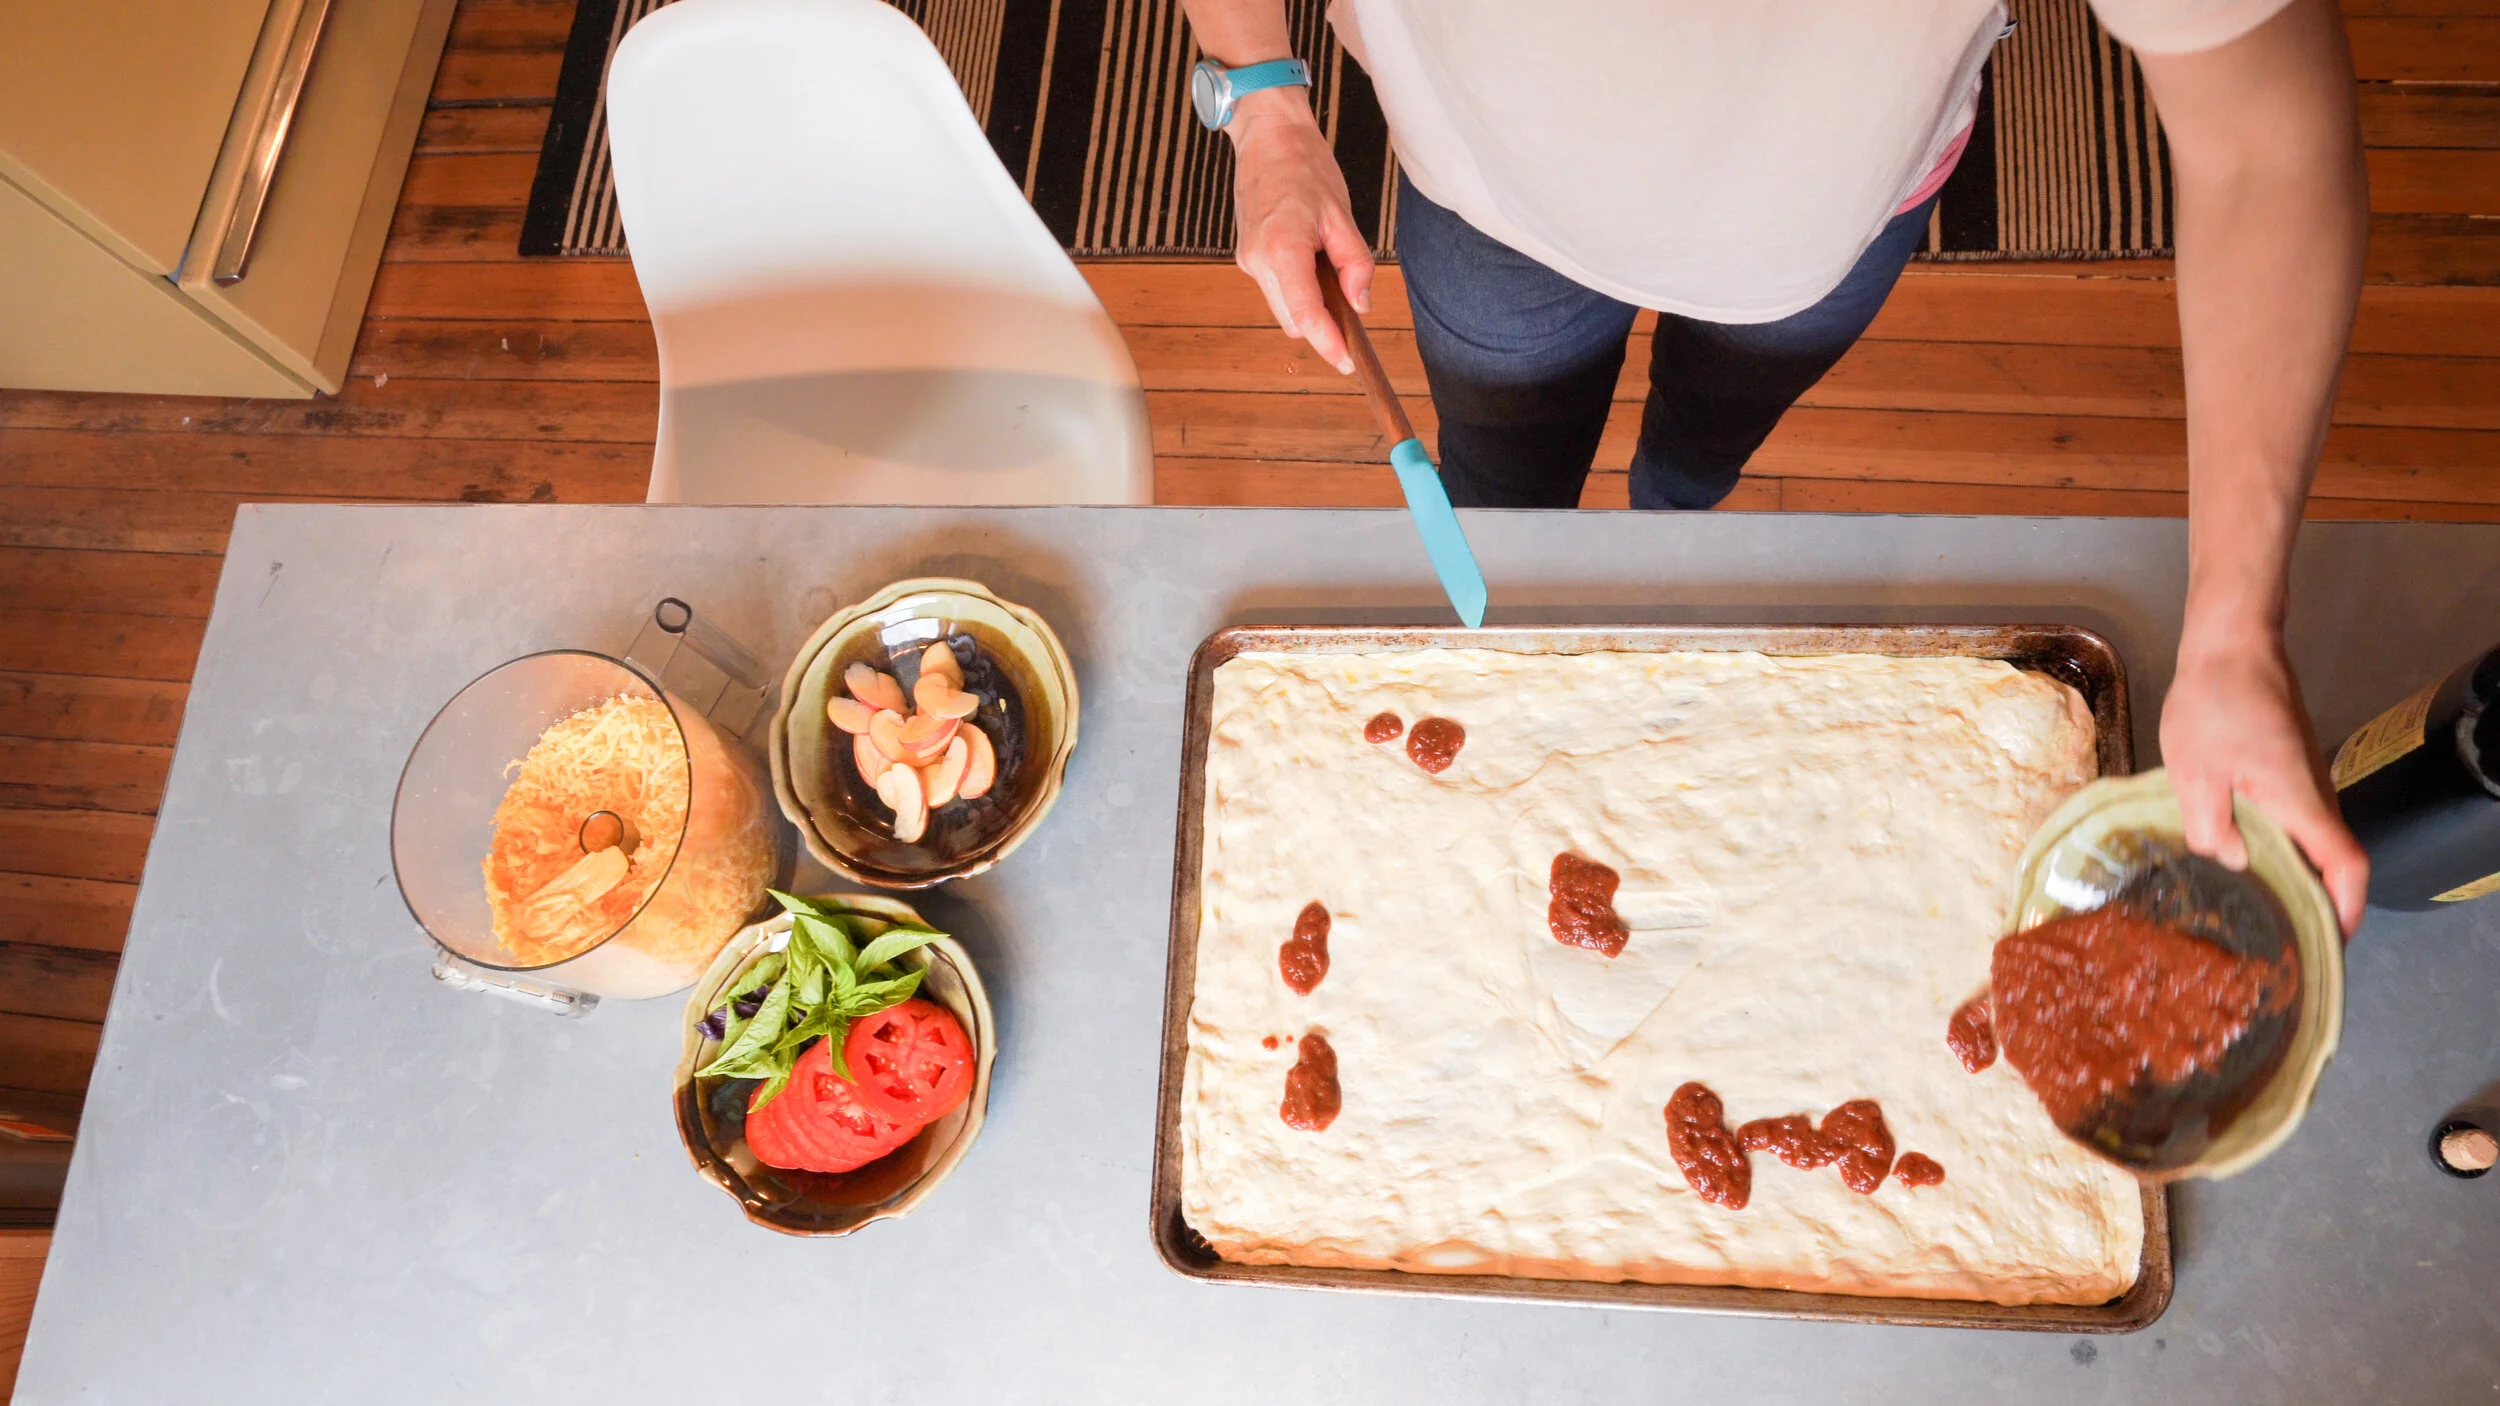
Just a light layer of sauce helps keep the dough from sogging out. Feel free to mix the sauce with some olive oil to help it spread and also to thin it up a bit. Photo: Anne Cleary
Apple everything!!!! Photo: Anne Cleary
EVENING PIZZA DOUGH (makes two massive oven-sized sheet pan pizzas or many round pizzas)
Notes:
**Begin making the dough 2-3 hours before you want the pizzas to hit the oven. If you want to make it further ahead of time, let it rest up to 24 hours or more, covered, in the fridge until an hour before baking time. An hour before baking take the dough out of the fridge and let it rest on the counter to come to room temperature.
**I made an apple and cheddar pizza in the video (ski & baking video…coming soon!), because we were picking fresh apples from our tree and also because I didn’t have any mozzarella in the fridge and I am all about using what I have. Also, I think cheddar on pizza is delicious. To do this, for two huge pizzas, grate 1 to 1.5 pounds cheddar cheese, mixing in some jack, fontina, or mozzarella if you’d like. (We like it cheesy! Most people would probably be fine with one pound.)
Thinly slice two apples. After shaping the pizza in the pan, dress it with a light layer of tomato sauce and a generous dose of olive oil. Sprinkle the cheese on top, reserving about a half cup. Arrange the apples and any other toppings (bacon or arugula are nice), sprinkling the last handful of cheese over the toppings to help wilt the apples and any greens. Bake in a 450 degree oven for 10-15 minutes, until cheese is browning, checking frequently and rotating top to bottom and front to back to ensure even cooking.
This amount of pizza for us usually feeds 4 adults and several kids and sometimes (rarely) leaves leftovers.
Update: I’ve added a small amount of sugar to the dough recently (2022) and it helps the dough rise and the crust brown a bit which seems to be an improvement. It’s not totally necessary but I think it’s a great addition and am adding it to the recipe!
INGREDIENTS:
4.5 c Bob’s Red Mill Organic All-Purpose Flour
2 tsp salt
2 tsp sugar (see update, above)
1.75 c water, plus more as necessary
2 tsp instant yeast (or one package)
2 T olive oil (plus more for the pan)
DIRECTIONS:
Around 2 to 2.5 hours before you want to put the pizzas in the oven, make the dough. In a large measuring cup or bowl, sprinkle the yeast and sugar on 1.75 c of lukewarm water, and let it sit while you prep the flour. In a large food processor (or standing mixer with a dough hook), pulse the flour and salt a few times. Add the 2 T olive oil to the water and yeast (give it a quick stir before or as you are pouring), and with the food processor or mixer running, drizzle in the liquid and yeast, scraping the cup with a spatula to make sure you get all the yeasty bits. Process or mix until the dough comes together in one big ball, and then for 20-30 seconds longer. Add a little more water if the dough is too shaggy, OR more flour (2 T at a time, sprinkling all over) if the dough is too sticky and it causes the food processor to stall out. Give the dough a few kneads and then plop it into an oiled bowl, covering with a shower cap (my favorite, I reuse them many many times!) or whatever you like to use (plastic wrap, beeswax, special bowl cover).
About thirty minutes before you want to have pizza, preheat the oven to 450 and grease two large, rimmed baking sheets with a lot of olive oil, keeping some on your hands. With oiled hands, divide the dough into two equal pieces. Working with one piece at a time, gently massage it into a larger circle using the greased backs of your hands, then slowly pulling with your fingertips at the top edge of the oval, rotating the dough in your fingers while letting gravity pull the pizza dough down and larger. Once it gets to a decent size, 12 inches or so in diameter (don’t stretch it too hard! Be gentle!), place it on the sheet and continue to massage it gently from the center outwards on the sheet, stretching and pushing while taking care to not tear the dough. Feel free to re-oil your hands. Take deep breaths and practice patience! Repeat with the other dough and sheet. After the first good stretch session, give the doughs a few minutes to rest. Walk away, make a salad, do some dishes, prep a few toppings. Come back after ten minutes or so, re-oil your hands and stretch the dough all the way to the edges, pulling the edges up and over the rim of the sheet to help keep it in place. If you made a hole, tear a small bit from an overhanging edge (extra somewhere else) and use it as a patch for your hole.
Decorate your pizzas and bake as above, see notes.

Cheddar…it’s just better. Or it’s what I had in the fridge. Photo: Anne Cleary

